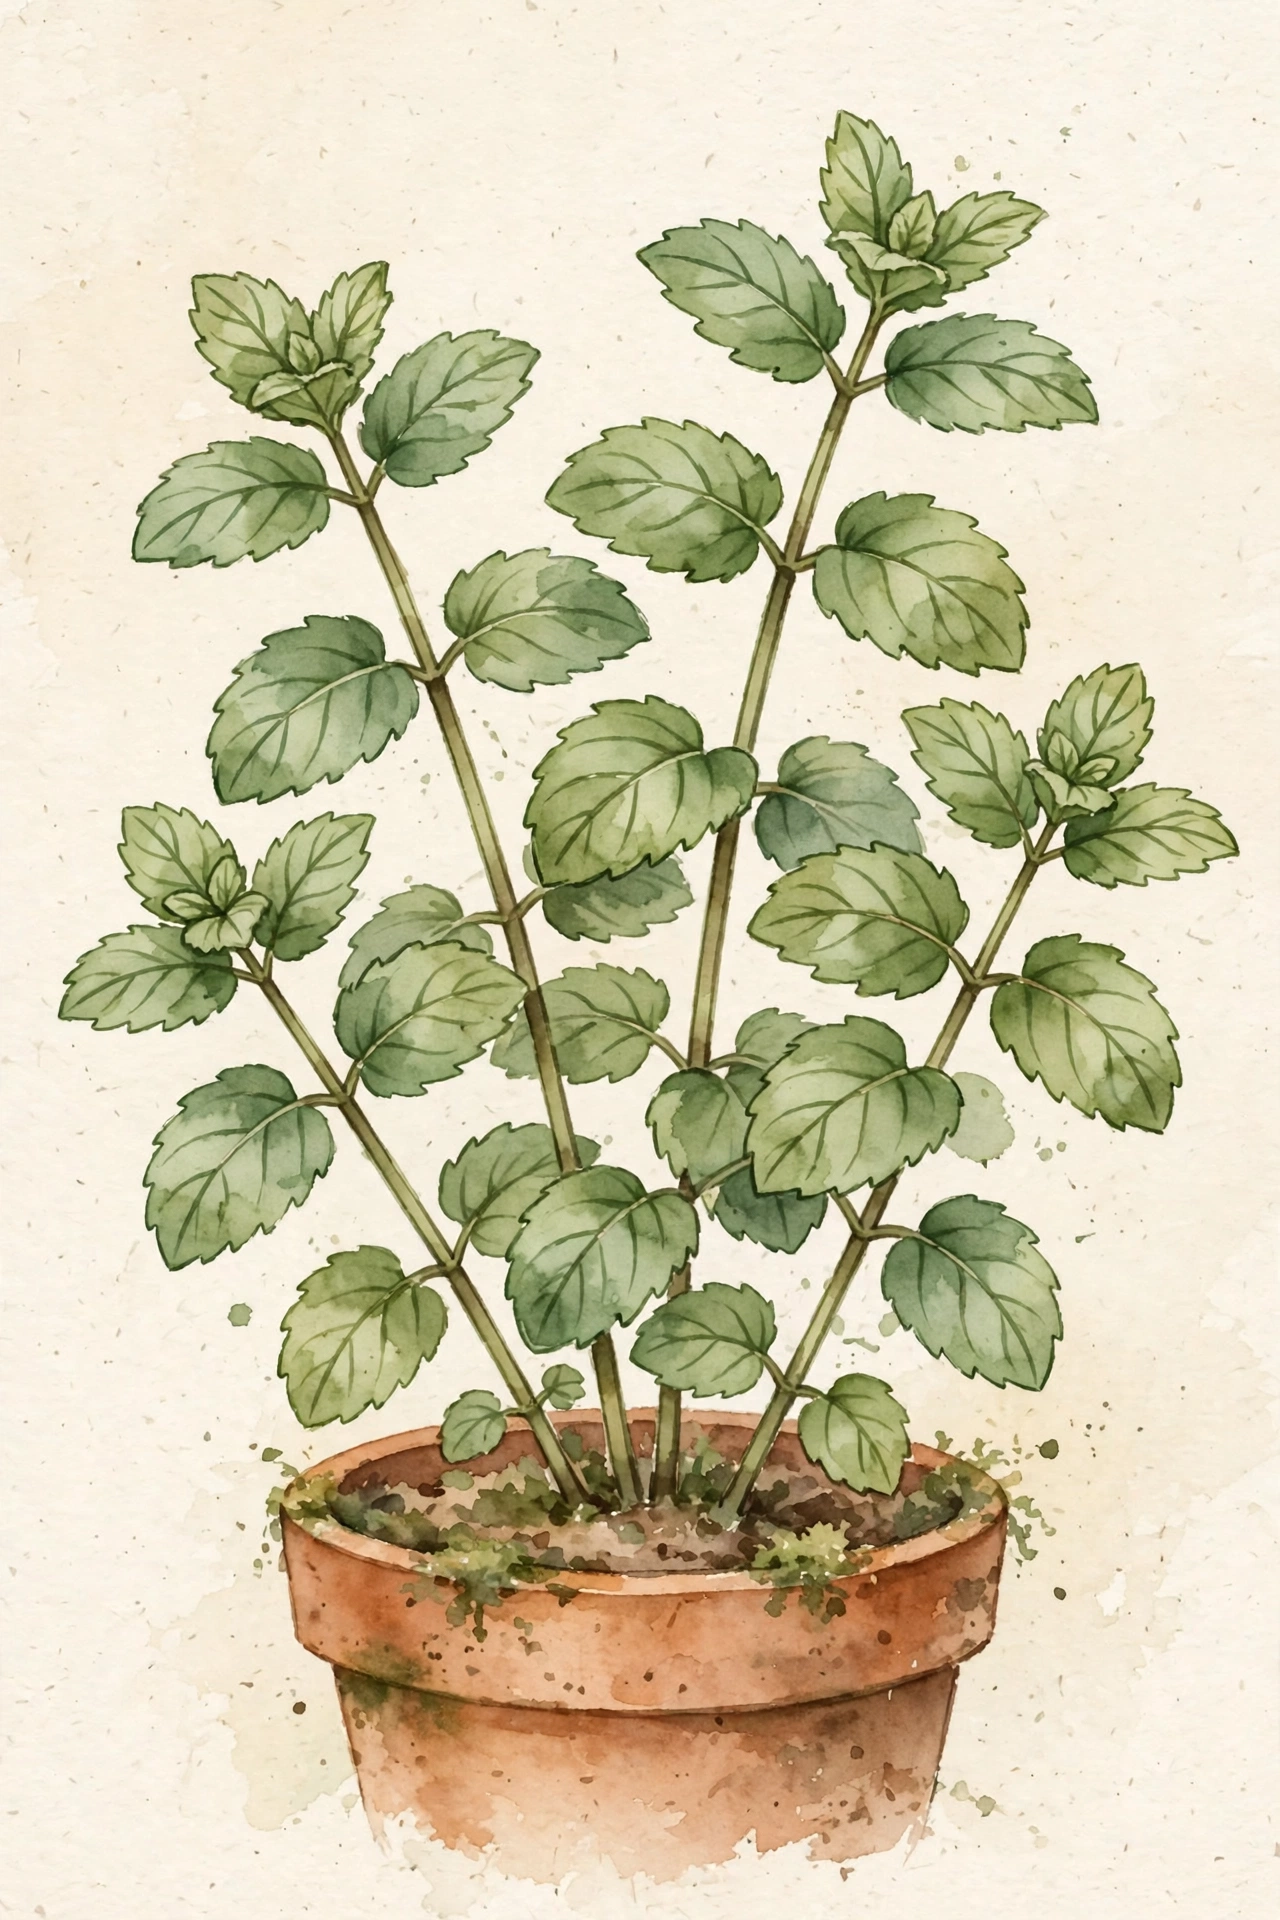
Mint is the herb that teaches every new gardener the same lesson: never plant it in the ground. Left alone, mint spreads by underground runners and will colonize a bed within a season or two. A pot isn’t a limitation for mint — it’s the whole strategy. Confined to a container, mint becomes one of the easiest, most forgiving herbs you can grow, and you’ll have more fresh leaves than you know what to do with.
A note on how this guide was written: we haven’t grown mint in our own garden yet, so this isn’t a personal growing diary. Everything below comes from university extension research, cited at the bottom.
Why a container (and why it must be its own pot)
Mint spreads aggressively through rhizomes — horizontal underground stems that send up new shoots wherever they go. University of Florida IFAS and UC Davis both flag mint as invasive in garden beds. The fix is simple: give mint its own pot, and don’t share it with other herbs. A 12-inch pot (or larger) gives one plant plenty of room, and the pot walls do the containing work for you.
One more containment trick from extension sources: if you want the look of mint in a bed without the takeover, sink the whole pot into the soil with the rim an inch or two above the surface. The runners stay trapped.
Starting your mint
Nursery starts are the fastest, most reliable way in — mint is widely available as small plants, and a single start fills a 12-inch pot within weeks. Cuttings root almost absurdly easily: snip a 4-inch stem, strip the lower leaves, and put it in water or moist potting mix — roots appear in about a week. Seed is the least reliable route (many culinary mints don’t grow true from seed), so skip it unless you’re growing a specific seed variety.
Light, water, and soil
Mint is flexible about light — it does well in full sun to partial shade, and in hot climates it actually prefers afternoon shade, which keeps the leaves tender. For soil, use a quality potting mix; mint likes consistently moist (not soggy) soil. Containers dry out faster than beds, so check daily in summer heat. A pot with drainage holes plus a saucer is the right setup: moisture without waterlogging.
Feeding is light work. Mint isn’t a heavy feeder — a half-strength balanced liquid fertilizer once a month during the growing season is plenty. Over-fertilized mint grows leggy and loses flavor intensity.
Harvesting (and why it makes the plant better)
Here’s the beautiful part: harvesting mint is pruning, and pruning is what keeps it bushy. Pinch or snip stems just above a leaf node, and two new shoots sprout from that point. Regular harvesting prevents the leggy, flower-obsessed growth mint defaults to. If your plant starts flowering, cut it back hard — flowering shifts energy away from the leaves and changes their flavor.
For the best flavor, harvest in the morning after the dew dries, when the essential oils are most concentrated. And don’t be shy: a healthy potted mint plant can be cut back by a third at a time and bounce back in weeks.
Overwintering
Mint is a hardy perennial (most varieties survive USDA zones 3–11). In a pot, though, the roots are more exposed to cold than they would be in the ground. In cold-winter areas, move the pot to an unheated garage or against a sheltered wall, or mulch the pot heavily. In mild climates, the pot can stay outside year-round — the plant may die back in winter and resprout in spring, which is normal.
In the kitchen
Fresh mint is the cooling counterpoint in so much Vietnamese and Thai cooking. Our Cucumber and Mint Salad with Lime Dressing and Thai Cucumber Salad both lean on it. Beyond that: tear it into spring rolls, muddle it for drinks, or chop it into yogurt-based sauces.
Sources
- University of Florida IFAS, “Mint” — growth habit, containment, propagation. https://edis.ifas.ufl.edu/publication/MV115
- UC Davis / UC ANR vegetable and herb resources — container culture guidance. https://anrcatalog.ucanr.edu/