
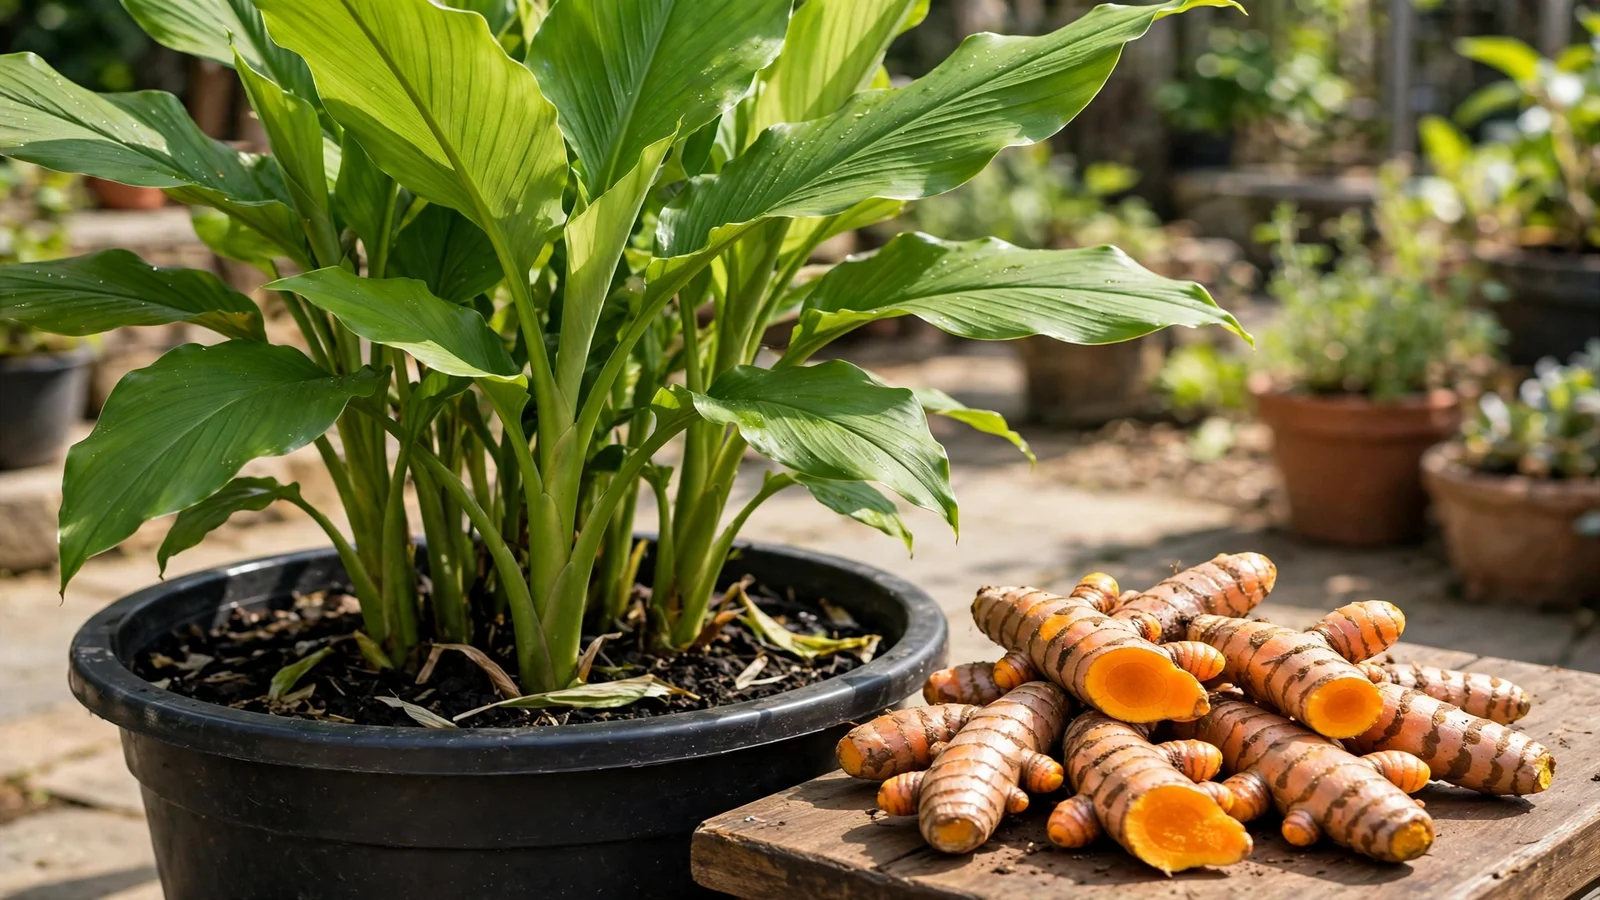
Fresh turmeric tastes nothing like the jarred powder most cooks know. Straight out of the ground, it is juicy and aromatic with a warm, peppery edge and only a whisper of bitterness — closer to fresh ginger with a sunset color than to anything in the spice aisle. It is also one of the most satisfying pantry staples you can grow yourself. Turmeric is a tropical rhizome in the ginger family, and it takes to container life beautifully: one wide pot started in spring can give you a year’s worth of golden rhizomes, and the broad, canna-like leaves make it one of the prettiest plants on the patio all summer.
This guide covers the whole cycle: picking seed rhizomes that actually sprout, the pot and soil setup turmeric prefers, planting and watering through its long warm season, bringing the pot inside for winter, and harvesting and curing your crop. If you already grow ginger in pots, turmeric will feel familiar — same family, same rhythm, with a few important differences worth knowing.
Why Turmeric Is Made for Pots
Turmeric grows from rhizomes that creep sideways just under the soil surface, so it wants width rather than depth — exactly what a container offers. But the real reason pots suit turmeric is the calendar. Turmeric needs a long, warm season: roughly 7 to 10 months from planting to harvest, with soil that stays warm the whole way. In most climates the outdoor season is simply not long enough or warm enough, and the rhizomes stall or rot when fall cools the ground.
A pot solves all of that at once. You can start the rhizomes indoors in early spring while the ground is still cold, move the pot into full sun once the weather turns, and carry it back inside when nights dip toward 50°F. That mobility effectively adds months to turmeric’s growing season in any climate. A plastic or glazed ceramic pot also holds warmth and moisture better than breathable terra-cotta, which matters for a plant that thinks every cool snap is the end of the world.
If you are reading this in fall rather than spring, you still have two good jobs to do: harvest any mature pot now and stash plump seed rhizomes for spring planting, or keep a pot growing indoors through winter under a bright window. Turmeric tolerates indoor life far better than most vegetables.
Picking Seed Rhizomes
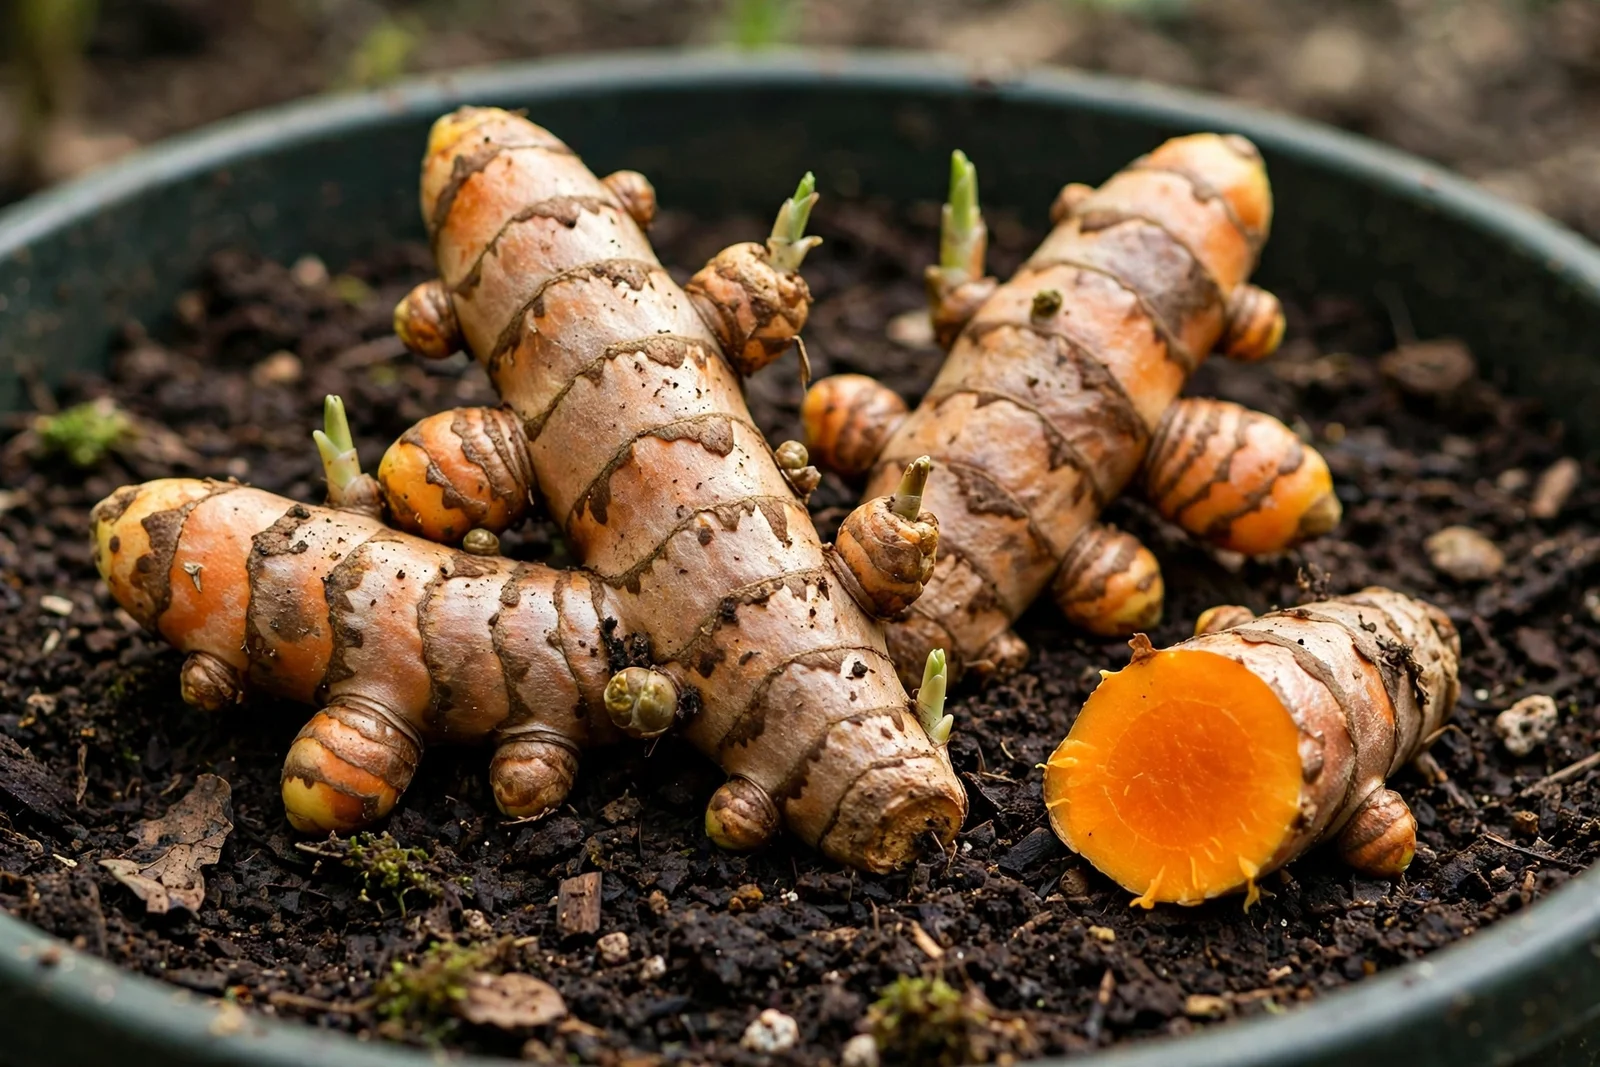
Start with rhizomes that look like they are ready to work. Choose pieces that are plump, firm, and heavy for their size, with visible buds — the small knob-like eyes where shoots emerge. Avoid anything wrinkled, rubbery, or light, and skip pieces with dark soft spots. You can start from grocery-store turmeric, but organic is worth seeking out: conventional rhizomes are sometimes treated with sprout inhibitors that delay or prevent growth, and organic stock has no such treatment.
Turmeric rhizomes come in two shapes: the finger-like “hands” and the rounder mother rhizome. Both sprout fine. Break or cut pieces so each is about 2 to 3 inches long with at least 2 or 3 visible buds, then let the cut ends air-dry for 24 to 48 hours before planting. That brief callusing is the simplest rot insurance in the whole guide.
Pot and Soil Setup
Width wins again. Use a pot at least 12 to 14 inches wide and about 12 inches deep — a 5-gallon container holds 3 or 4 rhizome pieces comfortably and gives the spreading fingers room to multiply. Drainage holes are mandatory. Turmeric forgives a lot, but it does not forgive sitting in water.
The mix should be rich, loose, and moisture-retentive without staying soggy:
- 2 parts bagged potting mix as the base
- 1 part compost or worm castings for slow, steady nutrition
- 1 part perlite or coco coir for drainage and air
Aim for a slightly acidic mix, roughly pH 5.5 to 6.5 — most bagged potting mixes land right in this range. Fill the pot to about 3 inches below the rim. You will top up with soil later in the season, because new turmeric rhizomes form on top of the mother piece and push upward, sometimes breaking the surface by late summer.
Planting
Temperature is the whole game at planting time. Turmeric only wakes up in warm soil — about 70°F (21°C) or warmer — and rhizomes planted in cool soil sit there and rot instead of sprouting. Plant in spring after the soil has genuinely warmed. If your spring runs cool, start the pot indoors on a heat mat or near a warm appliance, then move it out once nights stay reliably above 55°F.
Lay each piece flat on the soil with the buds facing up, spacing pieces 6 to 8 inches apart, then cover with 1 to 2 inches of mix. Water once, deeply, to settle everything in. Then give it patience: sprouting takes 4 to 8 weeks, and the range is almost entirely temperature. At 75 to 80°F you can see shoots in a month; at 65°F the same rhizomes may take two. Cool soil is always the culprit when turmeric stalls.
Light, Water, and Food
**Light:** this is where turmeric parts company with its cousin ginger. Ginger wants shade, but turmeric is happy in full sun — 6 or more hours of direct light — and produces bigger, more colorful rhizomes for it. It still grows in partial shade, just with smaller yields. On a shared patio, put turmeric in the sunny spot and let the ginger and culantro take the shaded corners.
**Water:** keep the soil evenly moist from sprouting through late summer, never soggy and never fully dry. Water when the top inch feels dry; a pot in full summer sun may need water daily. Mulch with 1 to 2 inches of straw or shredded leaves to even out the swings. As the leaves begin yellowing in fall, taper water off — the plant is telling you it is done for the season.
**Food:** turmeric is a hungrier plant than ginger. Work a slow-release balanced fertilizer into the mix at planting, then feed every 3 to 4 weeks through summer with a balanced liquid fertilizer, shifting to one higher in potassium (the last number on the label) in late summer to push rhizome development. Stop feeding by early fall so the plant winds down on schedule.
Troubleshooting
- **The rhizome rots instead of sprouting.** Cold wet soil is the usual cause — or un-callused cuts, or a pot with no drainage. Ease off watering, confirm water actually flows from the drainage holes, and do not plant until the soil holds 70°F or warmer.
- **Nothing sprouts after six weeks.** The pot is too cool. Move it somewhere warmer; turmeric wakes above 70°F and sits sulky below 65°F. Extra time will not fix a cold pot.
- **New rhizomes poke out of the soil surface.** Normal — turmeric builds new fingers on top of the old ones. Just cover them with another inch or two of mix. This is why you fill the pot low at planting.
- **Leaf edges scorch and turn brown.** Usually underwatering in heat, or a jump from indoor shade to full sun with no hardening off. Water more steadily and move indoor-grown pots into sun gradually over a week.
- **Tiny webbing under the leaves.** Spider mites, mostly an indoor-winter problem. Wipe leaves with a damp cloth and raise the humidity; turmeric usually outgrows a light infestation once it goes back outside.
Overwintering Indoors
Turmeric goes dormant as temperatures fall, and that is completely normal. When nights drop toward 50°F, bring the pot inside to a bright window. The leaves will yellow and die back — let them. Cut water back to just enough that the soil does not bone-dry for months, and stop feeding.
You can store the dormant pot in a cool, dark spot until spring. When soil temperatures climb back above 70°F, bring it to the light, resume normal watering, and fresh shoots will push up — often from rhizome pieces that looked entirely spent. The same bring-it-inside rhythm serves other tropical kitchen plants; the lemongrass overwintering guide covers a near-identical routine if you grow both.
Harvesting, Curing, and Storing
Patience pays: turmeric needs 7 to 10 months from planting to reach full flavor and color. The plant tells you when it is ready — the leaves yellow and die back on their own in fall. Wait a week or two after full dieback, then tip out the whole pot and separate the fingers from the mother rhizome. Save a few plump pieces with good buds to replant next spring.
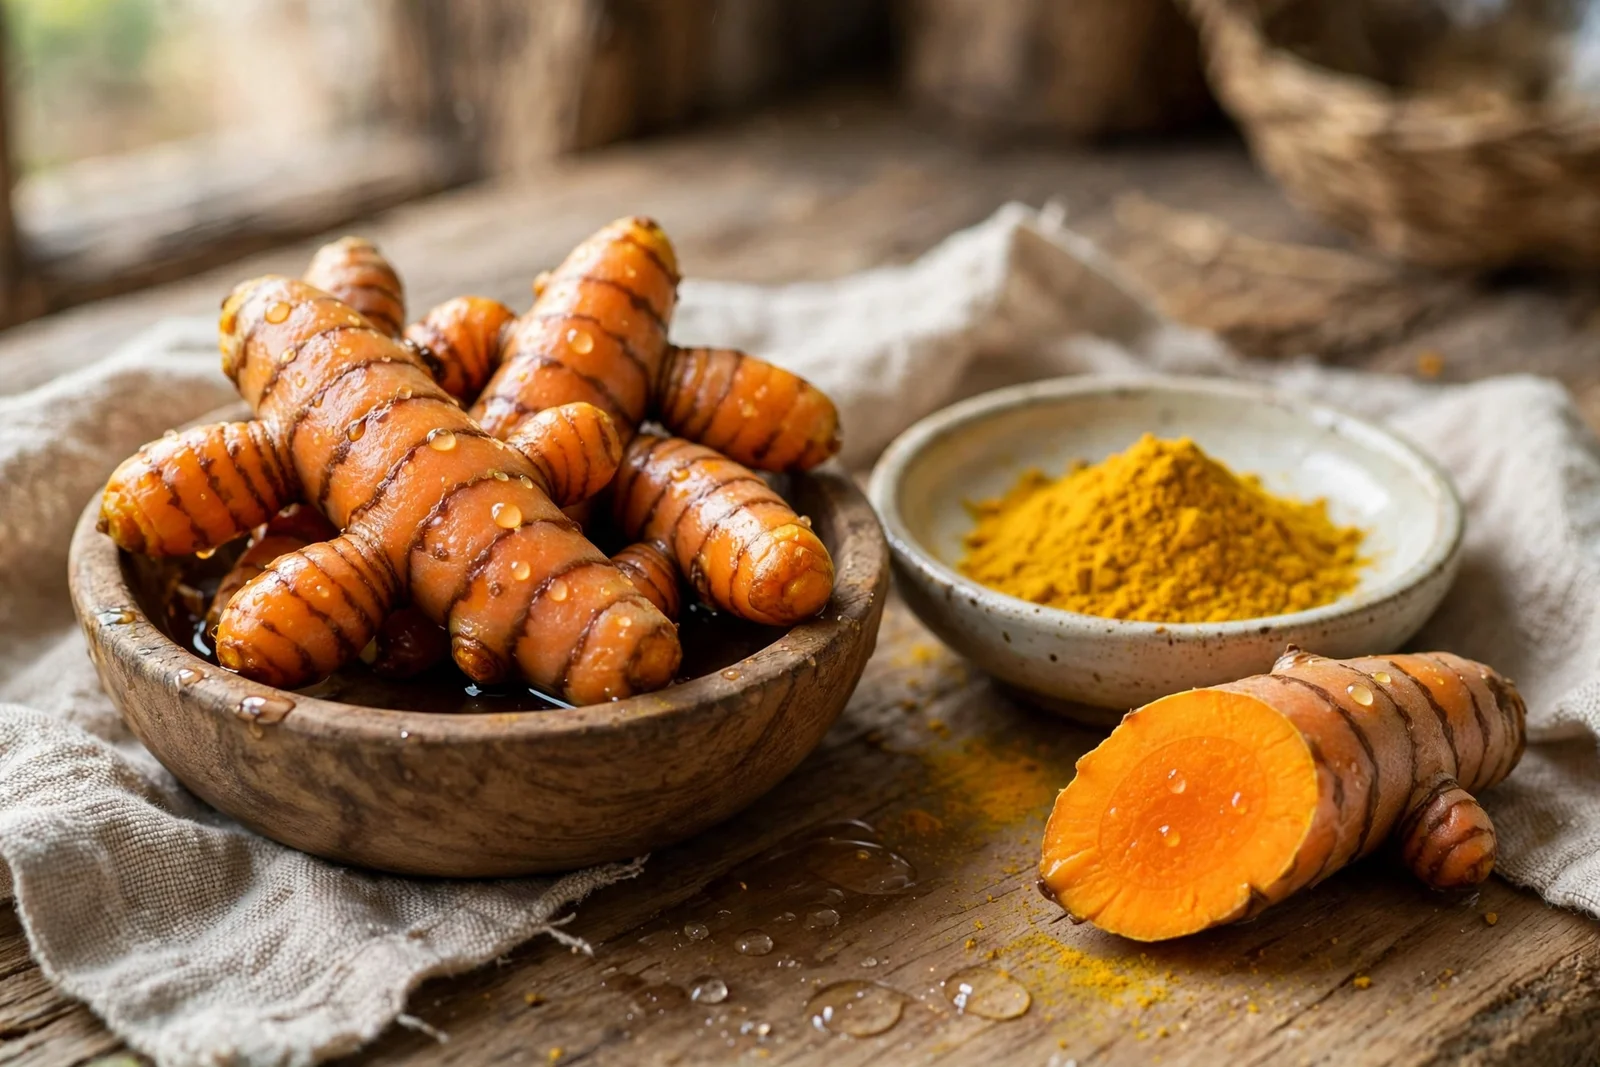
Cure the harvest before storing: spread the rhizomes in a single layer in a warm, dry, airy spot out of direct sun for 1 to 2 days so the skin toughens. Cured turmeric keeps 2 to 3 months in a cool, dark pantry and even longer in the fridge. It freezes beautifully — freeze fingers whole and grate them straight from frozen — and thin-sliced rhizomes dry into homemade turmeric powder in a low oven or dehydrator.
For places to put a good harvest, there is Mi Quang with its signature turmeric-tinted noodles and the golden broth of Soto Ayam, and like any fresh harvest it keeps best when you store fresh herbs and aromatics with care.
More From the Garden
- How to Grow Ginger in Pots — turmeric’s rhizome cousin and the closest comparison for setup and care.
- How to Grow Thai Chili Peppers in Pots — another full-sun container crop for the bright end of the patio.
- How to Grow Culantro (Ngo Gai) at Home — a shade-loving tropical herb that balances turmeric’s sun appetite.
- How to Overwinter Lemongrass Indoors — the same bring-it-inside rhythm for another tropical kitchen staple.
From the Garden
The first year I grew turmeric, I made the classic beginner mistake: I harvested when the leaves were still green and proud, about five months in. The rhizomes were pale, watery, and barely stained my fingers — the deep orange color and that warm, peppery depth only develop in the last couple of months, after the leaves start their decline. Now I wait for the yellowing, and the difference is a crop worth writing home about.