
A food processor works. A mortar and pestle wins.
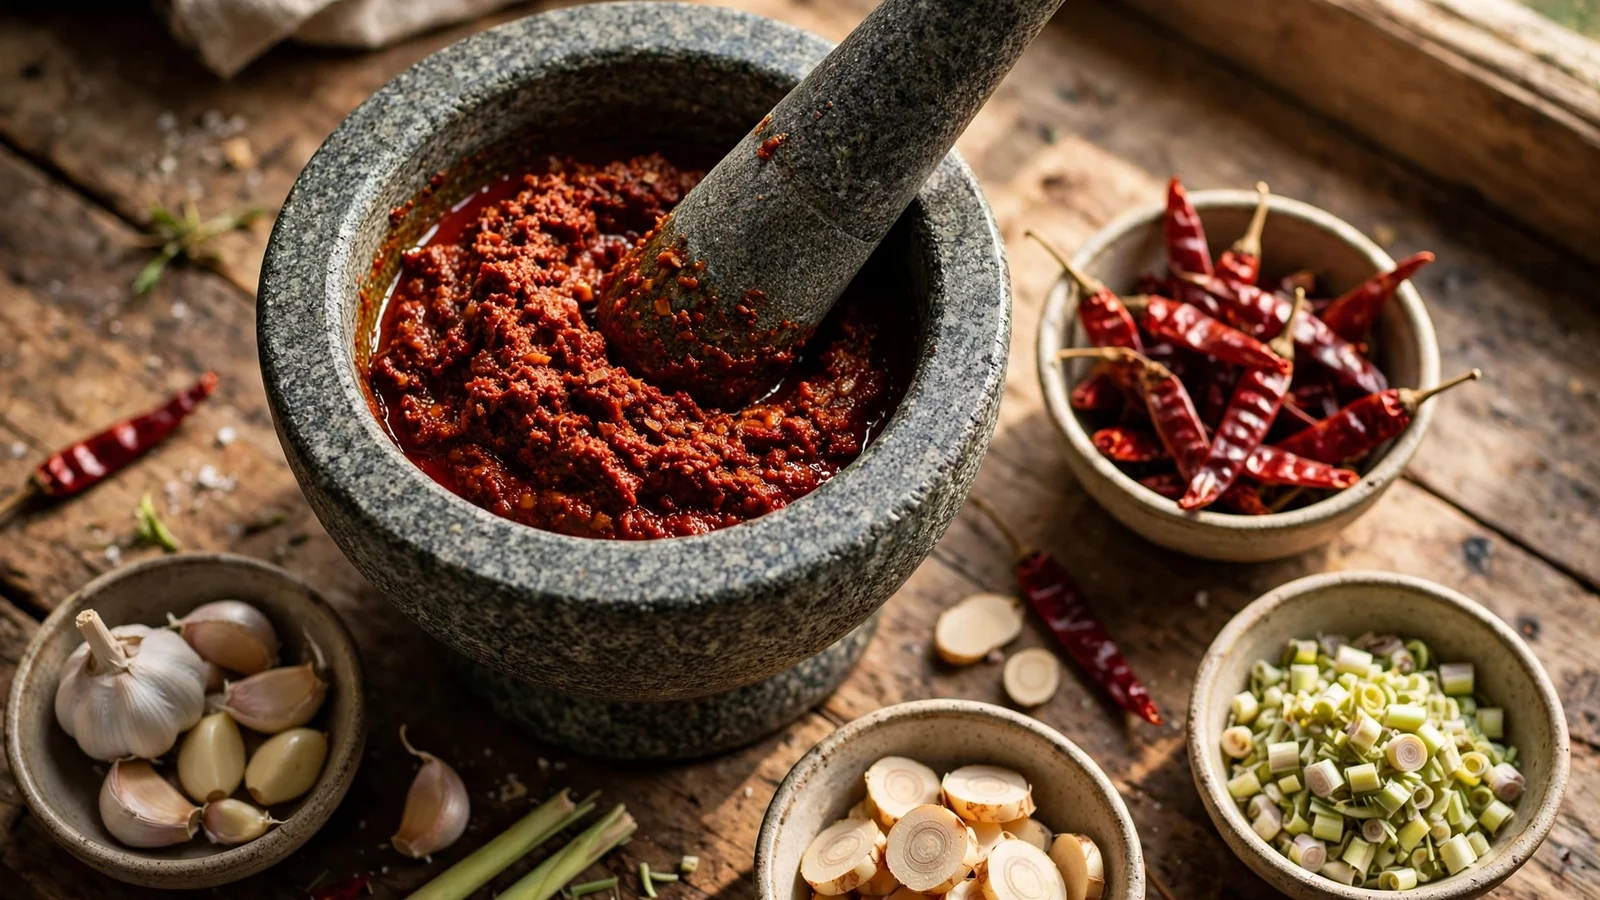
Every Thai curry paste in my kitchen starts with a choice: the food processor or the mortar and pestle. The processor is faster. The mortar and pestle makes better paste, and not by a little.
The difference is mechanical. A food processor’s blades spin fast, and that speed does two things: it heats the ingredients and whips air into them. The heat dulls the fragrant oils in lemongrass, galangal, and chilies, and the air speeds up oxidation. What comes out is a fine paste that smells flat the next day.
A mortar and pestle crushes slowly. The pestle’s weight presses the fibers until they split and release their oils without heating them, so the paste stays vivid and aromatic for days. I have made red curry paste both ways from the same ingredients, and the mortar batch smells noticeably brighter when the curry hits the pan. The processor takes 5 minutes; the mortar takes about 15. The paste is worth the arm workout.
This guide covers the Thai-style granite mortar and pestle, the one tool worth owning if you cook a lot of Southeast Asian food.
Pick the right mortar and pestle
Material matters more than brand. Here is what the common options are good at:
- Granite (Thai khrok hin): heavy, rough interior, the workhorse for curry pastes. The weight does half the pounding for you, and the stone never absorbs flavor. This is the one to buy for curry paste.
- Clay: light and porous, fine for soft pastes like some sambals and for pounding papaya salad (som tum). Not tough enough for a full curry paste.
- Wood: fine for crushing soft herbs and mixing a small batch of dipping sauce, but it absorbs flavor and will not survive long sessions with lemongrass.
- Ceramic: glazed interiors are too slippery. Ingredients slide around instead of breaking down.
Size matters too. A mortar narrower than about 6 inches across is frustrating for curry paste: ingredients fly out, and you have to work in tiny batches. Go for 7 to 8 inches if you have the counter space. The extra weight also keeps it planted on the counter.
A quick test before you buy: run your thumb over the inside. It should feel rough like sandpaper, not smooth. Smooth granite looks polished and pretty, but it grinds half as well.
Prep your ingredients before you pound
This is the step most people skip, and it is the difference between a 15-minute session and a 35-minute one.
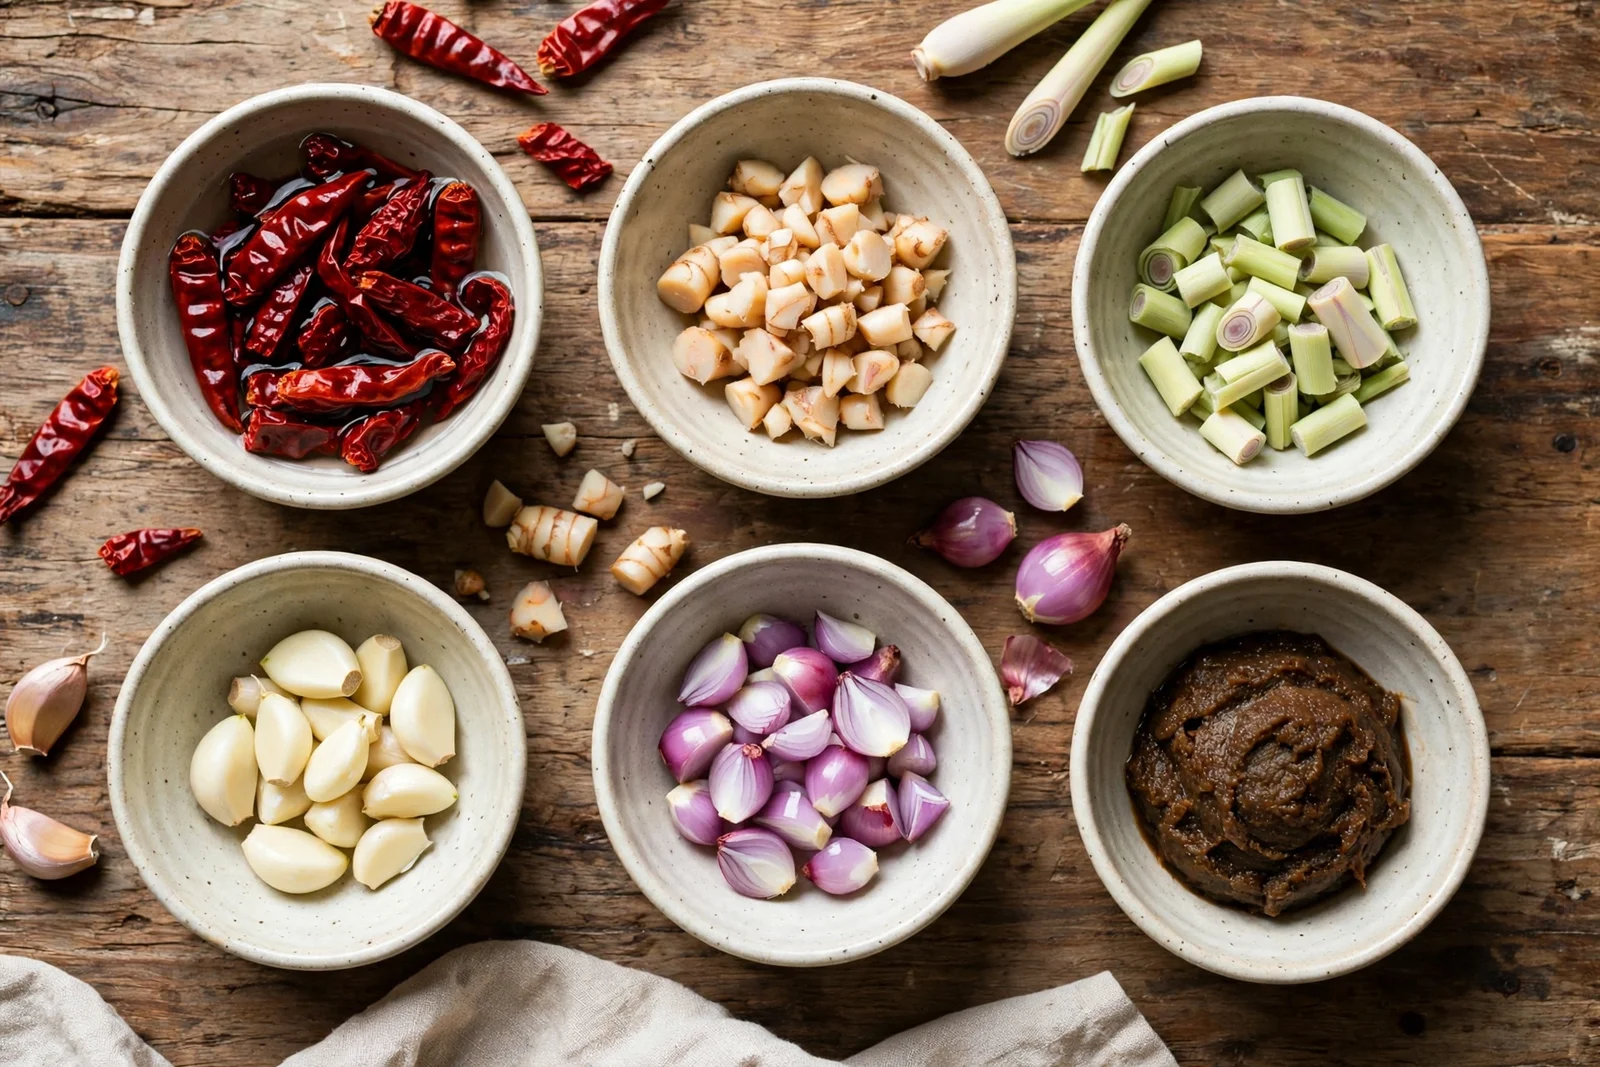
- Soak dried chilies. Cover them in hot water for 15 minutes, then drain. They pound in a fraction of the time when soft, and they give the paste a deeper color. Save a tablespoon of the soaking water; it helps later.
- Cut everything into small pieces. Lemongrass, galangal, and shallots go in at roughly 1/4-inch pieces. Small pieces break down faster because the pestle only has to crush, not shred.
- Peel garlic and shallots, and bruise lemongrass stalks with the flat of a knife first. The lemongrass guide covers trimming and cutting in detail.
- Add salt early. About 1 teaspoon of salt with the first ingredients draws out moisture and acts as an abrasive, so everything grinds faster. This is one of the oldest tricks in the Thai kitchen and it genuinely shaves minutes off.
Pound in the right order
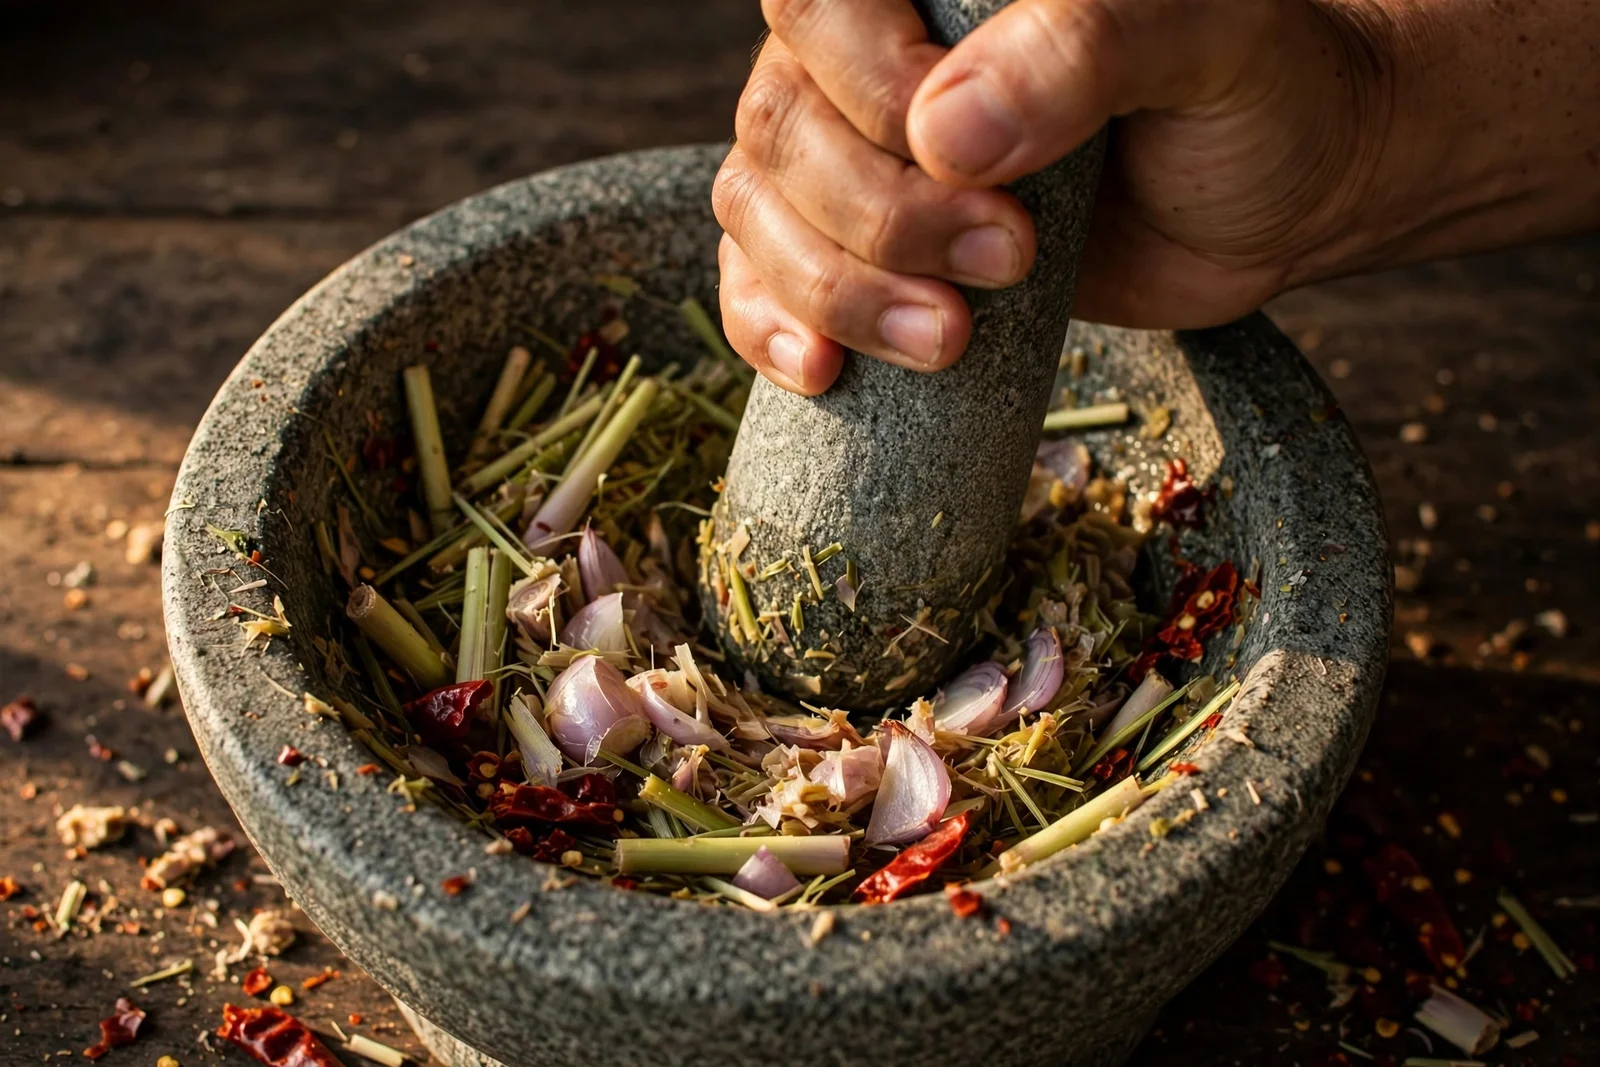
Order is everything. Ingredients go in tough to soft, so nothing gets overworked or left underdone:
- Dry spices first. If your paste includes toasted coriander seed and cumin, grind those alone until powdery. Toast and grind whole spices shows the full method.
- Fibrous roots next: lemongrass, galangal, makrut lime zest. Pound these until they are almost a pulp. If you add soft ingredients first, the fibrous ones ride on top and never break down; you end up with lemongrass splinters in a smooth sauce.
- Soft aromatics: shallots and garlic.
- Chilies and shrimp paste last, pounded in until the whole mass is one uniform paste.
Work in small additions. Add a handful at a time, pound it down, then add the next. A mortar filled more than a third full just launches ingredients at your walls.
The motion is a twist and crush, not a straight smash. Press the pestle down and grind it in a short circular motion, lifting and striking every few turns. You will feel the texture change under the pestle: lumpy, then grainy, then suddenly smooth and glossy.
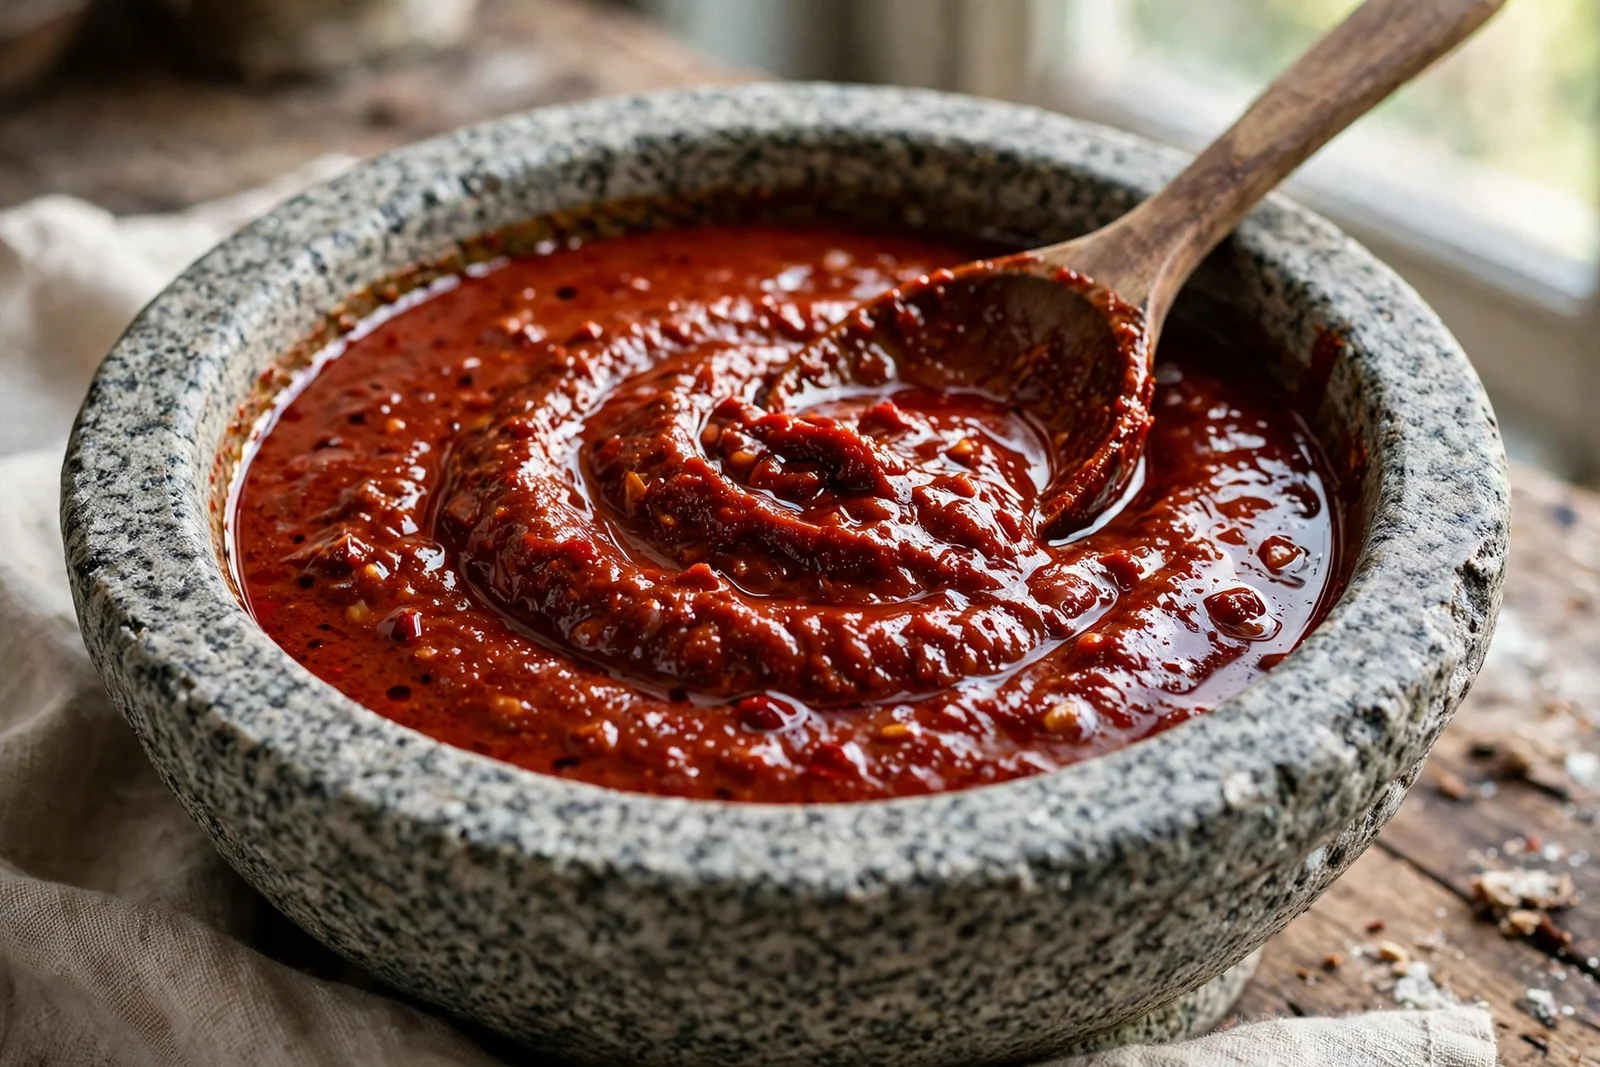
You are done when a smear on the side of the mortar shows no visible fibers and the paste holds together in one mass. For a standard batch of red curry paste, that takes me about 15 minutes of steady work in a 7-inch granite mortar.
Fix the common problems
Three things go wrong, and all three have simple fixes:
- The paste stays fibrous no matter how long you pound. Cause: fibrous ingredients went in after soft ones, or the pieces were too big. Fix: start over with the tough-to-soft order, or rescue it by scooping out the chunky bits, cutting them smaller, and pounding them separately before mixing back in.
- Ingredients keep escaping the mortar. Cause: too much in at once, or straight smashing. Fix: fill no more than a third full, and use the twist-crush motion instead of lifting the pestle high.
- The paste is too dry and crumbly. Cause: chilies soaked too little, or not enough moisture. Fix: add a spoonful of the chili soaking water (never oil, which makes it greasy) and pound a few more minutes.
Clean, dry, and store
Rinse the mortar and pestle under hot water right after you finish, while the paste is still soft. A stiff brush takes care of the residue. Skip the soap: unglazed granite is porous, and soap residue will flavor your next batch. Air-dry it upside down on a towel so water does not pool inside.
Homemade curry paste keeps about a week in a sealed jar in the fridge. For longer storage, freeze it in ice cube trays, then move the cubes to a freezer bag. One cube is about a tablespoon, which is convenient when a recipe calls for a small amount.
What else it is good for
Once it lives on your counter, the mortar and pestle earns its keep beyond curry paste: crushing peanuts for noodle dishes, bruising garlic and chilies for a quick nam prik, pounding the dressing for som tum (the pestle is gentler on papaya than a knife), and grinding toasted rice for toasted rice powder. It is one of the few kitchen tools that genuinely improves the food it touches.
More Thai recipes
If you have a fresh batch of paste, put it to work: Tom Yum Goong starts with pounded aromatics, Panang Curry with Chicken is built on a rich red-style paste, Thai Green Curry with Chicken rewards a fresh green paste, and Gai Yang uses the same mortar technique for its jaew dipping sauce.
1 thought on “How to Use a Mortar and Pestle for Curry Pastes”