
A jar of pickled chilies is the fastest way to add heat to a meal without cooking anything new. Spoon them over rice, tuck them into a banh mi, or scatter them on noodles, and the sharp vinegar bite cuts through rich food in a way fresh chilies do not. The process takes about 20 minutes of active work, and the chilies are ready to eat the next day.

Pickled chilies are not fermented. The vinegar brine does the preserving, which means you do not need special equipment, a long wait, or any worry about fermentation going wrong. You slice the chilies, pour hot brine over them, and let the jar cool. That is the whole method. The details that matter are the brine ratio, the chili you pick, and keeping everything clean.
Which chilies to pickle
Almost any chili pickles well, but thin-walled types give the best texture. Thai bird’s eye chilies stay firm and bring serious heat in small doses. Jalapenos turn soft enough to bite through easily and sit at a middle heat level most people enjoy. Fresno chilies look close to jalapenos but run a little sweeter and a touch hotter. Serrano chilies land between jalapenos and bird’s eye, with a clean, sharp bite.
Mixing two types in one jar works well. I often pair red jalapenos with a handful of bird’s eye chilies, which gives the jar a layered heat instead of one flat burn. Thick-walled bell peppers are the one type to skip. They go soft in brine and lose the snap that makes pickled chilies good. Use chilies that feel firm and look glossy, with no soft spots or wrinkled skin.
The brine ratio that works
The brine I use every time is one cup of vinegar to one cup of water, with one tablespoon of sugar and one teaspoon of salt per cup of liquid. That ratio keeps the brine sharp without tasting harsh, and the sugar rounds off the vinegar edge just enough that the chilies taste bright rather than sour. Distilled white vinegar gives the cleanest flavor and keeps the brine clear. Rice vinegar works too and tastes a little softer, which suits milder chilies like jalapenos.
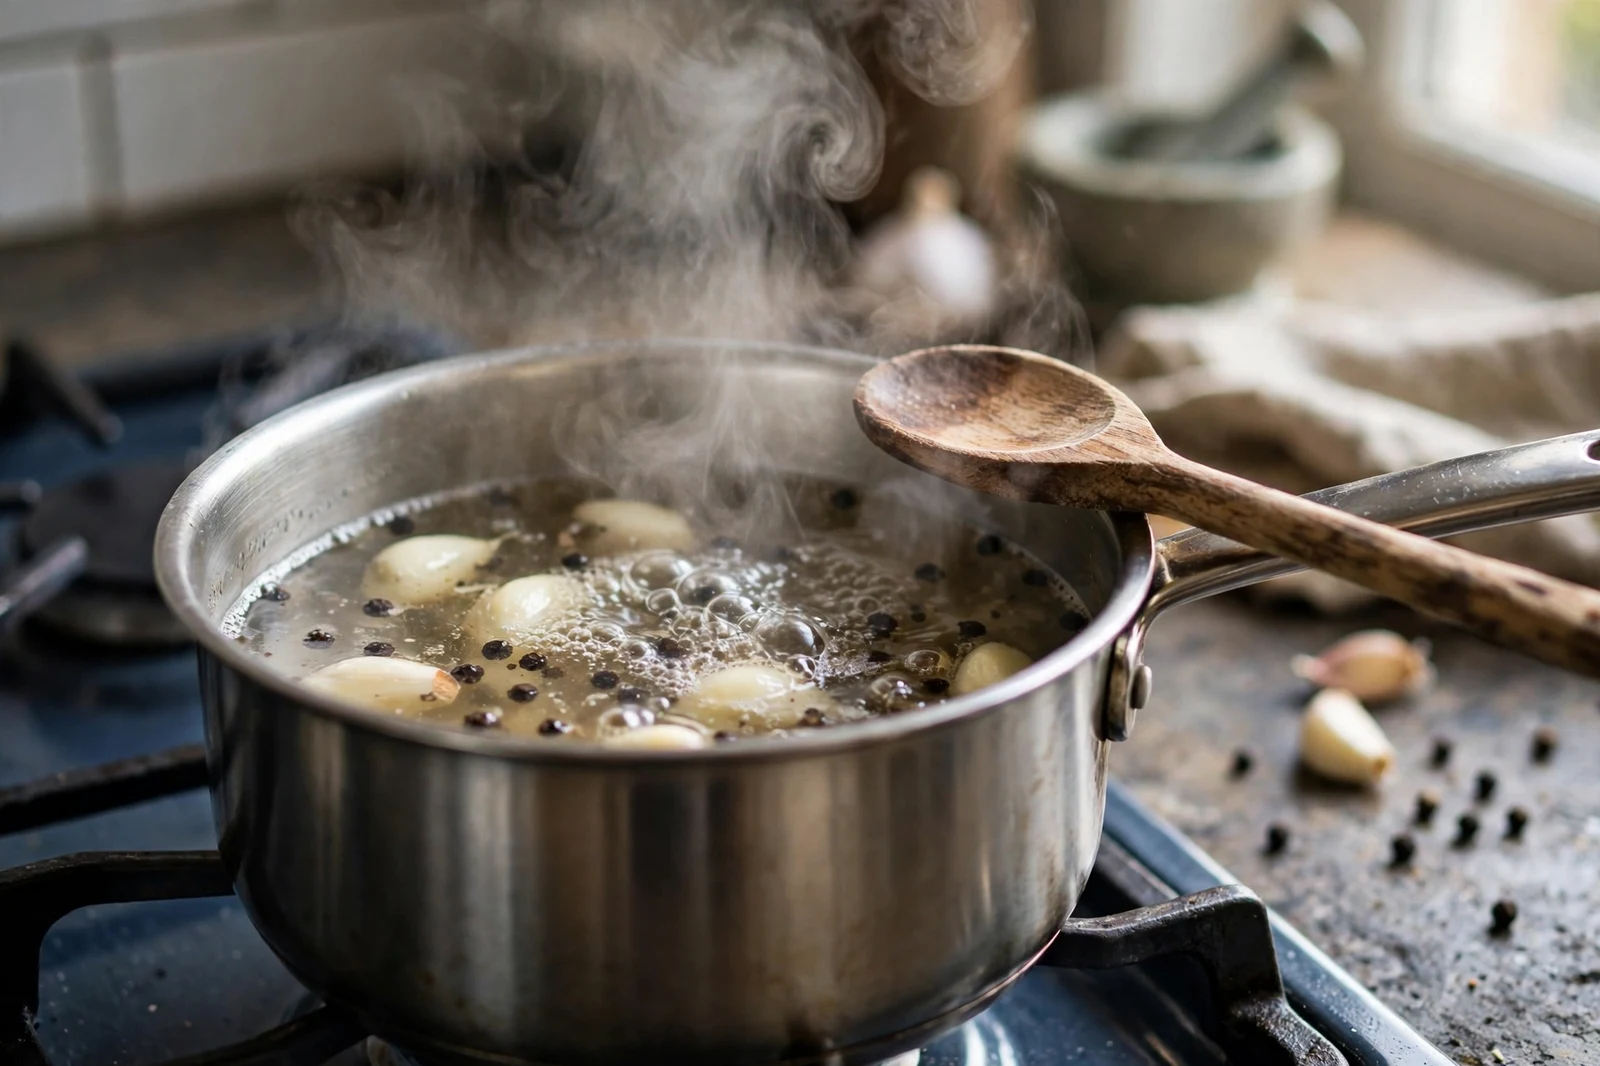
Avoid balsamic or malt vinegar here. Their dark color clouds the jar and their strong flavor covers the chili taste. If you like extra flavor in the brine, add two smashed garlic cloves, a teaspoon of black peppercorns, or a bay leaf to the pot while the brine heats. Do not add fresh herbs like cilantro or basil to the jar. They wilt in vinegar within days and turn the brine cloudy.
Slice, salt, and pack the jar
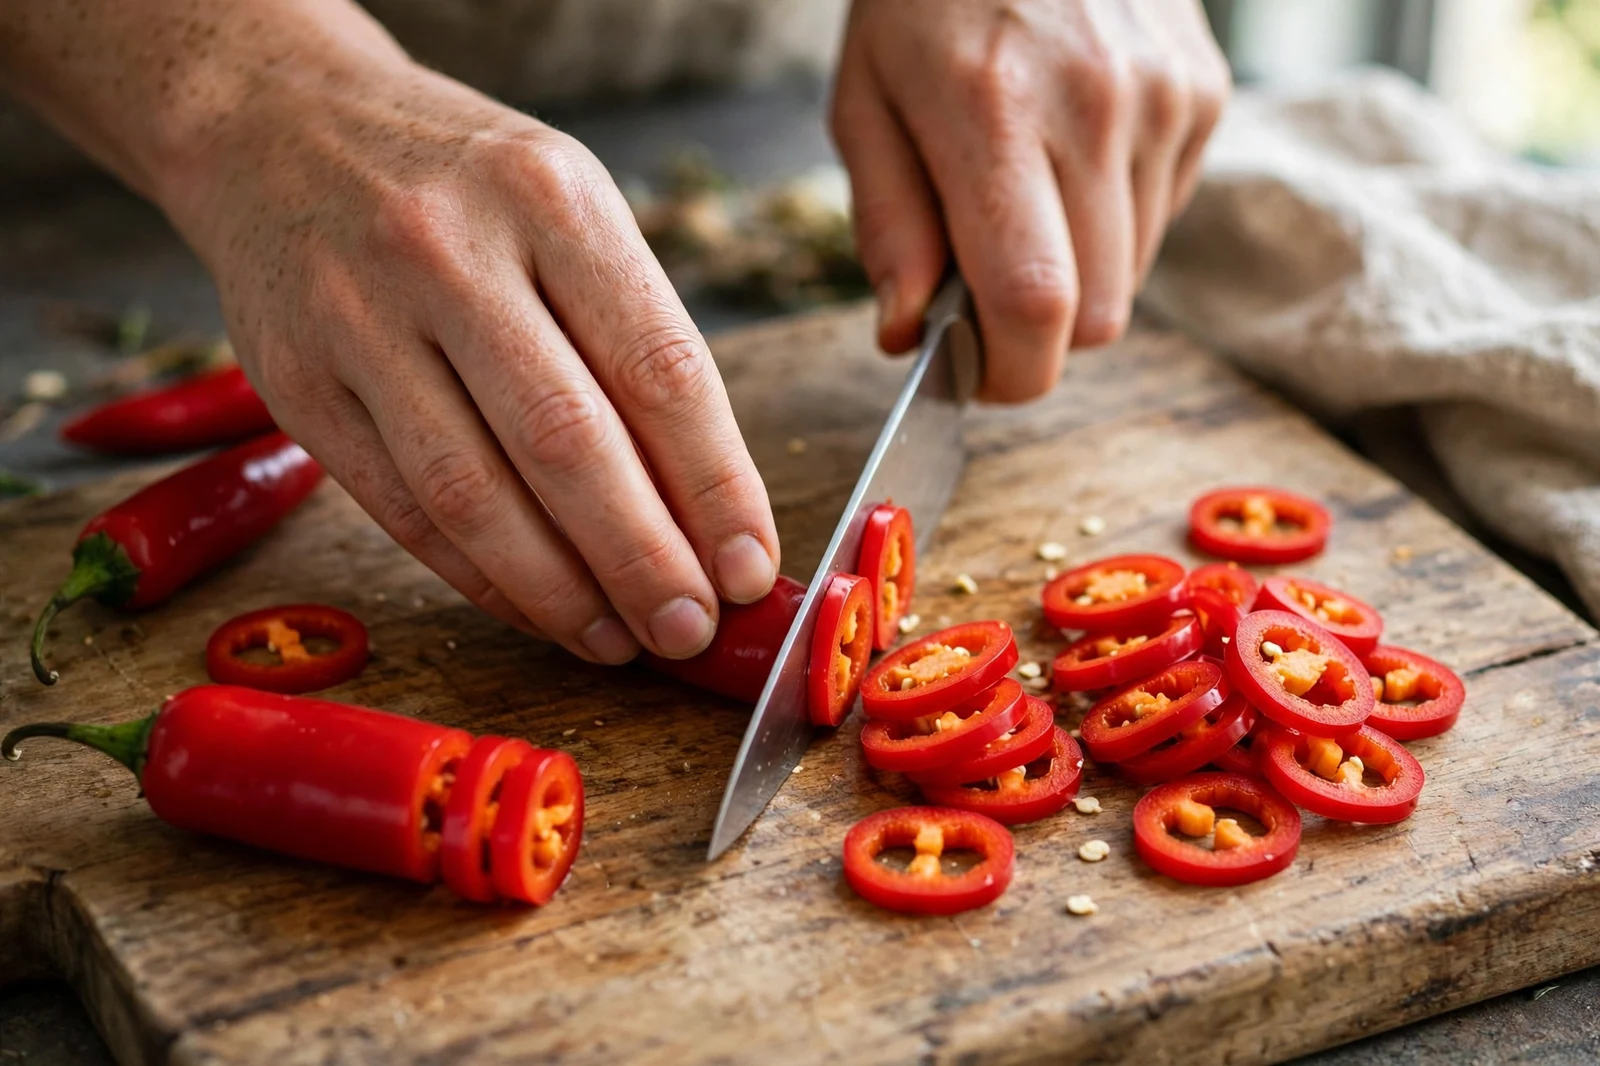
Wash the chilies and slice them into rings about 5 mm thick. Wear gloves if you are working with bird’s eye chilies, and do not touch your face until you have washed your hands. Keep the seeds in if you want full heat, or shake most of them out for a milder jar. Either way, the brine carries plenty of heat on its own.
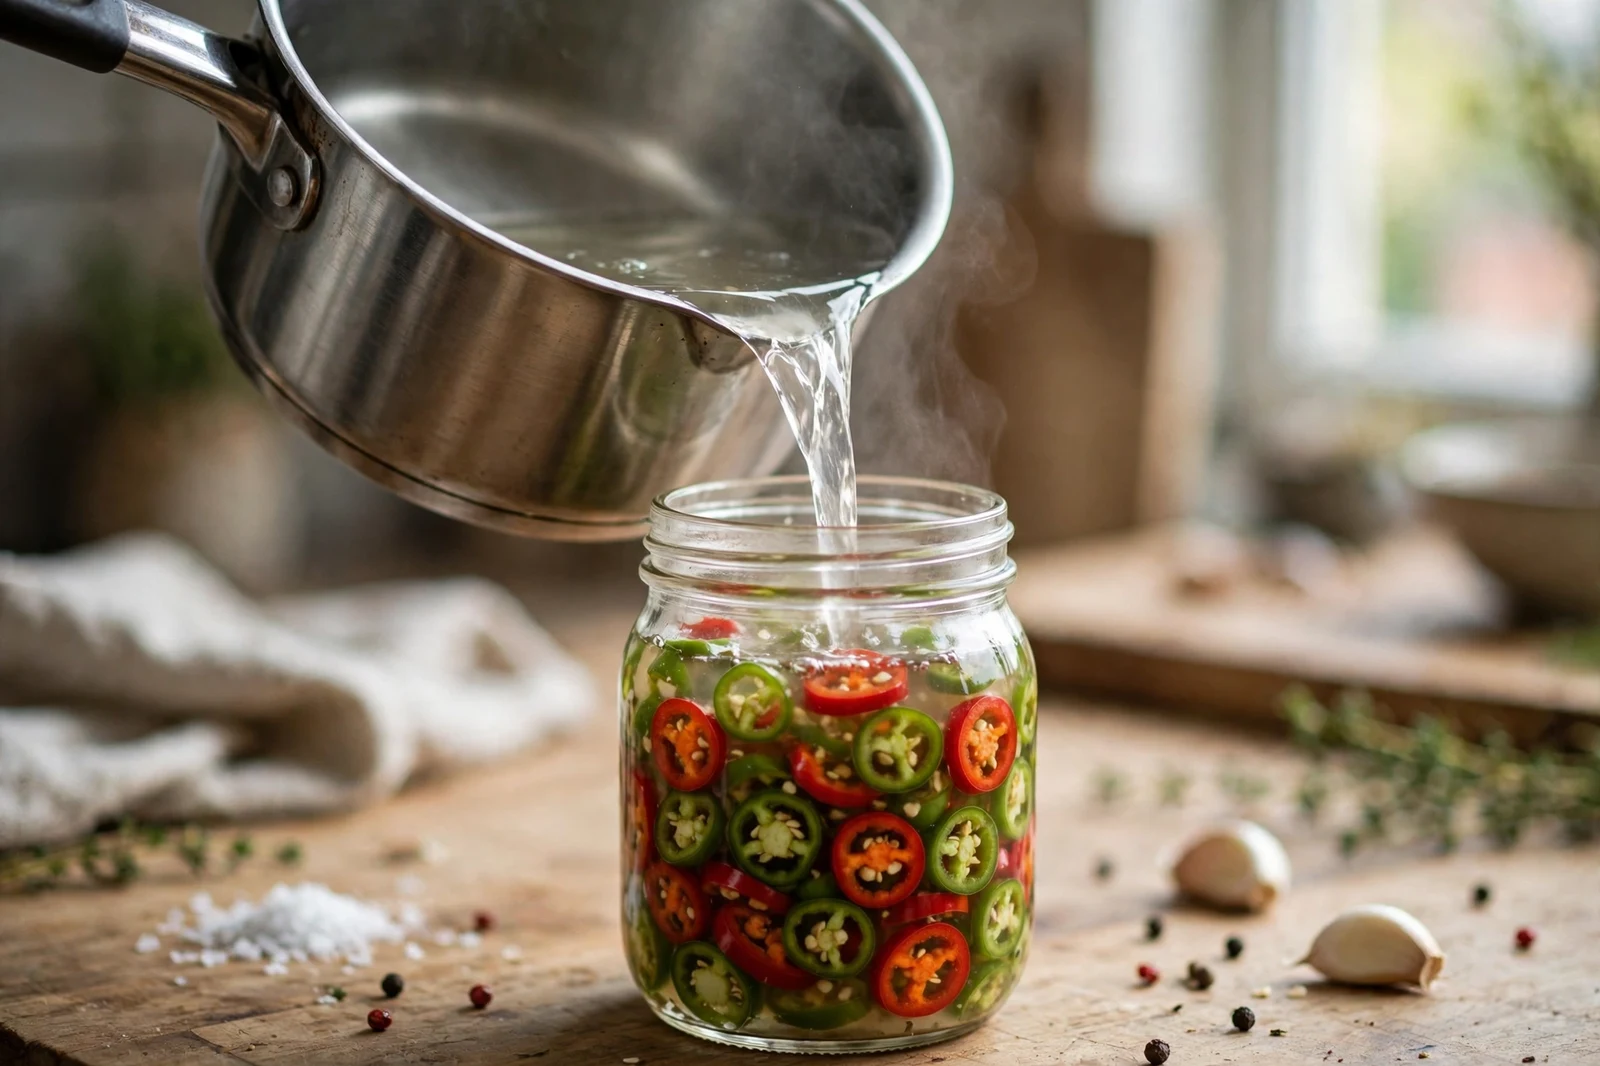
Pack the rings into a clean glass jar, pressing them down gently so there are no big air pockets. A half-liter jar holds roughly 200 g of sliced chilies. Heat the brine in a saucepan until the sugar and salt dissolve and the liquid just reaches a simmer. Pour it over the chilies while it is still hot, leaving about 1 cm of space at the top. Tap the jar on the counter once or twice to release trapped air bubbles, then seal the lid.
How long to wait, and how long they keep
Let the jar cool to room temperature, then refrigerate it. The chilies are edible after 24 hours, but they taste better after three days, when the vinegar has soaked all the way through the rings. At one week they hit their best balance of heat and tang. After that they stay good for two to three months in the fridge, though the rings slowly soften over time.
These are refrigerator pickles, not shelf-stable canned pickles. They must stay refrigerated from the day you make them, and you should always use a clean fork or spoon to take chilies out of the jar. A dirty utensil introduces bacteria that shortens the jar’s life fast. If the brine turns cloudy, smells off, or shows any mold, throw the jar out. A thin white film on top is usually harmless yeast, but when in doubt, discard it.
Ways to use pickled chilies
Pickled chilies earn their fridge space because they fit so many dishes. Scatter them over salt and pepper shrimp for a sharp contrast to the crispy coating. Add a spoonful to noodle soups, where the vinegar lifts the broth without extra salt. They also belong on grilled meats, in sandwiches, and beside any fried food that needs cutting through.
Do not pour leftover brine down the sink. It makes a sharp dressing when whisked with a little oil, and a spoonful stirred into a stir-fry sauce adds heat and tang at once. Once the chilies are gone, refill the same jar with a fresh batch. The brine from the first batch is too diluted by chili juice to reuse safely, so make a new brine each time.
More kitchen guides
Keep the chili habit going with Chili Oil 101: Make It at Home for a second way to bottle heat, A Home Cook’s Guide to Asian Vinegars for picking the right vinegar for each job, How to Grow Thai Chili Peppers in Pots if you want a steady supply from the balcony, and How to Store Fresh Herbs So They Last Longer for the rest of the produce drawer.
From the Garden
A single Thai chili plant in a pot on a sunny patio gives handfuls of peppers all season. Pickling is the easiest way to keep up with a plant that produces faster than one household can eat fresh, and the guide to growing Thai chili peppers in pots covers the plant from seed to harvest.
From Paul’s kitchen: one jar, one week of waiting, and you will wonder why you ever bought pickled chilies from a store.