
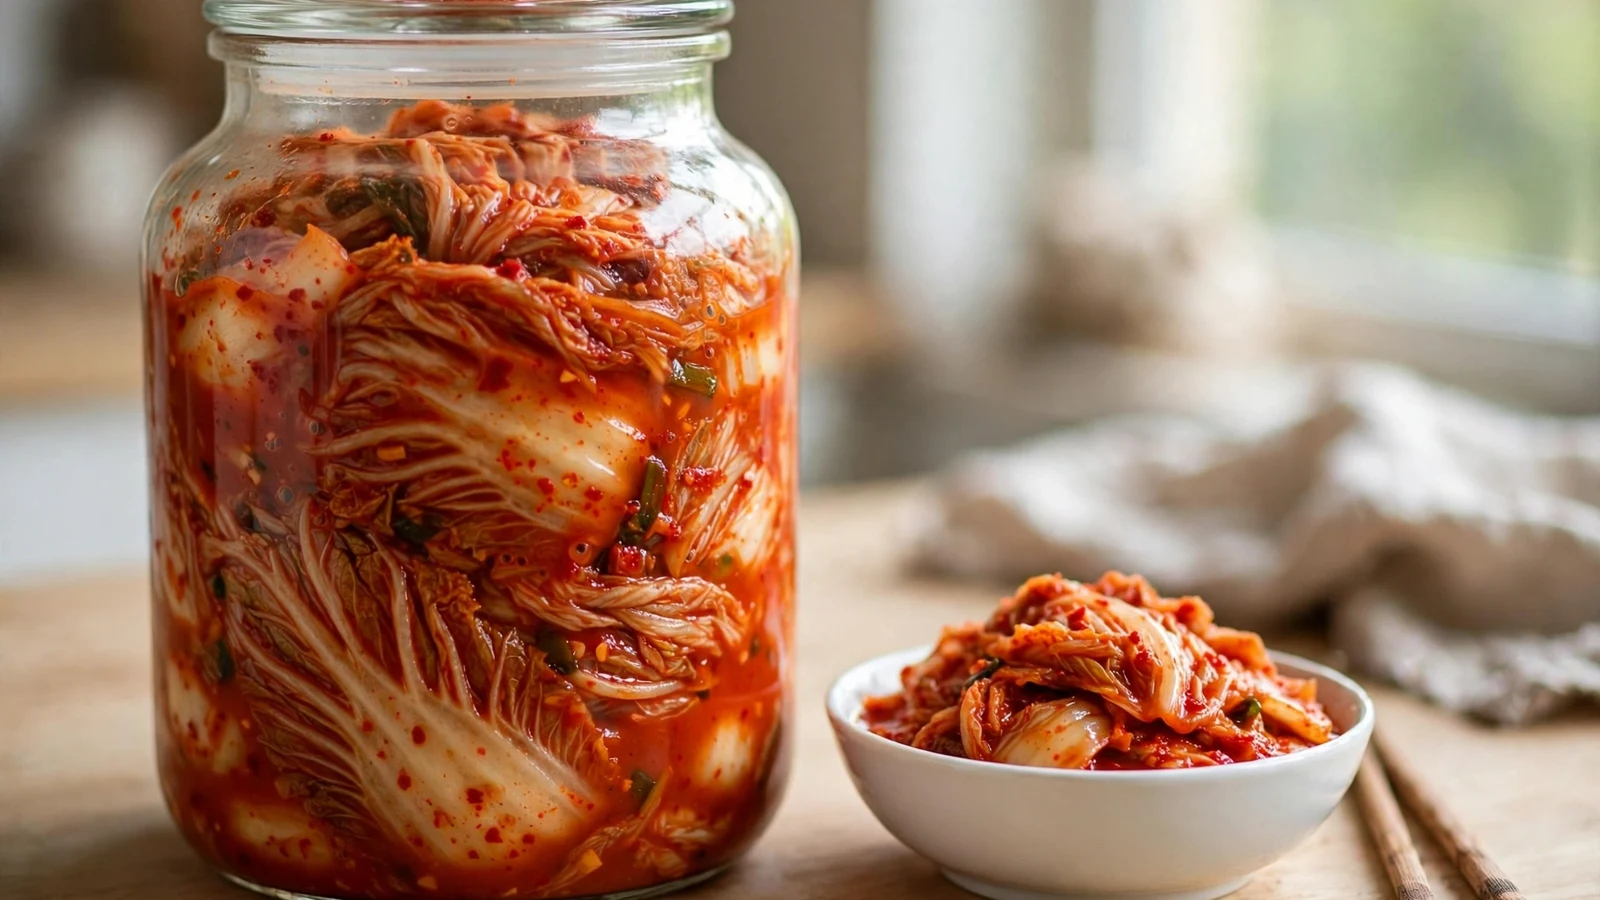
Homemade napa cabbage kimchi is easier than its reputation suggests. With the right salt ratio, a simple seasoning paste, and a few days of patience, you can make a jar of crisp, tangy baechu-kimchi in an ordinary home kitchen — no special equipment, no guesswork.
What Is Napa Cabbage Kimchi (Baechu-Kimchi)?
Baechu-kimchi is the classic Korean kimchi — the one most people picture when they hear the word. Napa cabbage leaves are salted until they wilt, coated in a bright red seasoning paste of Korean chili flakes (gochugaru), garlic, ginger, and fish sauce, then packed tightly into a jar and left to ferment. Lactic acid bacteria — the same family behind yogurt and sourdough — do the real work, turning the sweet cabbage tangy and complex over a few days.
It tastes nothing like pickled cabbage from a can. Good homemade kimchi is crisp at first, then develops a layered sourness with heat at the back, garlic depth, and a faint funk that makes you want to keep eating it. The “easy” part of this method: you don’t need a clay onggi pot, a cold room, or a Korean grandmother’s instincts. You need a kitchen, a jar, and the patience to wait about three days.
What You’ll Need
Equipment:
- A large bowl (the biggest you own — a full napa cabbage takes up room)
- A half-gallon (2-liter) glass jar or two quart jars, with lids
- A kitchen scale if you have one; cup measures work fine for the easy version
- A cutting board and sharp knife
Ingredients (makes about 2 quarts):
- 1 large napa cabbage (about 2 to 2½ pounds)
- ¼ cup Diamond Crystal kosher salt (use 3 tablespoons if your salt is Morton’s — it’s denser)
- 1 tablespoon sweet rice flour (chapssal) + 1 cup water — for the porridge paste that makes everything stick
- 4 to 5 garlic cloves, minced
- 1 tablespoon fresh ginger, grated
- 2 tablespoons fish sauce
- 1 tablespoon salted shrimp (saeujeot), minced — optional but worth it
- ⅓ cup Korean chili flakes (gochugaru)
- 1 teaspoon sugar
- 4 to 5 scallions, cut into 2-inch pieces
- 1 small Korean or daikon radish (about ½ pound), cut into thin matchsticks
A note on the salt: this is the one measurement that actually matters. You want roughly 2 tablespoons of Diamond Crystal kosher salt per pound of cabbage — that’s about 3% by weight, and it’s the ratio that draws water out firmly without making the kimchi aggressively salty. Diamond Crystal and Morton’s kosher salt are not interchangeable by volume: Morton’s is much denser, so if that’s what you have, cut the amount to 3 tablespoons total. If you have a kitchen scale, the no-thinking version is 30 grams of salt per kilogram of cabbage. Stock up on gochugaru and other staples from your essential Asian pantry list if your shelves are thin.
The Easy Method, Step by Step
1. Quarter and salt the cabbage (6 to 8 hours)
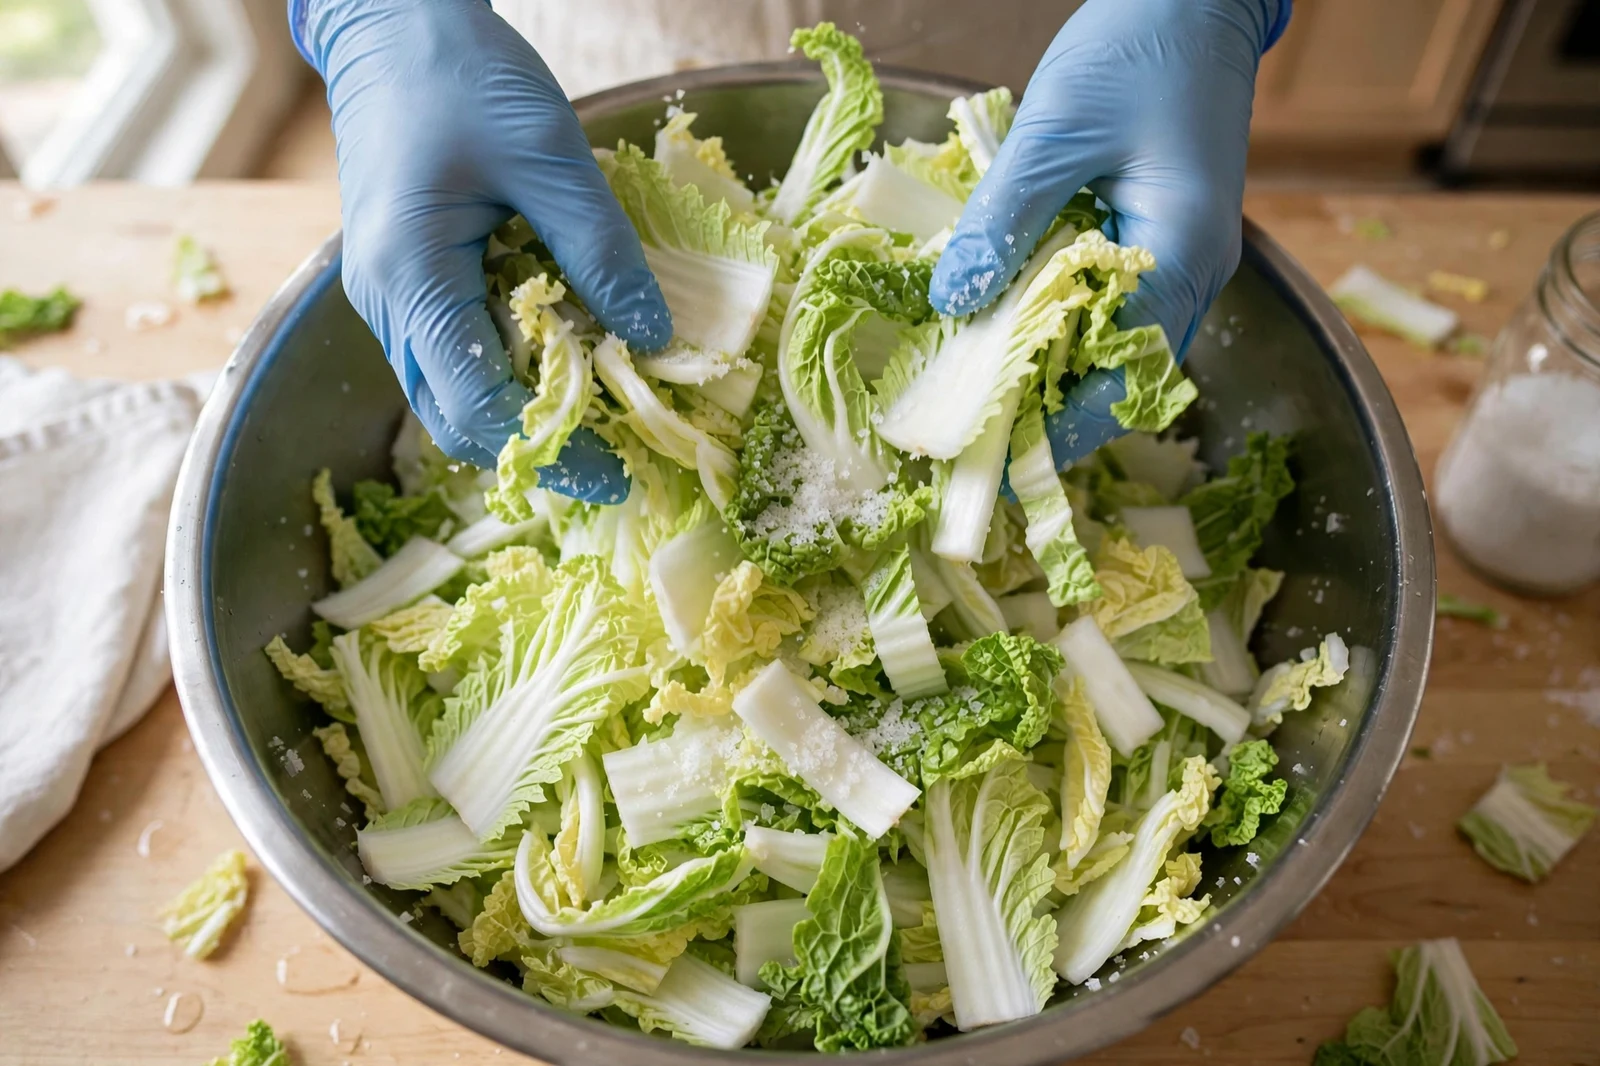
Cut the cabbage lengthwise through the core into quarters, then cut each quarter crosswise into 2-inch pieces. Toss the pieces with the salt in your largest bowl, massaging gently so every leaf gets coated. Then leave it alone.
Salt for 6 to 8 hours, tossing and flipping the pile once or twice. You’re done when the thick white ribs pass the bend test: a leaf should bend in half without snapping, and you should hear almost no crunch. If it still cracks when folded, give it another hour. Rinse the salted cabbage 2 or 3 times under cold water — really swish it around — then drain well, even letting it sit in a colander for 20 minutes. Under-rinsing is the main reason homemade kimchi turns out too salty, so don’t rush this.
2. Make the porridge paste (10 minutes)
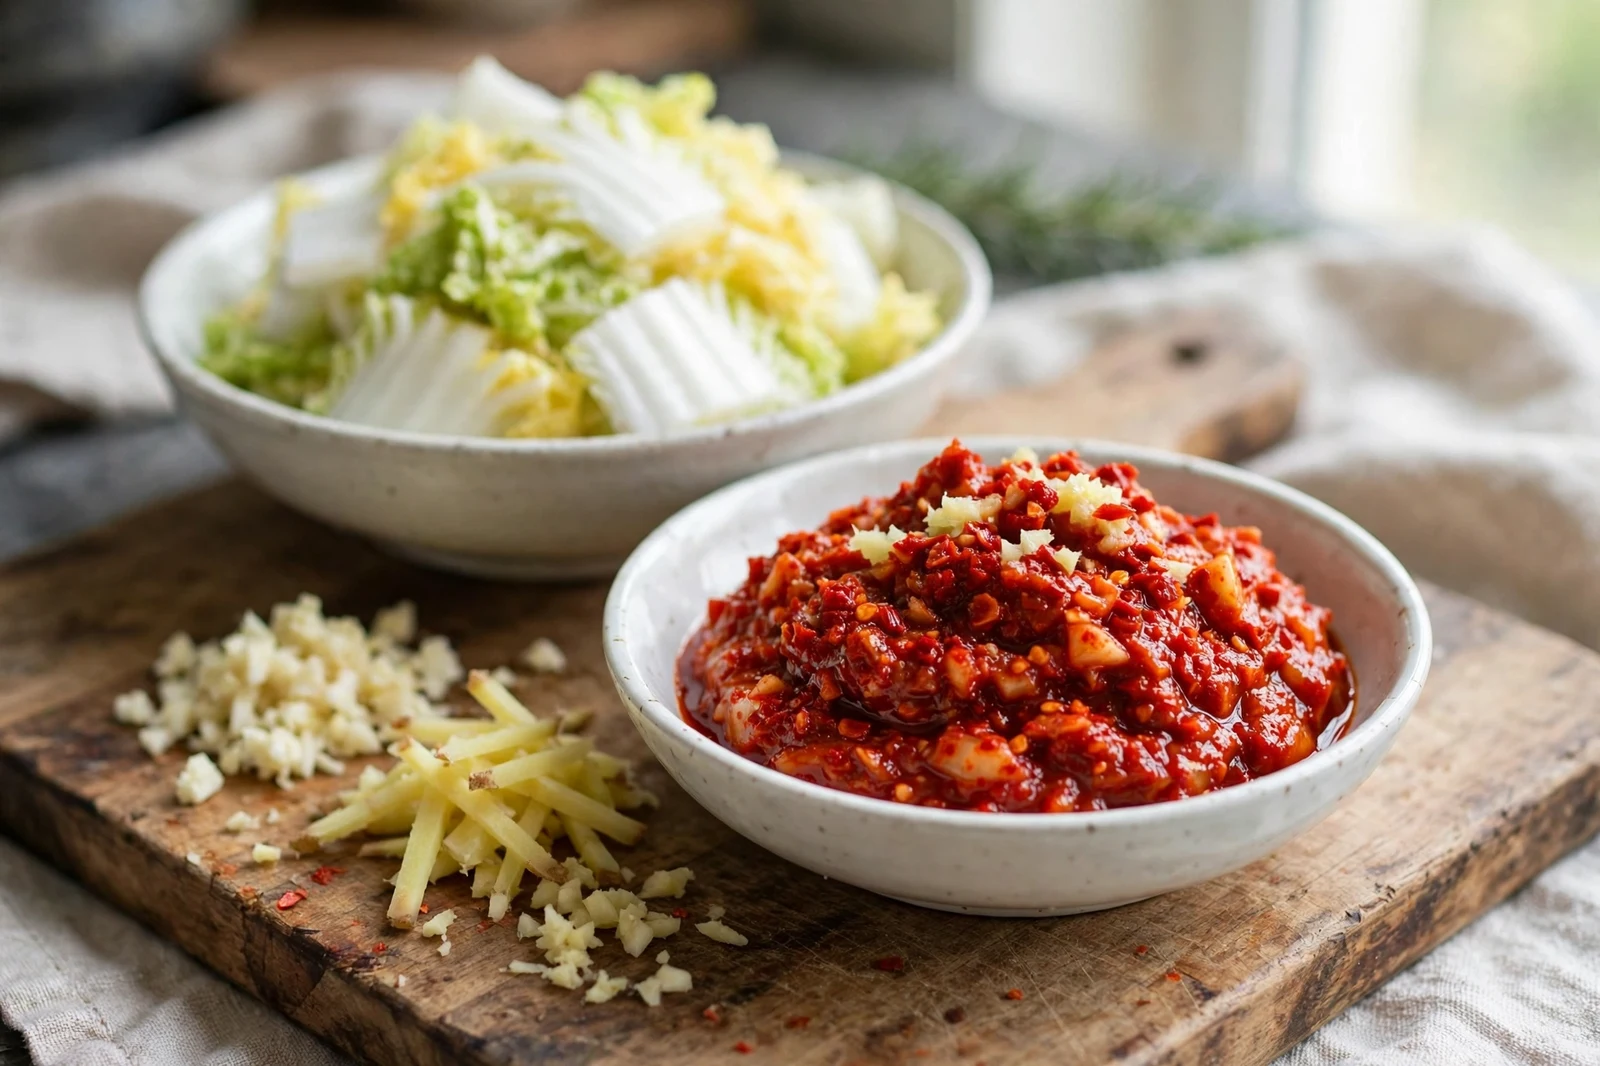
Whisk the rice flour into the water in a small saucepan and heat over medium, stirring constantly, until it thickens into a translucent paste — about 3 to 5 minutes. Let it cool to room temperature (lukewarm at most; hot paste will cook the garlic and flatten the flavor). Stir in the garlic, ginger, fish sauce, salted shrimp, gochugaru, and sugar. This gluey paste is what makes the seasoning cling to every leaf instead of pooling at the bottom of the jar.
3. Coat the vegetables
Put the drained cabbage, scallions, and radish matchsticks in a clean large bowl, add the paste, and mix with your hands (gloves recommended — gochugaru stains skin and stings any small cuts). Get in there properly: every piece of cabbage should be coated in red paste, including between the leaves.
4. Pack it tight
Pack the mixture firmly into your jar, pressing down after each handful. You want no air pockets — trapped air is where off flavors start. Leave about 1 inch of headspace at the top. The salt drew out the cabbage’s water during salting; that liquid is your brine, and it should rise up to cover the vegetables once everything is packed. If the top layer sits dry, press it down harder; if it still won’t submerge, dissolve 1 teaspoon of salt in a cup of water and pour in just enough to cover. Wipe the rim, seal the lid loosely (gas needs to escape — don’t wrench it tight), and set the jar on a plate to catch any bubbling overflow.
Fermentation: How Long and How to Tell It’s Ready
Leave the jar at room temperature, roughly 65 to 70°F, for 1 to 2 days. In a cooler kitchen (below 65°F), plan on 2 to 3 days. What you’re waiting for is small bubbles rising when you press the surface with a spoon, and a clean, pleasantly sour smell — like yogurt, not garbage. Taste it: it should be tangy with a gentle fizz on the tongue. That’s the lactic acid bacteria at work.
Once it tastes the way you like, move the jar to the refrigerator. The cold slows fermentation to a crawl, and the kimchi keeps developing slowly for 3 to 6 months in the fridge, getting more sour over time. Young kimchi (1 week) is crisp and mild — great fresh. Month-old kimchi is deeply sour and best in cooking, which is exactly why it’s the starting point for kimchi jjigae and kimchi fried rice.
One practical habit: press the top layer down into the brine every week or so. The submerged parts stay crisp and clean-tasting far longer than the parts exposed to air.
Common Problems and How to Fix Them
- Mushy, limp kimchi. Usually means it salted too long or sat in brine with too much salt. Stick to the 6-to-8-hour window and the 2-tablespoons-per-pound ratio. Mushy kimchi is still safe to eat — just use it in cooked dishes rather than fresh.
- Way too salty. Almost always under-rinsing. Taste a piece after rinsing: it should taste seasoned, not like seawater. If the finished kimchi is still too salty, rinse a portion before serving, or chop it into fried rice and stews where the salt becomes seasoning.
- Too sour, too fast. Your kitchen is warm, or it fermented at room temperature too long. Sour kimchi isn’t ruined — it’s kimchi jjigae and kimchi fried rice material. Next batch, refrigerate after 24 hours instead of 48.
- White film on the brine. That’s kahm yeast — harmless, skim it off. If anything smells putrid or you see fuzzy mold (not just a thin film), throw it out.
- No fermentation activity after 3 days. Either the room is too cold or the salt ratio was too high. Move the jar somewhere warmer (on top of the fridge is usually a few degrees warmer) and give it another day or two.
How to Use Your Kimchi
Fresh kimchi goes on top of rice, in buns, or alongside grilled meat as banchan. As it sours, shift it into cooking: chop it into stews, fried rice, pancakes, and ramen. A batch this size (2 quarts) typically lasts a household of two about a month of regular eating — and by the end, the last of it will be perfectly sour for cooking.
Don’t have gochugaru on hand yet? Read up on gochujang and its substitutes — gochugaru is a different product (flakes, not paste), and the substitution rules aren’t the same, so it’s worth knowing before you shop.