
Kimchi fried rice is what happens when a jar of kimchi and a container of leftover rice meet a hot pan and a little confidence. The rice turns brick-red and glossy, the kimchi softens into something sweet and tangy at the edges, and the whole bowl tastes like it took far more planning than it did. It is a weeknight dish in the best sense: fast, flexible, and built from things many Korean home kitchens already have on hand.
The core idea is simple. Chopped kimchi gets fried first, so its sharp bite mellows and its juices concentrate. Day-old rice goes in next, breaking apart into separate grains that can toast instead of steam. A spoonful of gochujang adds heat and depth, soy sauce adds salt, and sesame oil at the end brings the nutty finish that makes the bowl smell irresistible before you even sit down.
Why Day-Old Rice Works Better
Freshly cooked rice is soft and damp. In a hot pan, that extra moisture turns to steam, and the grains clump and go mushy before they ever get a chance to fry. Rice that has rested in the fridge overnight is different. The surface dries out, the grains firm up, and they separate easily when you crumble them in with your hands or a spoon.
If you only have fresh rice, spread it on a sheet pan and refrigerate it, uncovered, for at least an hour. You want the grains cool, dry, and easy to scatter. Jasmine rice works well, and so does short- or medium-grain rice for a slightly chewier bite.
The Kimchi Matters
Use kimchi that tastes good to you straight from the jar, because it is the whole flavor base. Napa cabbage kimchi is the classic choice, well fermented and a little sour. That tang is a feature, not a problem — older, more fermented kimchi makes a deeper, more interesting fried rice than a fresh, mild batch.
Squeeze the chopped kimchi lightly over a bowl and save the juice. You will add some of that juice back to the rice, where it soaks in and colors every grain. Just do not drown the pan. Too much liquid at the start keeps the rice from frying, so add the juice a spoonful at a time and let it cook off between additions.
If your kimchi is very mild and you want more punch, the gochujang helps. If it is fiercely sour, a pinch of sugar in the pan balances it without making the dish sweet.
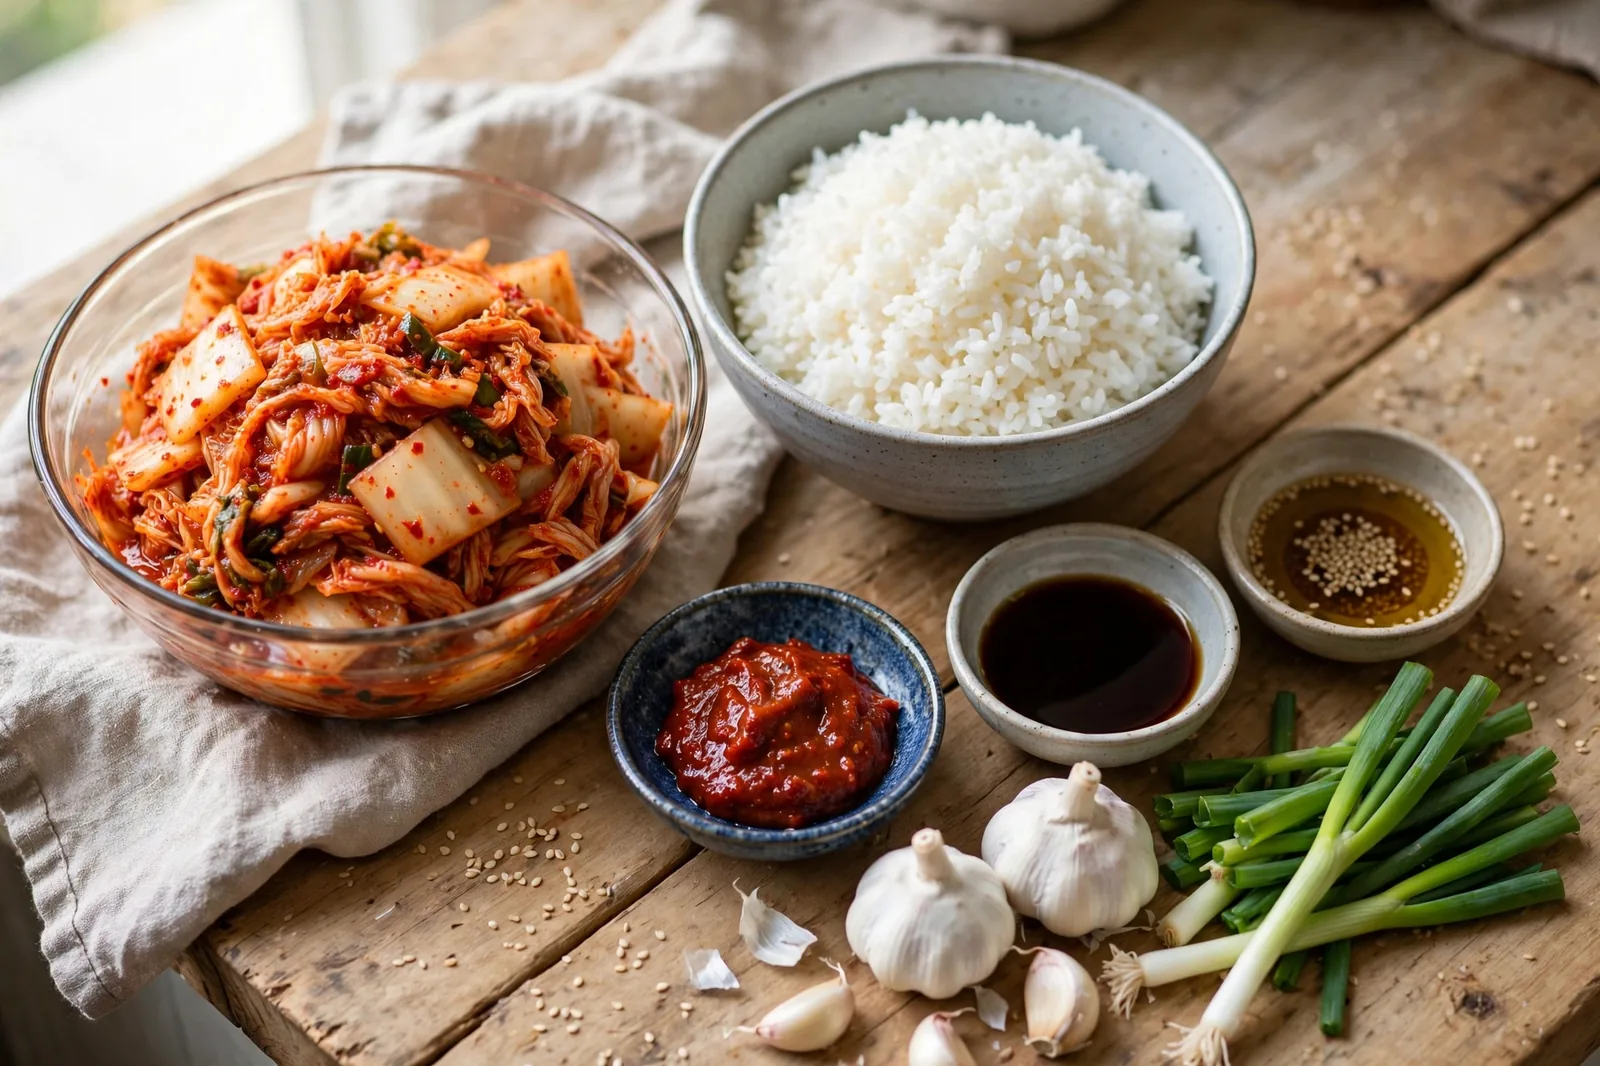
Kimchi Fried Rice
A fast, tangy kimchi fried rice made with day-old rice, chopped napa kimchi, gochujang, and sesame oil, topped with a fried egg and scallions.
Prep time: 10 minutes
Cook time: 15 minutes
Total time: 25 minutes
Servings: 4
Ingredients
- 3 cups cooked rice, chilled overnight (about 1 1/2 cups uncooked)
- 1 1/2 cups chopped napa cabbage kimchi, plus 2 to 3 tablespoons kimchi juice
- 1 tablespoon gochujang (Korean chili paste), plus more to taste
- 1 tablespoon soy sauce
- 1 teaspoon sugar (optional, to balance very sour kimchi)
- 2 tablespoons neutral oil, divided
- 3 cloves garlic, minced
- 4 scallions, sliced, whites and greens separated
- 1 cup frozen peas or diced carrots (optional)
- 1 tablespoon toasted sesame oil
- 1 tablespoon toasted sesame seeds
- 4 eggs (optional, for topping)
- Crumbled roasted seaweed (gim), for serving (optional)
Instructions
- Break up the chilled rice with your hands or a fork so there are no large clumps. Stir the gochujang, soy sauce, and 2 tablespoons of kimchi juice together in a small bowl and set it near the stove.
- Heat 1 tablespoon of neutral oil in a large skillet or wok over medium-high heat. Add the chopped kimchi and cook, stirring often, for 3 to 4 minutes, until it softens, darkens slightly, and smells sweet and tangy. If your kimchi is very sour, sprinkle in the sugar now.
- Push the kimchi to one side, add the garlic and scallion whites to the empty space, and cook for about 30 seconds, until fragrant. Stir everything together.
- Add the rice and pour the sauce mixture over the top. Toss and press the rice into the pan with a spatula, then let it sit undisturbed for 1 to 2 minutes so the bottom grains toast a little. Toss again and repeat once more. If you are using peas or carrots, add them with the rice.
- Taste the rice. Add the remaining tablespoon of kimchi juice for more tang, a splash more soy sauce for salt, or more gochujang for heat. Cook 1 to 2 minutes longer, until the rice is hot through and slightly chewy at the edges.
- Turn off the heat and drizzle the sesame oil over the rice. Toss once more, then shower on most of the scallion greens and the sesame seeds.
- If you are adding eggs, wipe out the pan, heat the remaining tablespoon of oil over medium heat, and fry the eggs until the whites are set and the edges are crisp, about 2 to 3 minutes. Spoon the rice into bowls, top each with an egg, and finish with more scallion greens, sesame seeds, and crumbled seaweed if you like.
Notes
- Keep the pan hot and do not crowd it. If your skillet is small, fry the rice in two batches so the grains toast instead of steaming.
- Sesame oil goes in at the end, off the heat. Cooking it hard dulls its flavor.
- The fried egg is optional in the strictest sense, but the runny yolk stirred into the spicy rice is hard to argue with.
Getting the Texture Right
Good kimchi fried rice should be moist but never wet, with separate grains and a few toasty, chewy bits. Three small habits get you there. First, fry the kimchi before the rice goes in, which cooks off its surface liquid and deepens its flavor. Second, resist stirring constantly. Letting the rice sit against the hot pan in short stretches is how those golden edges form. Third, add liquid in small amounts. Kimchi juice, soy sauce, and the gochujang mixture should mostly coat the grains, not pool under them.
A wide skillet, cast-iron pan, or wok all work. Give the rice room — if the grains are stacked deep, the bottom layer steams the top one.
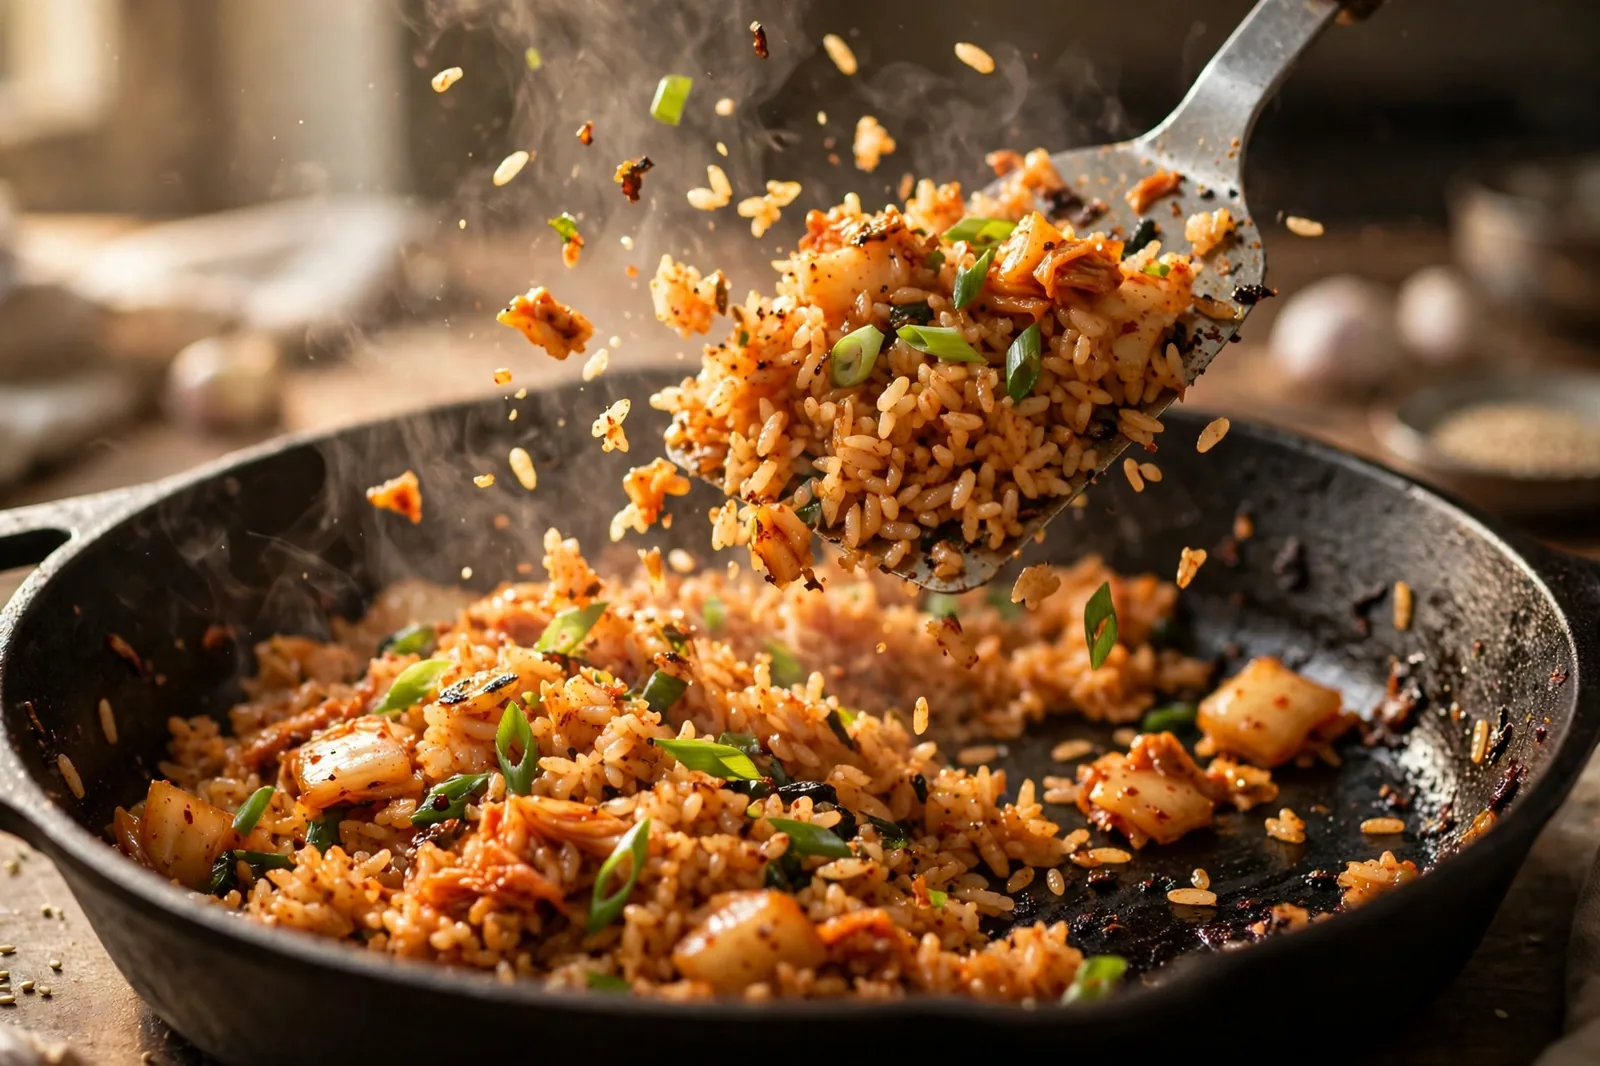
Easy Variations
Once the base bowl makes sense, kimchi fried rice takes well to whatever is in the fridge:
- Spam and kimchi fried rice: brown diced Spam before the kimchi goes in.
- Cheesy kimchi fried rice: scatter shredded mozzarella over the finished rice, cover for a minute, and let it melt.
- Tuna kimchi fried rice: stir in a drained can of tuna near the end, just to warm it through.
- Vegetable version: skip the egg or use a tofu scramble, and add mushrooms, zucchini, or corn.
- With bacon: cook chopped bacon first, leave a spoonful of drippings in the pan, and crumble the bacon over the top.
For a fresh, crunchy side that cuts through the heat, a quick cucumber salad is hard to beat — Oi Muchim: Korean Cucumber Salad was practically made to sit next to a bowl like this.
Serving and Leftovers
Serve it hot, straight from the pan, with the egg on top and something cool and crisp alongside. It is a complete meal as written.
Leftovers keep for up to three days in the fridge. Reheat them in a hot skillet with a tiny splash of water and a drizzle of oil, pressing the rice down so it crisps back up.
If you enjoy this kind of fast, pantry-driven cooking, the same spirit runs through Scallion Oil Noodles — a few aromatics, a hot pan, and noodles or rice turned into dinner with almost no shopping.
Final Thoughts
Kimchi fried rice rewards you for keeping two things around: a jar of good kimchi and the habit of cooking a little extra rice. From there, dinner is fifteen minutes at the stove. Make it once as written, then trust your own jar — every batch ferments a little differently, and adjusting the heat, salt, and tang to match it is most of the fun.
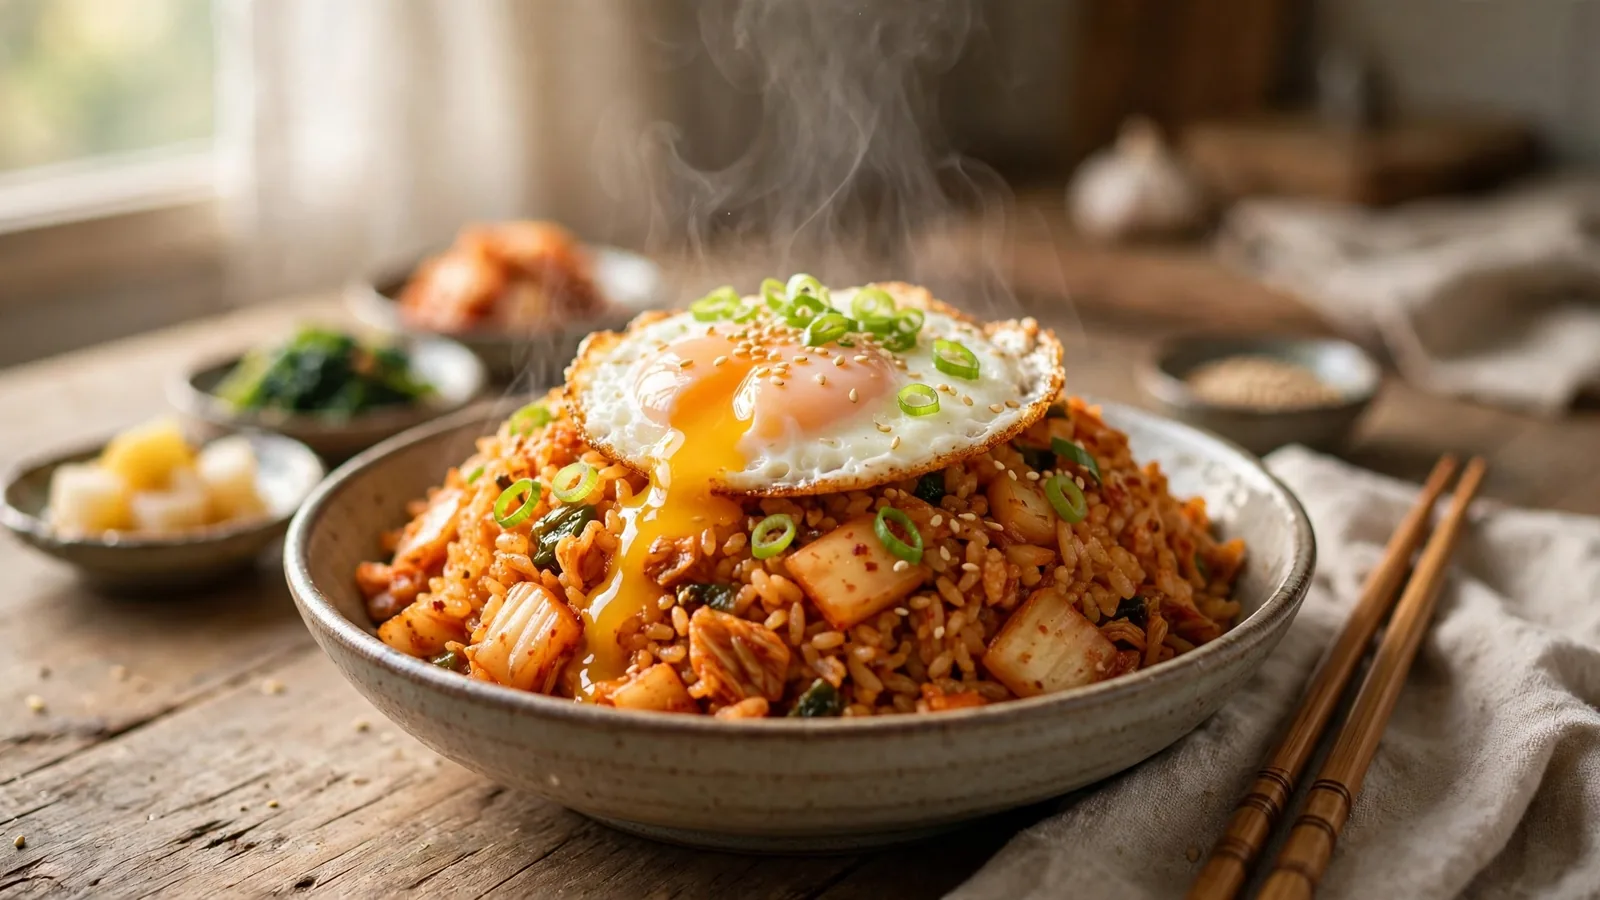
Kimchi Fried Rice
Ingredients
Method
- Break up the chilled rice with your hands or a fork so there are no large clumps. Stir the gochujang, soy sauce, and 2 tablespoons of kimchi juice together in a small bowl and set it near the stove.
- Heat 1 tablespoon of the oil in a large skillet or wok over medium-high heat. Add the chopped kimchi and cook, stirring often, 3 to 4 minutes, until softened and slightly darkened. If your kimchi is very sour, sprinkle in the sugar now.
- Push the kimchi to one side, add the garlic and scallion whites to the empty space, and cook about 30 seconds, until fragrant. Stir everything together.
- Add the rice and pour the sauce mixture over the top. Toss and press the rice into the pan, then let it sit undisturbed 1 to 2 minutes so the bottom grains toast. Toss and repeat once more. Add the peas or carrots, if using, with the rice.
- Taste and adjust: add the remaining kimchi juice for tang, more soy sauce for salt, or more gochujang for heat. Cook 1 to 2 minutes longer, until hot through with slightly chewy edges.
- Turn off the heat, drizzle the sesame oil over the rice, and toss once more. Shower with most of the scallion greens and the sesame seeds.
- For the eggs, wipe out the pan, heat the remaining tablespoon of oil over medium heat, and fry the eggs 2 to 3 minutes, until the whites are set and the edges crisp. Serve the rice in bowls topped with an egg, more scallion greens, sesame seeds, and crumbled seaweed if you like.
2 thoughts on “Kimchi Fried Rice”