
Sushi rice is the quiet foundation of every roll, nigiri, and onigiri — and it’s where most homemade sushi actually falls short. The fish gets all the glory, but the difference between good sushi and great sushi is seasoned, glossy rice that’s warm, just barely sweet-sour, and holds together without turning to mush. This guide walks through the whole thing: the right rice, the seasoning ratio I memorized after many batches, and the fan-and-fold technique that gives the rice its shine.
What Is Sushi Rice?
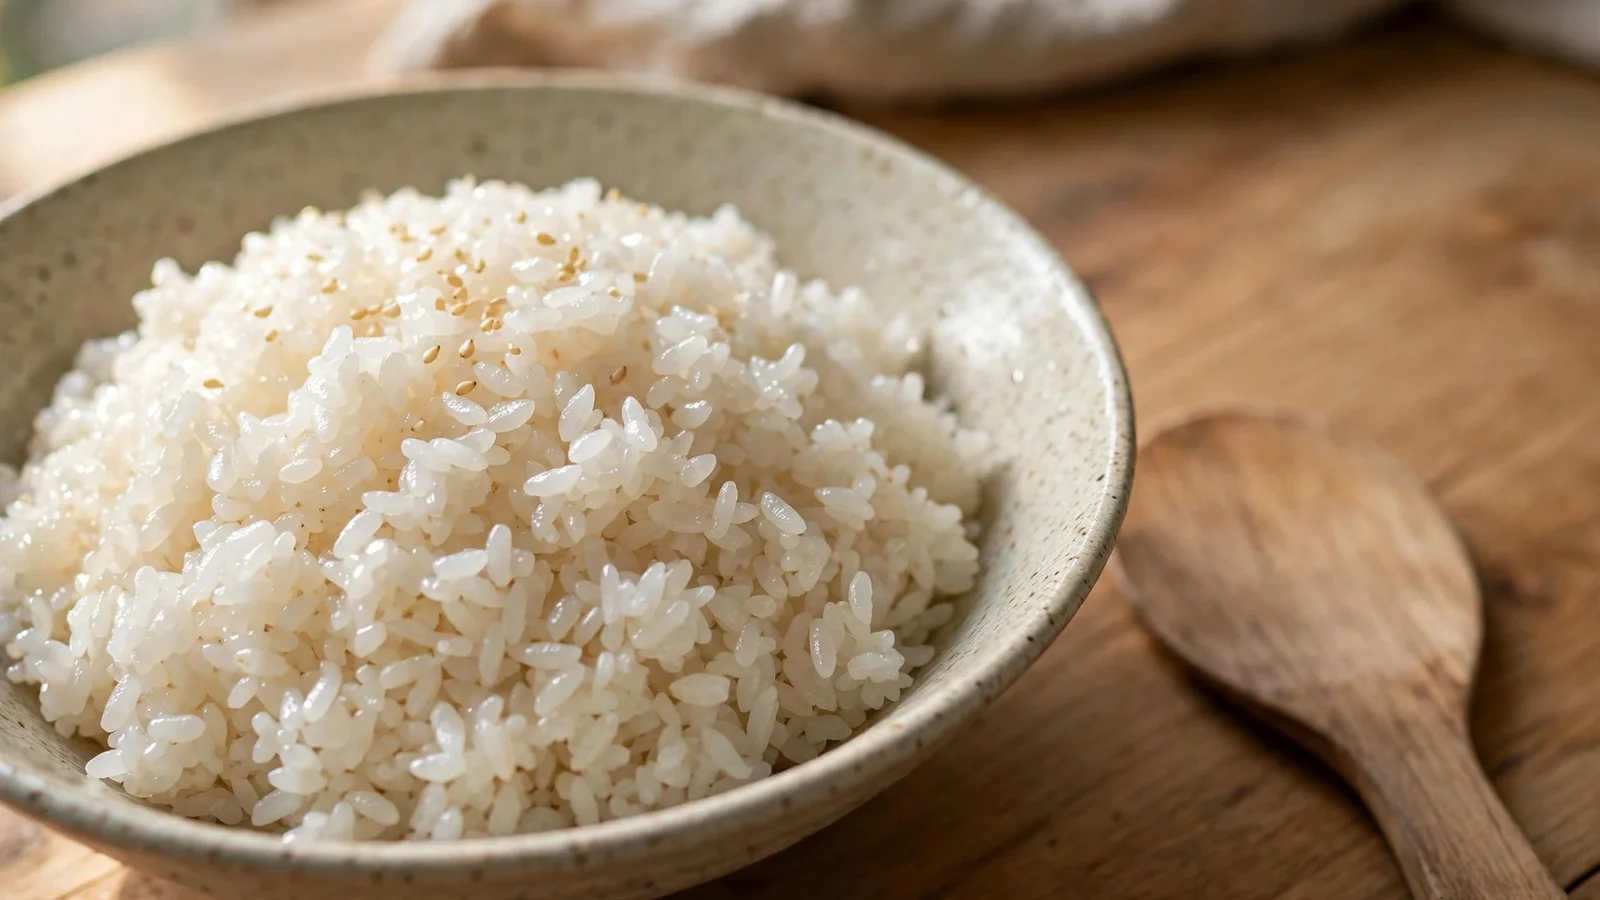
Sushi rice — su-meshi in Japanese — is simply cooked short-grain rice seasoned while hot with a blend of rice vinegar, sugar, and salt. The seasoning is mild: a gentle sweet-sour hum underneath the rice’s own flavor, not a pickle. Done right, the grains are glossy, plump, and sticky enough to hold a shape when pressed, but they still separate cleanly when you bite.
Three things separate real sushi rice from plain white rice with vinegar splashed in: the rice variety (short-grain, which has the right starch to turn sticky without going gummy), the seasoning ratio, and the cooling technique. Skip any one of the three and you get rice that’s fine for a bowl but wrong for sushi — too dry to hold, too wet to shape, or flat-tasting.
The Only Ratio You Need to Memorize
For every 1 cup of uncooked short-grain rice, season with:
- 2 tablespoons rice vinegar
- 1 tablespoon sugar
- 1 teaspoon salt
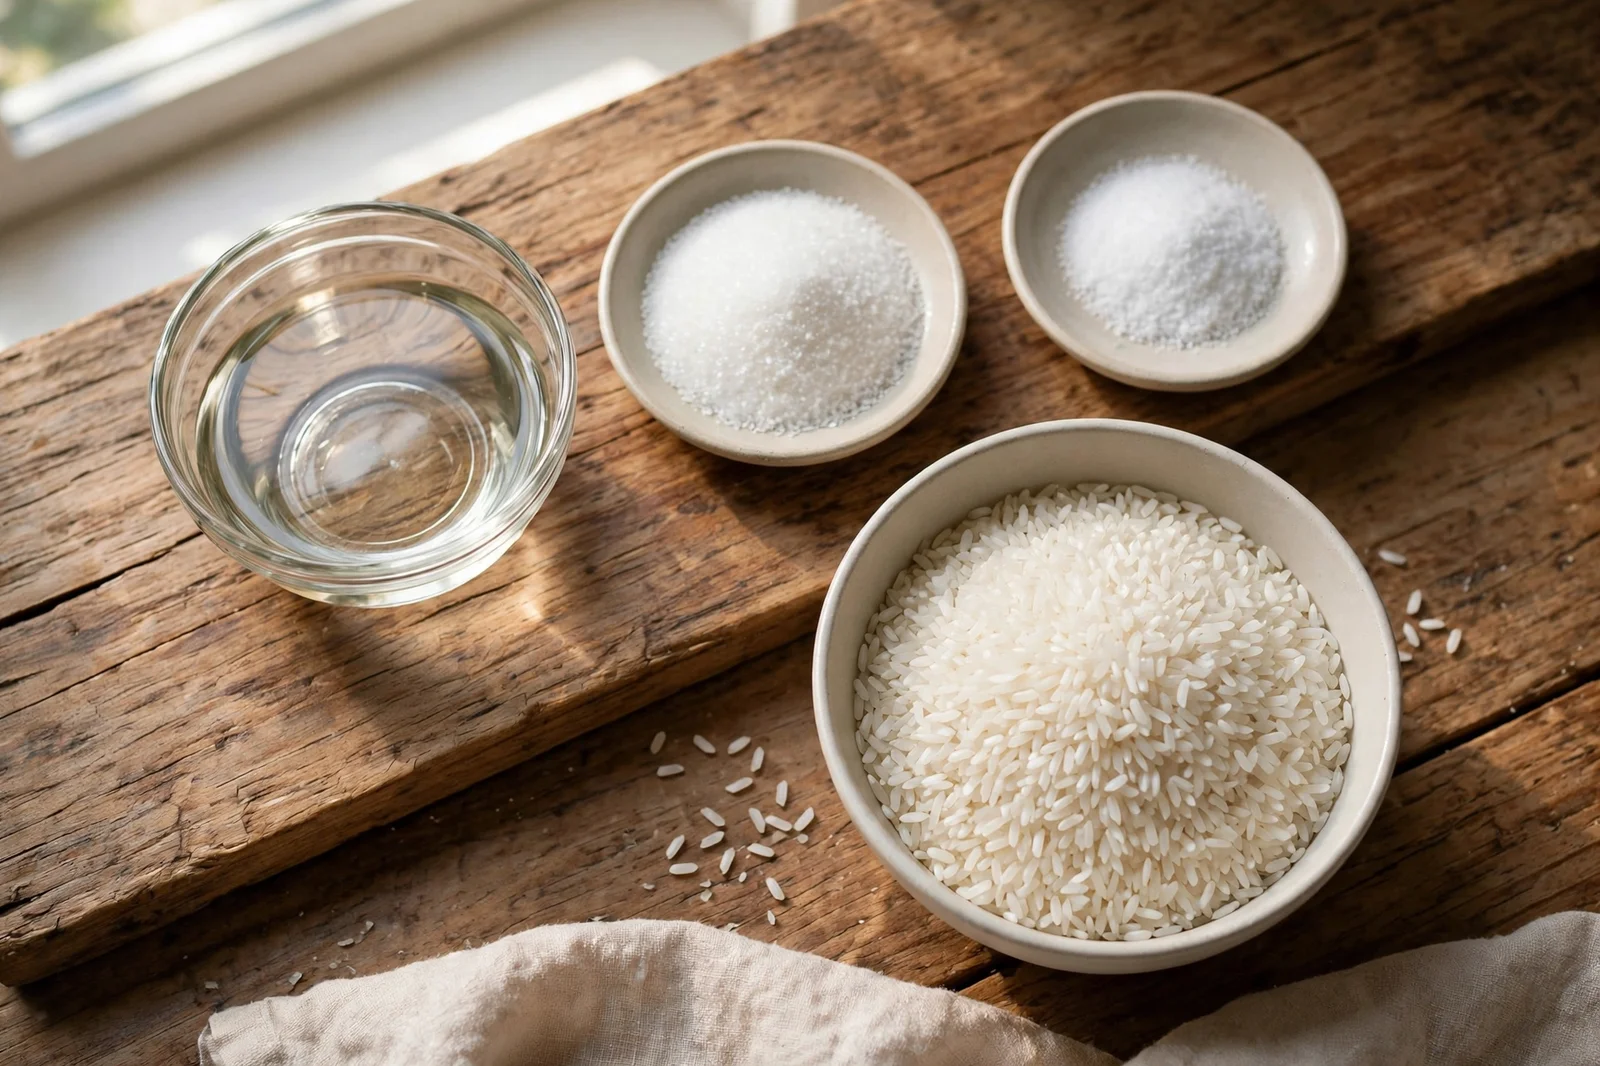
That’s the 2-1-1 ratio, and it scales perfectly — 2 cups of rice gets 4 tablespoons vinegar, 2 tablespoons sugar, 2 teaspoons salt. It’s a touch less sweet than the restaurant norm, which suits the rest of my Japanese cooking; if you like your sushi rice sweeter, bump the sugar to 1 1/2 tablespoons per cup and taste from there. Warm the vinegar, sugar, and salt together in a small saucepan until the crystals dissolve (don’t boil), and use it while the rice is still steaming hot — warm rice absorbs the seasoning instead of letting it pool at the bottom of the bowl.
Choosing the Rice
You need a short-grain Japonica rice — labeled “sushi rice” at most stores, or a brand like Koshihikari or Calrose. The short grains cook up plump and clingy thanks to their higher amylopectin content. Medium-grain works in a pinch. Long-grain rice, including jasmine, will never give you this result — the grains stay separate and dry, which is exactly right for a bowl of jasmine rice but wrong for sushi. If you only buy one rice for Japanese cooking, make it the short-grain bag.
How to Make Sushi Rice
This makes about 4 cups of cooked rice — enough for 6–8 maki rolls or about 16 nigiri. Active time is about 10 minutes plus cooking.
You will need: 2 cups short-grain Japanese rice, 2 1/4 cups water (pot method), 1/4 cup rice vinegar, 2 tablespoons sugar, 2 teaspoons kosher salt, and a 4-inch square of kombu (dried kelp, optional — wipe it clean, don’t rinse).
-
Rinse the rice. Put the rice in a bowl, cover with cold water, and swish with your hand — the water turns milky immediately. Drain and repeat 3–4 times until the water runs mostly clear. This washes off the surface starch that turns cooked rice gummy. Drain very well in a fine-mesh sieve for 15 minutes, or soak in fresh water for 30 minutes for the plumpest grains.
-
Cook it. Pot method: combine the rice, water, and kombu (if using) in a heavy pot. Bring to a boil, then cover tightly, drop the heat to low, and cook 15 minutes — don’t lift the lid. Remove from the heat and let it rest, lid still on, for 10 minutes. The rest is non-negotiable: it finishes the grains through carryover steam. Rice cooker method: add the rice, kombu, and water up to the cooker’s 2-cup line (or use the “sushi” setting if yours has one) and run the normal cycle, then rest 10 minutes.
-
Dissolve the seasoning. While the rice cooks, combine the vinegar, sugar, and salt in a small saucepan and warm over low heat, stirring, just until the sugar and salt disappear. Take it off the heat and let it cool slightly — hot seasoning on hot rice is the goal, not a cold shock.
-
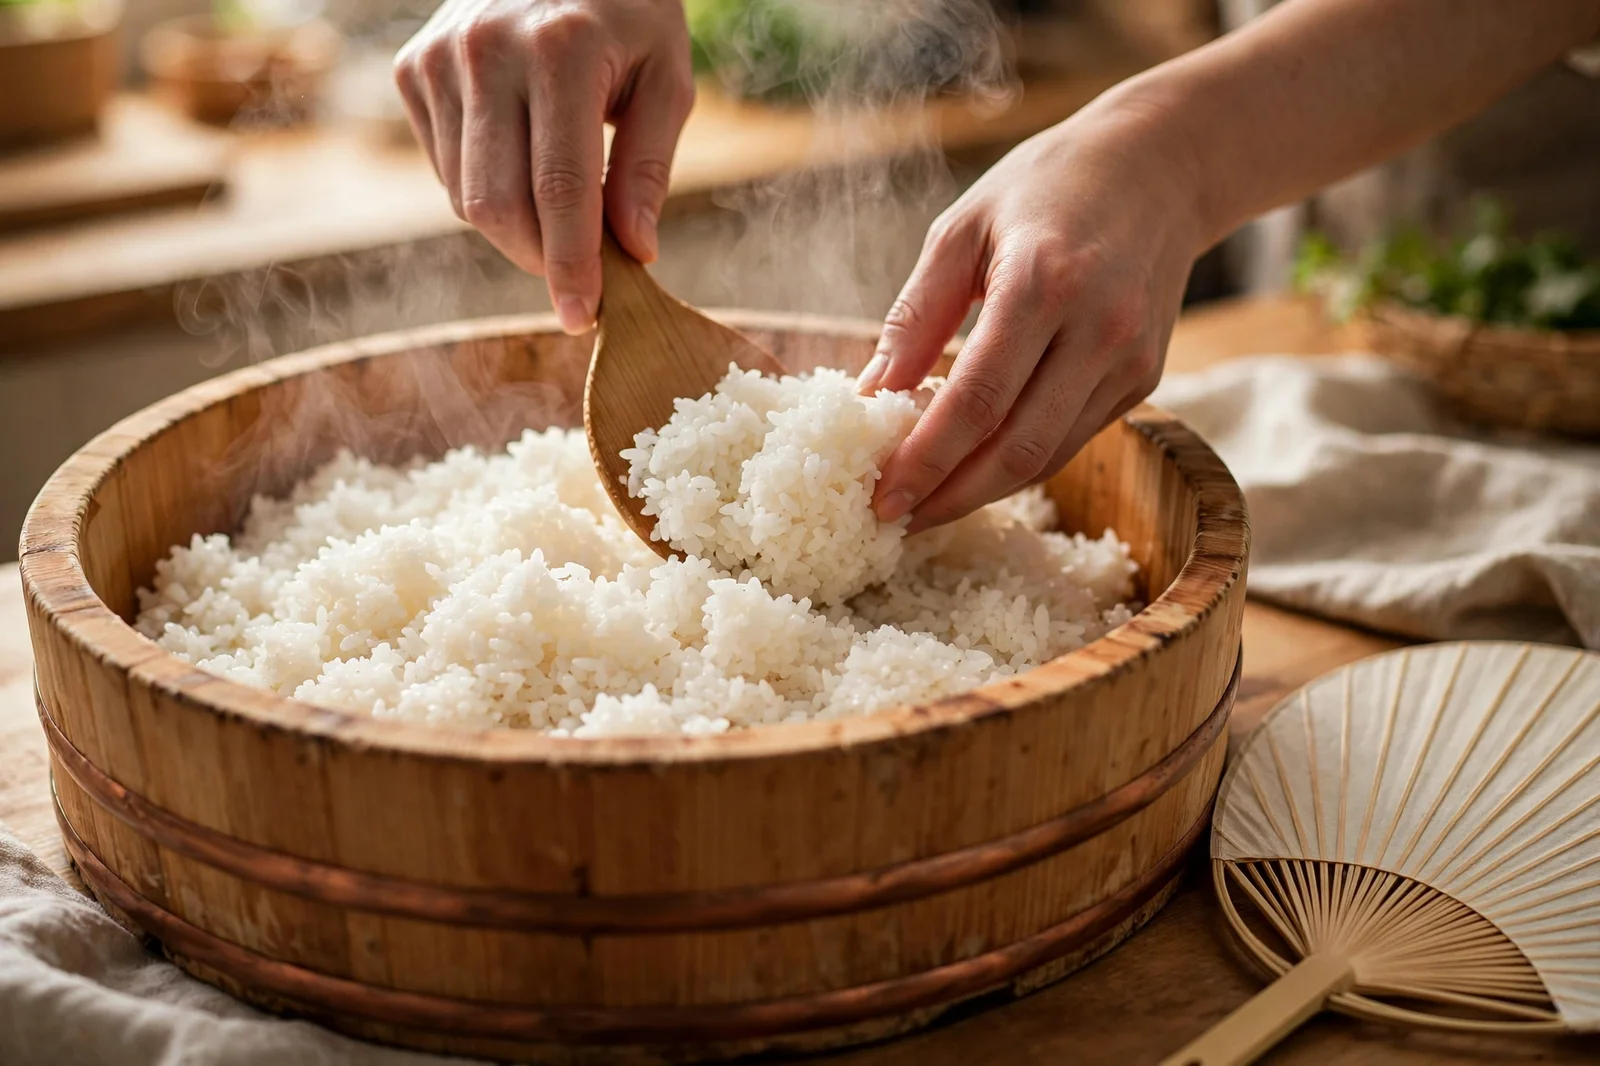
Season hot, fan fast. Tip the hot rice into a large, wide bowl (a wooden hangiri is traditional; any large bowl works — the wide surface is what matters). Remove the kombu. Drizzle the seasoning evenly over the rice and fold it in with a wooden paddle using cutting strokes — slice down through the rice and fold it over, turning the bowl as you go. Never stir in circles; that mashes the grains. While you fold, fan the rice vigorously for 2–3 minutes. The fanning cools the rice quickly and sets the glossy sheen — this is the step that separates shiny restaurant-style rice from dull home rice.
- Use it warm. Sushi rice is used at room temperature, never cold and never fridge-chilled. Cover the bowl with a damp kitchen towel and use within 2–3 hours.
Paul’s Notes
- Mushy rice, every time, has the same two causes: too much water or a skipped rest. Measure 2 1/4 cups of water per 2 cups of rice in a pot — not a generous pour — and let it rest the full 10 minutes with the lid on. The grains firm up as they cool.
- If the seasoning pools at the bottom of the bowl, you folded too gently or the rice had already cooled. Season the moment the rice comes out of the pot, fold with real cutting strokes, and fan — the warm rice drinks it in.
- Don’t skip the rinse. I once tested a batch straight from the bag out of curiosity; it came out noticeably gummier, with a sticky film instead of separate glossy grains. Three rinses takes two minutes.
- No fan? A piece of stiff cardboard works, or just wave a folded dish towel. The goal is fast cooling, not the specific tool.
- Scaling up: the ratio holds at any size. For a sushi party (4 cups uncooked rice), that’s 1/2 cup vinegar, 1/4 cup sugar, 4 teaspoons salt.
How to Use and Store It
Sushi rice is the base for maki rolls, nigiri, chirashi bowls, and my Onigiri: Japanese Rice Balls Three Ways — one batch of this rice covers a whole onigiri-making session. Serve it alongside a bowl of Classic Miso Soup and pickles for a complete homemade Japanese spread.
Storage rules are strict: keep covered with a damp towel at room temperature and use within the same day. Refrigeration turns the starches firm and chalky — leftover sushi rice is better repurposed into fried rice than saved as-is.
More Japanese Recipes
If perfect rice has you in a Japanese-cooking mood, keep going: Onigiri: Japanese Rice Balls Three Ways puts this very rice to work, Tamagoyaki: Japanese Rolled Omelet is the sweet rolled egg that belongs beside it, Classic Miso Soup rounds out the meal, and Chicken Karaage: Japanese Fried Chicken brings the crispiest fried chicken you’ll make at home.