
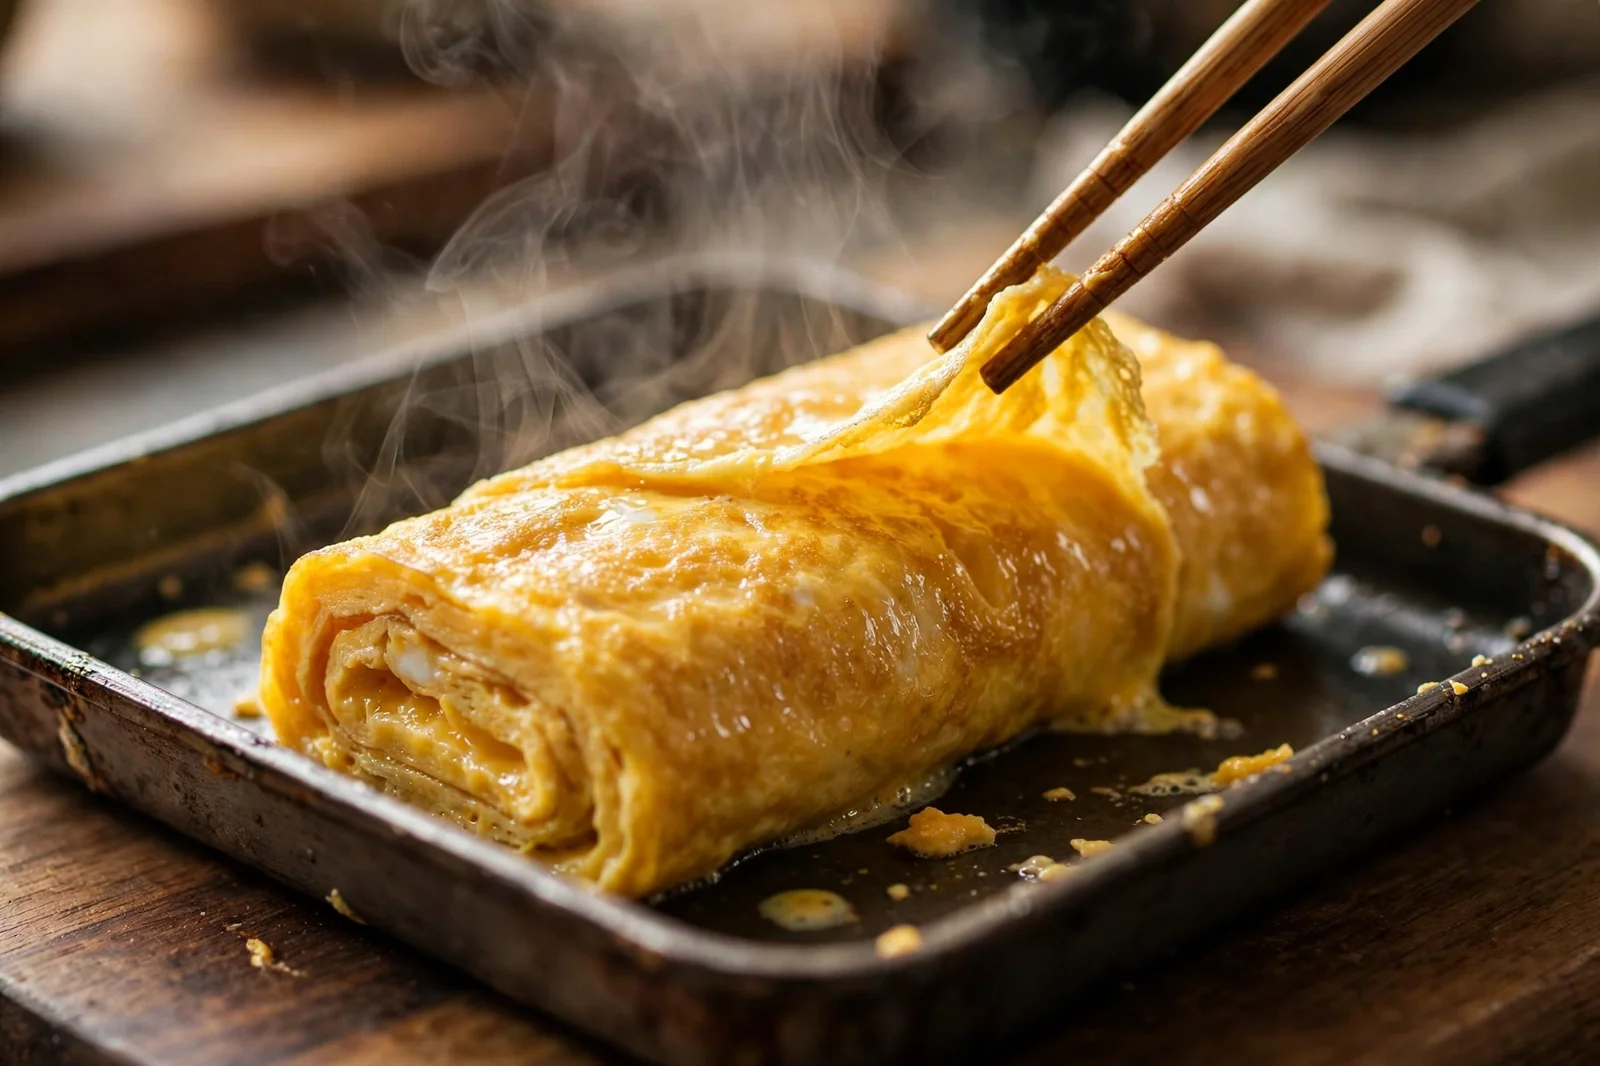
Tamagoyaki is the egg dish that looks like it needs a culinary degree and turns out to need mostly patience. Seasoned egg is poured into a hot pan in thin layers, each one rolled up before the next pour goes in, until the whole thing becomes a soft golden rectangle with visible swirls where the layers meet. Slice it and you get neat little bars of tender egg — slightly sweet, deeply savory, and lovely at any temperature.
In Japan, tamagoyaki shows up everywhere: tucked into bento boxes, folded over sushi rice as a nigiri topping, sliced as a side for breakfast, or simply served with a drizzle of soy sauce. It is everyday cooking there, and with a regular frying pan and the right technique, it can be everyday cooking here too.
What Makes Good Tamagoyaki
Tamagoyaki tastes the way it looks — built in layers. The seasoning is what separates it from a plain omelet: dashi gives it a savory depth, mirin adds sweetness and a gentle caramel note, soy sauce brings salt, and a pinch of sugar rounds everything out. The classic flavor leans slightly sweet, which is why it pairs so well with vinegared rice and sharp pickles.
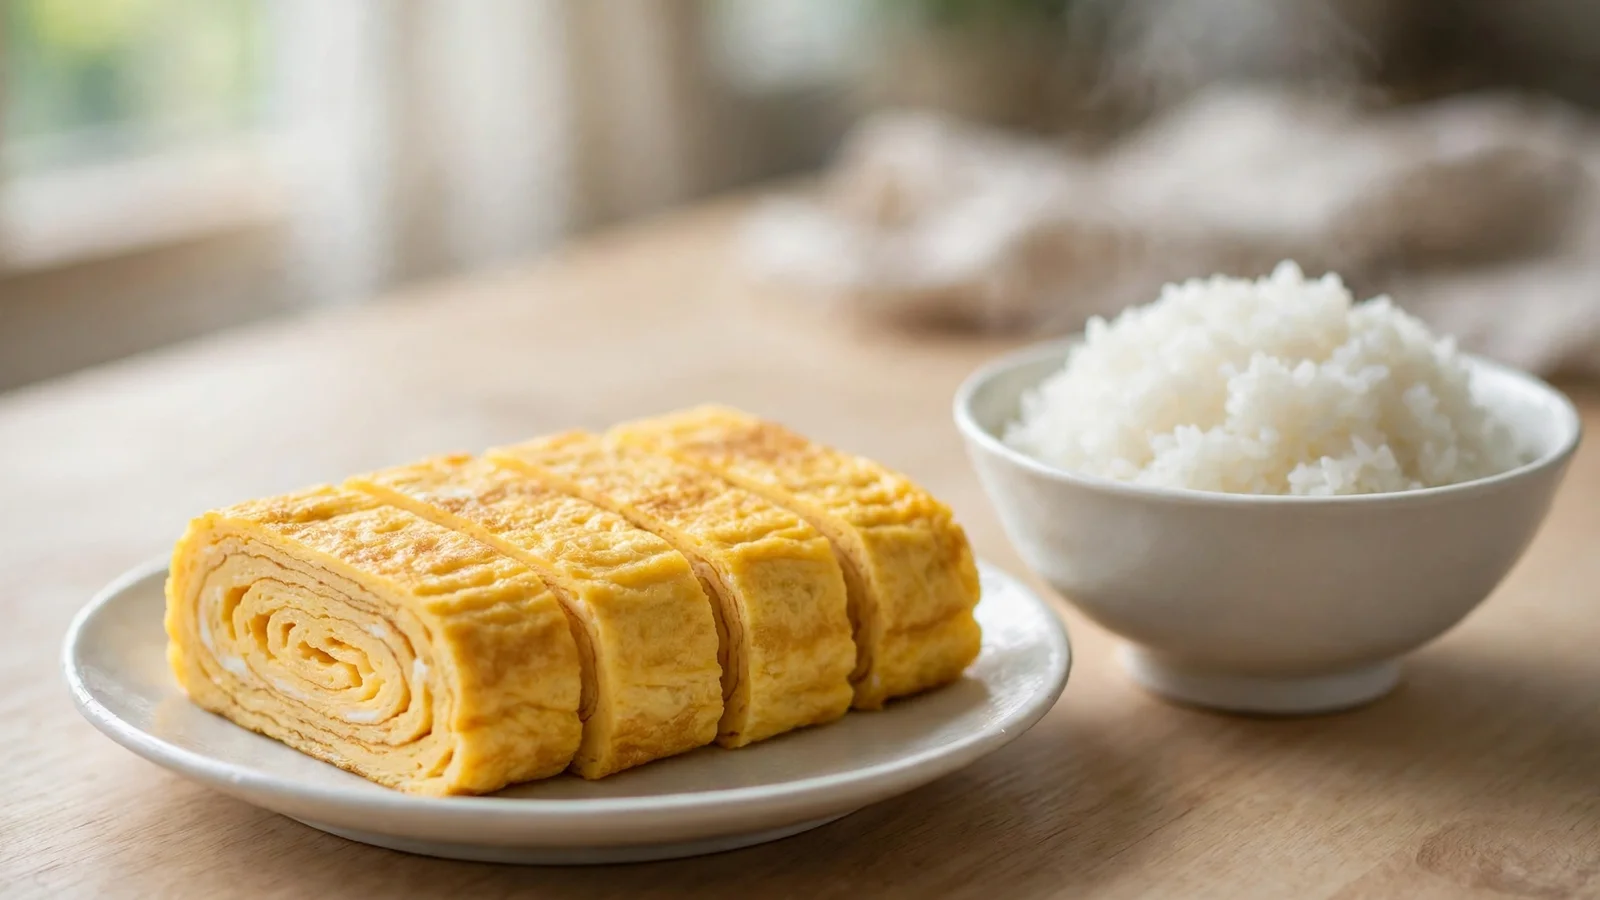
Texture comes from the rolling, not the filling. Each layer should just barely set before it gets rolled — still glossy and a little wet on top — so the layers stick to each other without gaps. When you press the finished roll with the spatula, the layers knit together into one soft, springy block. Slice it cold and you will see the spiral; that is the sign you got it right.
Heat control does most of the work. The pan needs to be hot enough that each thin layer sets in about 30 seconds, but not so hot that the bottom browns before you can roll. If your first roll has a little color on it, do not panic — it still tastes wonderful, and the next layers will cover it.
Do You Need a Special Pan?
Traditional tamagoyaki is cooked in a rectangular pan called a tamagoyakiki, and it does make the job easier — the straight sides give every roll a clean shape. But a small nonstick skillet (8 to 10 inches) works perfectly well. Your roll will be round instead of rectangular at first, and you can square up the edges gently with the spatula as you go. The flavor is identical either way.
What matters more than pan shape is that it is nonstick or a well-seasoned surface with plenty of oil. Egg sticks to bare metal and ruined rolls ruin moods. Keep a folded paper towel dipped in oil nearby and wipe the pan lightly between layers — this is how Japanese cooks keep the surface slick through all the pouring.
Ingredients
- 4 large eggs
- 1/2 cup dashi (homemade or instant; or substitute 1/2 cup water + 1/4 teaspoon instant dashi powder)
- 2 tablespoons mirin
- 1 teaspoon soy sauce
- 1 tablespoon sugar
- 1/4 teaspoon kosher salt
- Neutral oil (such as canola or vegetable), for the pan
Dashi shortcut: If you keep instant dashi powder around, stir 1/4 teaspoon into 1/2 cup warm water and let it cool. It gives the egg its savory backbone with almost no effort, and it is what many home cooks in Japan use on busy mornings.
Instructions
Step 1. Whisk the seasoning first. In a bowl, combine the dashi, mirin, soy sauce, sugar, and salt. Stir until the sugar dissolves completely — this goes faster if the dashi is warm. Let it cool if needed.
Step 2. Beat the eggs without whipping. Crack the eggs into a large measuring cup or bowl with a spout. Add the seasoned dashi and whisk gently until just combined. Do not beat in lots of air — froth makes a spongy, uneven omelet. Strain the mixture through a fine-mesh sieve into the measuring cup to catch any thick egg white strands, which can make the layers lumpy.
Step 3. Heat and oil the pan. Set an 8-inch nonstick skillet over medium-low heat. Fold a paper towel into a small pad, dip it in oil, and wipe a thin film across the whole surface. The pan is ready when a few drops of the egg mixture sizzle softly and set within seconds without browning.
Step 4. Pour the first layer. Pour in just enough egg to thinly coat the bottom of the pan — about 3 to 4 tablespoons. Tilt to spread it evenly. As soon as the bottom sets and the top is still glossy (about 30 seconds), start rolling: use a spatula or chopsticks to lift one edge and roll the sheet toward you into a loose cylinder. Push the roll to the far side of the pan.
Step 5. Oil and repeat. Re-oil the empty part of the pan with the paper towel, then pour another thin layer of egg into the cleared space, lifting the existing roll slightly so the new egg flows underneath it. When this layer sets and the top is glossy, roll it around the existing cylinder. Keep going — pour, set, roll — until all the egg is used. Expect 5 to 6 layers with 4 eggs.
Step 6. Shape the roll. On the final roll, press gently with the spatula to square up the sides and press out any gaps. Transfer the tamagoyaki to a bamboo sushi mat or a clean cutting board and wrap it snugly (a mat gives clean straight edges) for 2 to 3 minutes while it cools slightly. This sets the shape.
Step 7. Slice and serve. Cut crosswise into 6 to 8 pieces, about 3/4 inch thick. Serve warm, at room temperature, or chilled — all three are correct, depending on the occasion.
Tips and Variations
- If the first layer tears, pour the next layer directly over it and keep going. Small tears disappear into the roll, and nobody sees the inside until it is sliced — by which point the spiral hides everything.
- Sweet vs. savory: This recipe lands in the middle — the classic slightly-sweet profile. For a more savory bento style, cut the sugar in half and add an extra 1/2 teaspoon of soy sauce.
- Matcha tamagoyaki: Whisk 1/2 teaspoon of culinary matcha into the seasoning for a pale-green omelet with a gentle bitter edge that plays beautifully against the sweetness.
- Negi (scallion) tamagoyaki: Fold 2 tablespoons of finely sliced scallion greens into the egg mixture for a savory, flecked roll — great warm with rice.
- Seafood dashi swap: Replace the regular dashi with kombu or shiitake dashi for a vegetarian-leaning version (the eggs are still there, but the broth keeps it fully seafood-free).
- No mirin? Substitute 1 tablespoon of sake plus 1 extra teaspoon of sugar. Avoid cooking wine — its added salt throws the balance off.
- Storage: Tamagoyaki keeps for 3 to 4 days in the fridge, wrapped tightly in plastic or in an airtight container. It firms up when cold; let slices come to room temperature for 10 minutes before eating, or warm them very briefly in a covered skillet over low heat.
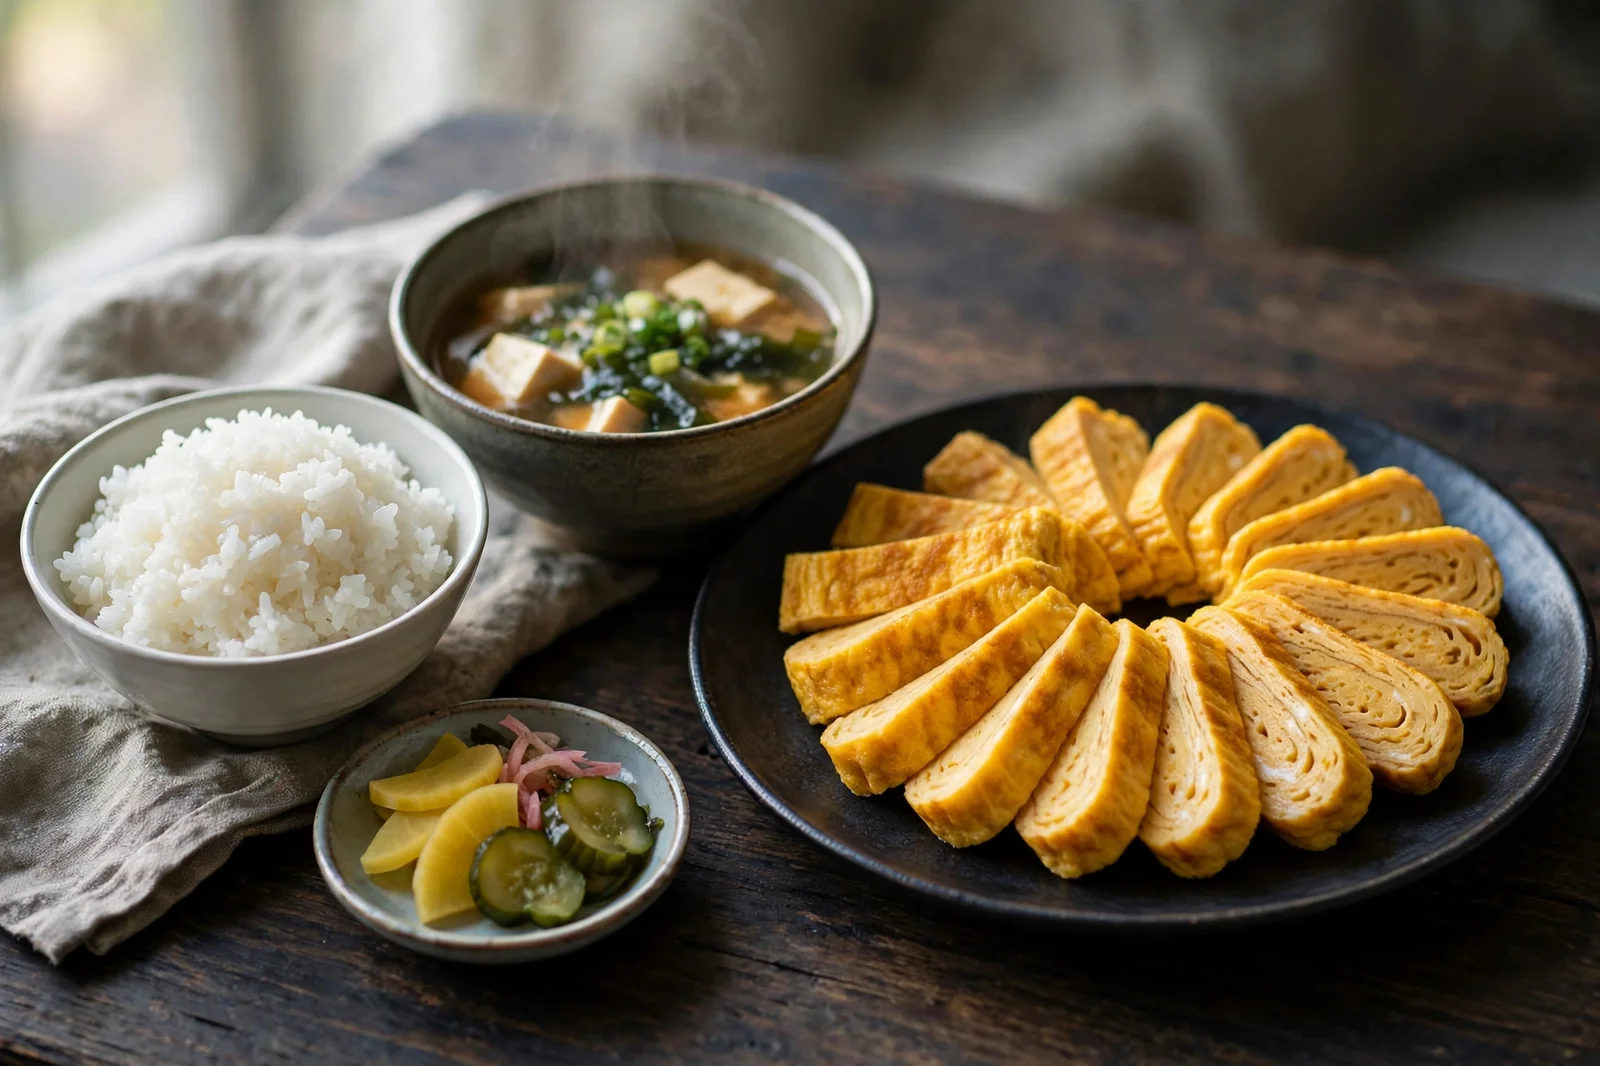
Tamagoyaki earns its place in the everyday rotation the way few egg dishes do — quick enough for a weekday morning, pretty enough for guests. It pairs naturally with a bowl of rice and something bright and pickled on the side; try it alongside classic miso soup for a simple Japanese-style breakfast, or pack the slices into a lunchbox next to onigiri for the full bento effect.
Tamagoyaki: Japanese Rolled Omelet
Ingredients
Method
- Stir the dashi, mirin, soy sauce, sugar and salt together until the sugar dissolves; let cool if warm. Crack the eggs into a large measuring cup, add the seasoning and whisk gently without whipping in air. Strain through a fine-mesh sieve.
- Heat an 8-inch nonstick skillet over medium-low. Wipe the surface with a paper towel dipped in oil. The pan is ready when a few drops of egg sizzle softly and set without browning.
- Pour in 3-4 tablespoons of egg, just enough to thinly coat the bottom. Tilt to spread. When the bottom sets and the top is still glossy, about 30 seconds, roll the sheet toward you with a spatula or chopsticks and push the roll to the far side of the pan.
- Re-oil the empty part of the pan, pour in another thin layer (lifting the roll so egg flows underneath), and roll it around the existing cylinder when it sets. Repeat for 5-6 layers until all the egg is used.
- On the final roll, press gently with the spatula to square the sides. Transfer to a bamboo sushi mat or cutting board, wrap snugly for 2-3 minutes to set the shape.
- Cut crosswise into 6-8 pieces about 3/4 inch thick. Serve warm, at room temperature, or chilled.