
If Thailand had to pick one dish to eat every single day, it would probably be this one. Khao pad is the fried rice you see in front of every street stall in Bangkok: a screaming-hot wok, yesterday’s rice, an egg or two, and a shake of fish sauce that hits the hot metal and turns into perfume. It takes about ten minutes, it costs almost nothing, and when the rice is dry and the wok is hot, it tastes like the best thing in the world.
The funny part is how many ways this simple dish goes wrong at home. Soggy grains, flat flavor, rice that steams instead of fries. Every failure comes down to three things: the rice, the heat, and the order you add things. Get those right and you can make khao pad as well as the vendor outside the night market.

What is khao pad?
Khao pad (ข้าวผัด) literally means “fried rice” in Thai, and it is exactly what the name promises: cooked jasmine rice fried in a hot wok with egg and seasoned simply, usually with fish sauce, a little oyster sauce, garlic, and white pepper. Khao pad kai, the egg version, is the default. Add shrimp and it becomes khao pad goong; add chicken and it becomes khao pad gai.
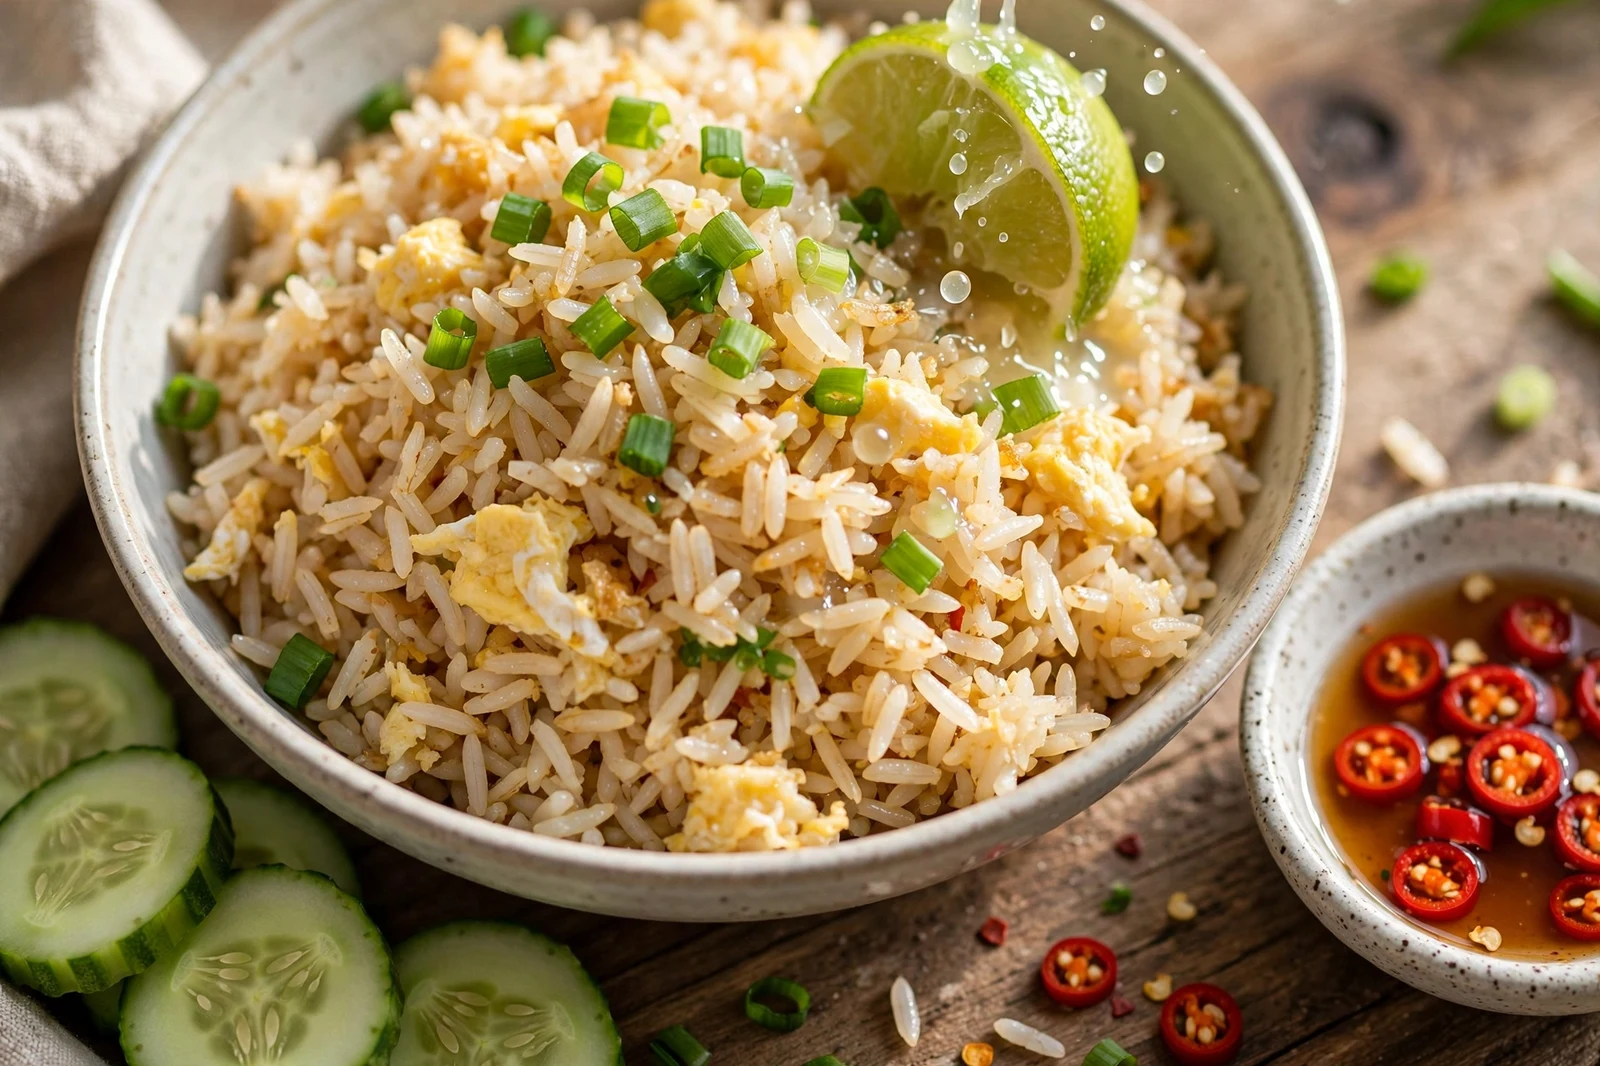
What makes it different from Chinese fried rice is the seasoning. Chinese-style fried rice leans on soy sauce, which darkens the grains and gives a roasted flavor. Thai khao pad leans on fish sauce, which keeps the grains pale gold and gives a cleaner, saltier punch. A pinch of sugar and white pepper round it out. At the table it comes with the holy trinity: lime wedges, cucumber slices, and prik nam pla, the little dish of fish sauce with sliced Thai chiles that lets everyone adjust salt and heat to their own bowl.
Start with cold rice
This is the one rule that decides everything. Freshly cooked rice is full of surface moisture. Put it in a hot wok and that moisture turns to steam, the grains stick together, and you get mush. Cold rice that has spent a night in the fridge has dried out on the surface. The grains stay separate and fry instead of steaming.
If you forgot to cook rice ahead, there is a same-day fix: spread freshly cooked rice on a tray in a thin layer and refrigerate it uncovered for at least two hours. Two hours of cold air pulls enough moisture off the surface to fry well. Whatever you do, break the rice up with your hands before it goes in the wok. A cold clump that hits the wok stays a cold clump, because the outside fries while the inside just warms up. If you want the full breakdown of cooking the rice itself, my guide on how to cook jasmine rice covers water ratios and resting.
The ingredients
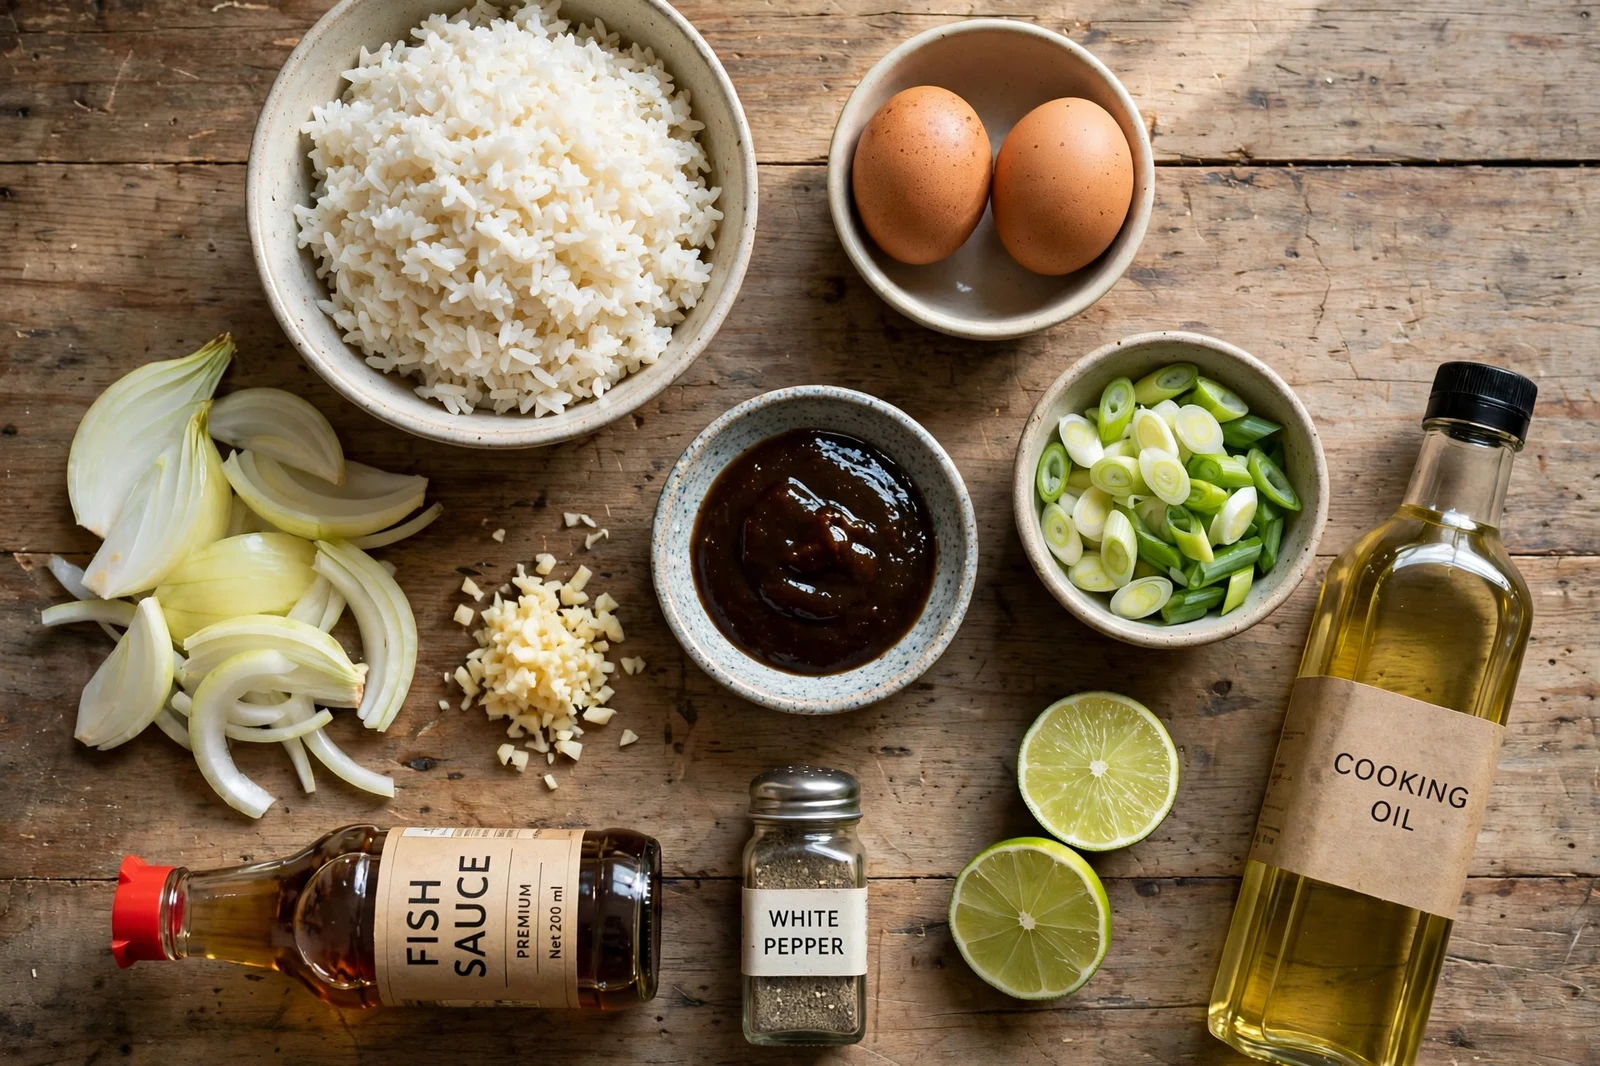
You need less than you think. That is the whole point of this dish.
For the fried rice:
- 4 cups cooked jasmine rice, refrigerated overnight (about 1 1/3 cups uncooked)
- 3 large eggs, beaten with a pinch of salt
- 2 tablespoons neutral oil with a high smoke point, like avocado or rice bran
- 3 cloves garlic, minced
- 1/2 yellow onion, diced small
- 2 scallions, thinly sliced, greens and whites separated
For the sauce:
- 2 tablespoons fish sauce
- 1 tablespoon oyster sauce
- 1/2 teaspoon sugar
- 1/2 teaspoon ground white pepper
For serving:
- Lime wedges
- Cucumber slices
- Prik nam pla: 3 tablespoons fish sauce with 2 Thai chiles, thinly sliced
How to make khao pad
Everything happens fast once the wok is hot, so have every ingredient within arm’s reach before you turn on the burner.
- Break the cold rice apart with your hands until no clumps remain. Stir the fish sauce, oyster sauce, sugar, and white pepper together in a small bowl.
- Heat a wok or a large heavy skillet over the highest heat your stove gives until it just starts to smoke. Add the oil and swirl to coat.
- Add the garlic and diced onion. Stir-fry for 30 to 60 seconds until the garlic turns golden at the edges and smells sweet. Do not let it brown past gold; burnt garlic turns bitter and there is no coming back from it.
- Add the rice. Spread it across the hot surface, press it down lightly, and let it sit undisturbed for a full minute. That contact with the hot metal is what toasts individual grains and builds the faint smokiness home cooks call wok hei. My guide on what wok hei is and how to get it at home goes deeper if you want the technique.
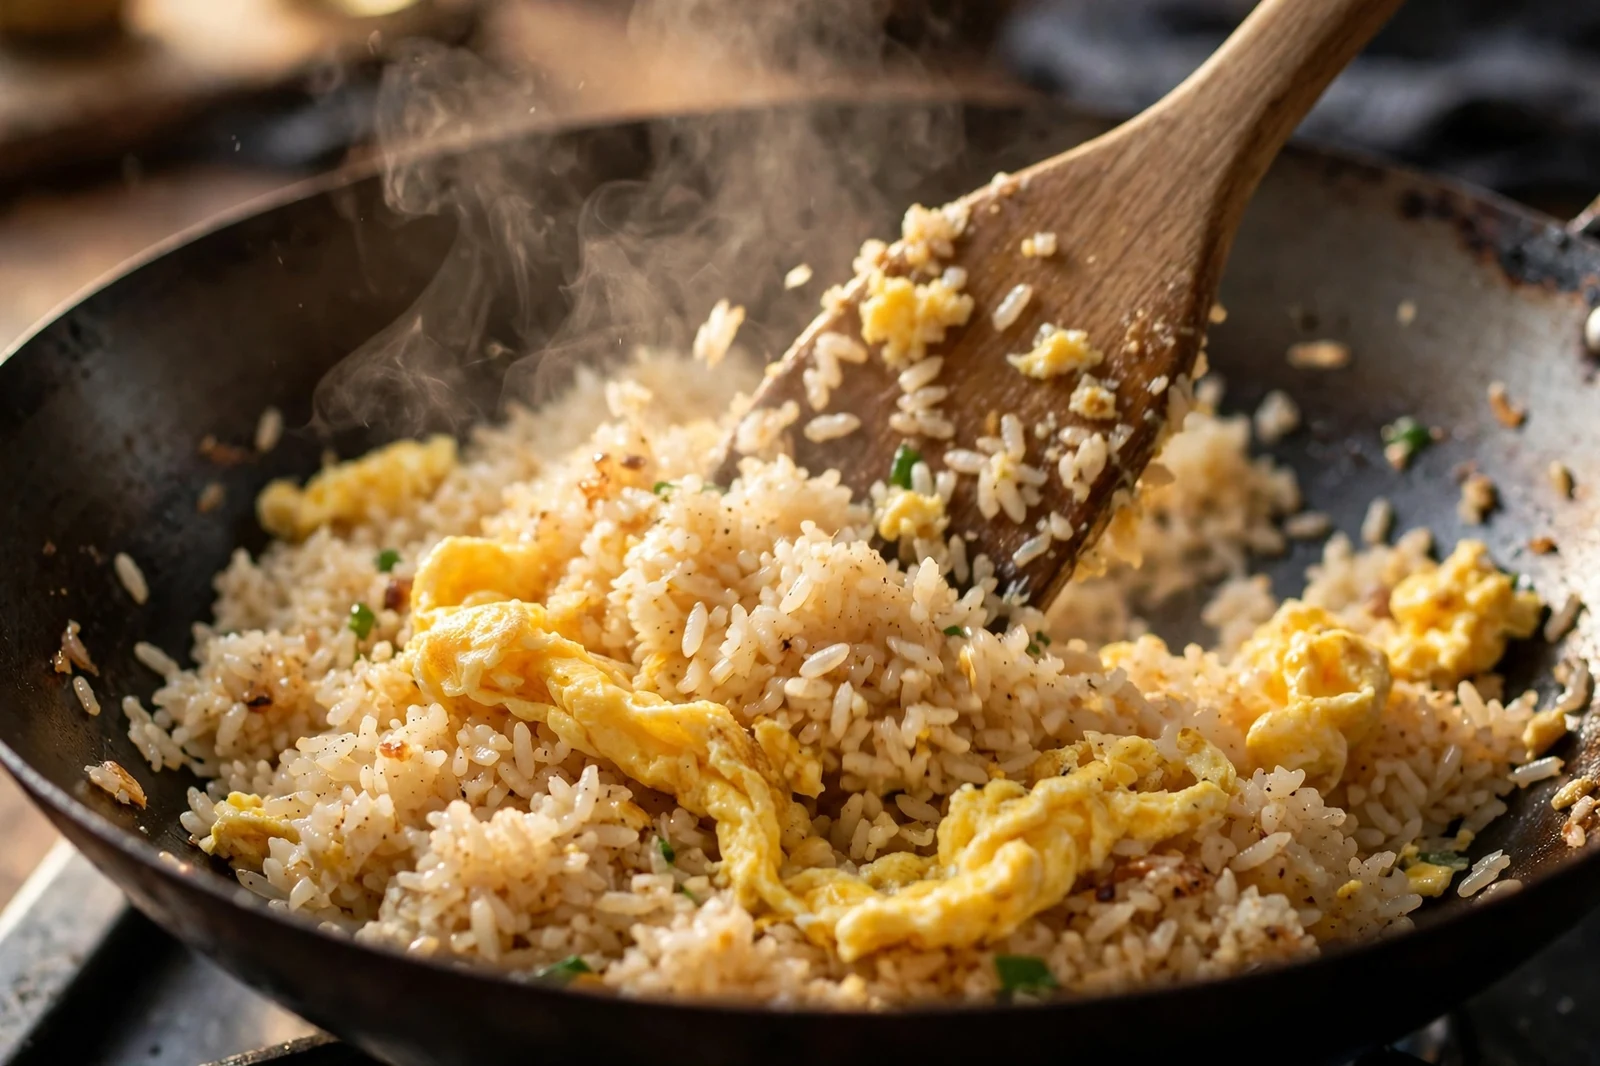
- Toss and repeat: spread, rest one minute, toss. After 2 to 3 minutes the rice should look drier and a few grains should be turning golden at the edges.

- Drizzle the sauce around the hot edge of the wok, not over the center of the rice. Sauce that hits bare hot metal sizzles and caramelizes in seconds; sauce poured over rice just cools the pan. Toss everything for 1 to 2 minutes until the sauce coats every grain.
- Push the rice to one side. Pour the beaten eggs into the empty space. Let them set for 20 seconds, then scramble into soft curds and fold them through the rice. The egg should be in ribbons and soft lumps, not a uniform coating.
- Add the scallion whites and toss for 30 seconds. Taste and add a splash more fish sauce if it needs salt. Shower with the scallion greens and serve immediately with lime wedges, cucumber slices, and prik nam pla on the side.
The sauce ratio that never fails
Here is the part I wish someone had written down for me years ago: for every 4 cups of cooked rice, use 2 tablespoons fish sauce, 1 tablespoon oyster sauce, half a teaspoon of sugar, and half a teaspoon of white pepper. That is the whole seasoning. I have cooked this at double and triple scale and the ratio holds. The mistake most people make is seasoning by eye and ending up with twice the liquid the rice can take. Thai fried rice should look almost dry in the bowl, with separate grains and a light sheen, never wet or sticky.
Two more observations from my own stove. First, the rice needs those 2 to 3 minutes of dry toasting before any sauce goes in. I used to add the sauce right after the rice and wondered why the dish always tasted flat. Sauce on wet, untoasted grains just makes everything gray. Toast first, season second. Second, cook in one batch only if your wok can keep the heat. Four cups of cooked rice is the ceiling for a home burner. Past that, the wok temperature drops, the bottom fries while the top just warms through, and you get that half-fried, half-steamed texture. Two smaller batches beat one big one every time.
Tips and variations
Once the base technique is solid, khao pad takes additions easily. Fold in diced leftover chicken, shrimp, or crab at step 6. A handful of frozen peas is not traditional but nobody will complain. For heat, stir sliced Thai chiles in with the garlic, or just rely on the prik nam pla at the table. And if you fall in love with the leftover-rice formula, the sour-spicy tom yum fried rice uses the same technique with a completely different flavor.
Storage: khao pad keeps well for this being a fried dish. Refrigerate leftovers within an hour and eat within 2 days. Reheat in a hot skillet with a teaspoon of oil rather than the microwave; the microwave steams the grains and undoes all your cold-rice work. For the pantry side of this recipe, my essential Asian pantry staples list covers which fish sauce and oyster sauce to buy.
Troubleshooting: Fix My Khao Pad
Mushy grains, flat flavor, or rice that stuck to the wok. Each failure has a cause and a fix. Tell the tool what went wrong:
HERB & LIME · KITCHEN HELP
Fix My Khao Pad
Choose what went wrong to see a practical next step.
Possible cause
What to try next
For next time
From Paul's kitchen. Results vary with rice batch, wok, and stove heat, adjust timing to your setup.
Quick reference (also works without JavaScript)
The rice turned out mushy and clumped together
Cause: The rice was too fresh and warm when it hit the wok, so its surface moisture turned to steam and the grains stuck instead of frying.
Try: For this batch, spread the rice on a tray and refrigerate it uncovered for at least two hours, then fry it again in a hot oiled wok to drive off the moisture.
Prevent: Always start with cold rice that spent a night in the fridge, and break up every clump by hand before cooking.
The rice tastes bland and not very Thai
Cause: The fish sauce was skipped or underused, or the garlic went in pale instead of golden, so the dish never built its savory base.
Try: Toss a splash of fish sauce around the hot edge of the wok right now and finish with a spoonful of prik nam pla at the table.
Prevent: Fry the garlic until golden before anything else goes in, and season with fish sauce as the primary salt, not soy sauce.
The rice stuck to the wok and burned
Cause: The wok was not hot enough before the oil and rice went in, or the rice sat still too long in one spot.
Try: Keep the spatula moving and scrape the bottom of the wok; a tiny splash of water loosens stuck grains without ruining the batch.
Prevent: Heat the wok until it just starts to smoke before adding oil, and spread, rest one minute, and toss rather than stirring constantly.
The rice came out wet and sticky from too much sauce
Cause: Too much liquid seasoning was added for the amount of rice, or the sauce was poured over the center of the rice instead of the hot wok edge.
Try: Push the rice to the hottest part of the wok and let it sit undisturbed for a minute or two so the extra moisture fries off.
Prevent: Stick to 2 tablespoons fish sauce plus 1 tablespoon oyster sauce per 4 cups of cooked rice, and drizzle the sauce around the wok edge where it sizzles and caramelizes.
The bottom fried but the top just steamed
Cause: The wok was overcrowded, so its temperature dropped and the upper rice never touched hot metal.
Try: Scoop out half the rice, fry the remaining half hot and fast, then return the first half and toss to combine.
Prevent: Cook at most 4 cups of cooked rice per batch on a home burner, and cook in two batches when doubling the recipe.
Khao Pad: Thai Fried Rice with Egg
Ingredients
Method
- Prep everything. Break the cold rice apart with your hands until no clumps remain. Stir the fish sauce, oyster sauce, sugar, and white pepper together in a small bowl. Keep every ingredient within arm's reach of the stove.
- Heat a wok or large heavy skillet over the highest heat your stove gives until it just starts to smoke. Add the oil and swirl to coat.
- Fry the aromatics. Add the garlic and diced onion and stir-fry 30 to 60 seconds until the garlic turns golden at the edges and smells sweet. Do not let it brown past gold.
- Toast the rice. Add the rice, spread it across the hot surface, press down lightly, and let it sit undisturbed for a full minute. Toss, spread again, and rest one minute. Repeat for 2 to 3 minutes total, until the rice looks drier and a few grains are turning golden at the edges.
- Season. Drizzle the sauce around the hot edge of the wok, not over the center of the rice, and toss 1 to 2 minutes until every grain is coated.
- Cook the egg. Push the rice to one side and pour the beaten eggs into the empty space. Let them set 20 seconds, then scramble into soft curds and fold them through the rice.
- Finish. Add the scallion whites and toss 30 seconds. Taste and add a splash more fish sauce if it needs salt. Shower with the scallion greens and serve immediately with lime wedges, cucumber slices, and prik nam pla on the side.
Notes
More Thai recipes
If this hit the spot, keep the wok hot: Pad See Ew: Thai Soy Sauce Noodles for the chewy rice-noodle classic, Thai Green Curry with Chicken for something saucy over rice, Tom Yum Goong: Thai Hot and Sour Shrimp Soup for the sour-spicy counterpart, and Gai Yang: Thai Grilled Chicken with Jaew Dipping Sauce for the full street-food spread.
From the garden
The scallions in this recipe are the easiest thing I grow. A pot of green onions on the balcony gives me fresh tops to snip all summer, and the whites I use in the wok are the same ones I would buy in a bunch. My guide to growing green onions in pots covers the setup. Snip the greens, leave the base, and they keep coming back.
2 thoughts on “Khao Pad: Thai Fried Rice with Egg (Khao Pad Kai)”