
Sticky rice is supposed to cook in steam, not boiling water. The classic tool for that job is a bamboo steamer, and if you already own one, my full sticky rice guide walks through the whole method, from soaking to serving. But a bamboo steamer is not required. I have cooked sticky rice with a mesh strainer, a rice cooker, a regular pot, and a microwave, and each one can give you glossy, chewy grains that hold together in soft clumps.

What matters is not the equipment. It is the soak, the way steam or low heat reaches the grains, and the timing. Get those three things right and the tool becomes a detail.
The one step you cannot skip
Every method below starts with the same foundation: soaked rice. Dry sticky rice grains are dense. If you skip the soak, the outside turns soft while the center stays hard and white, no matter how long you cook it.
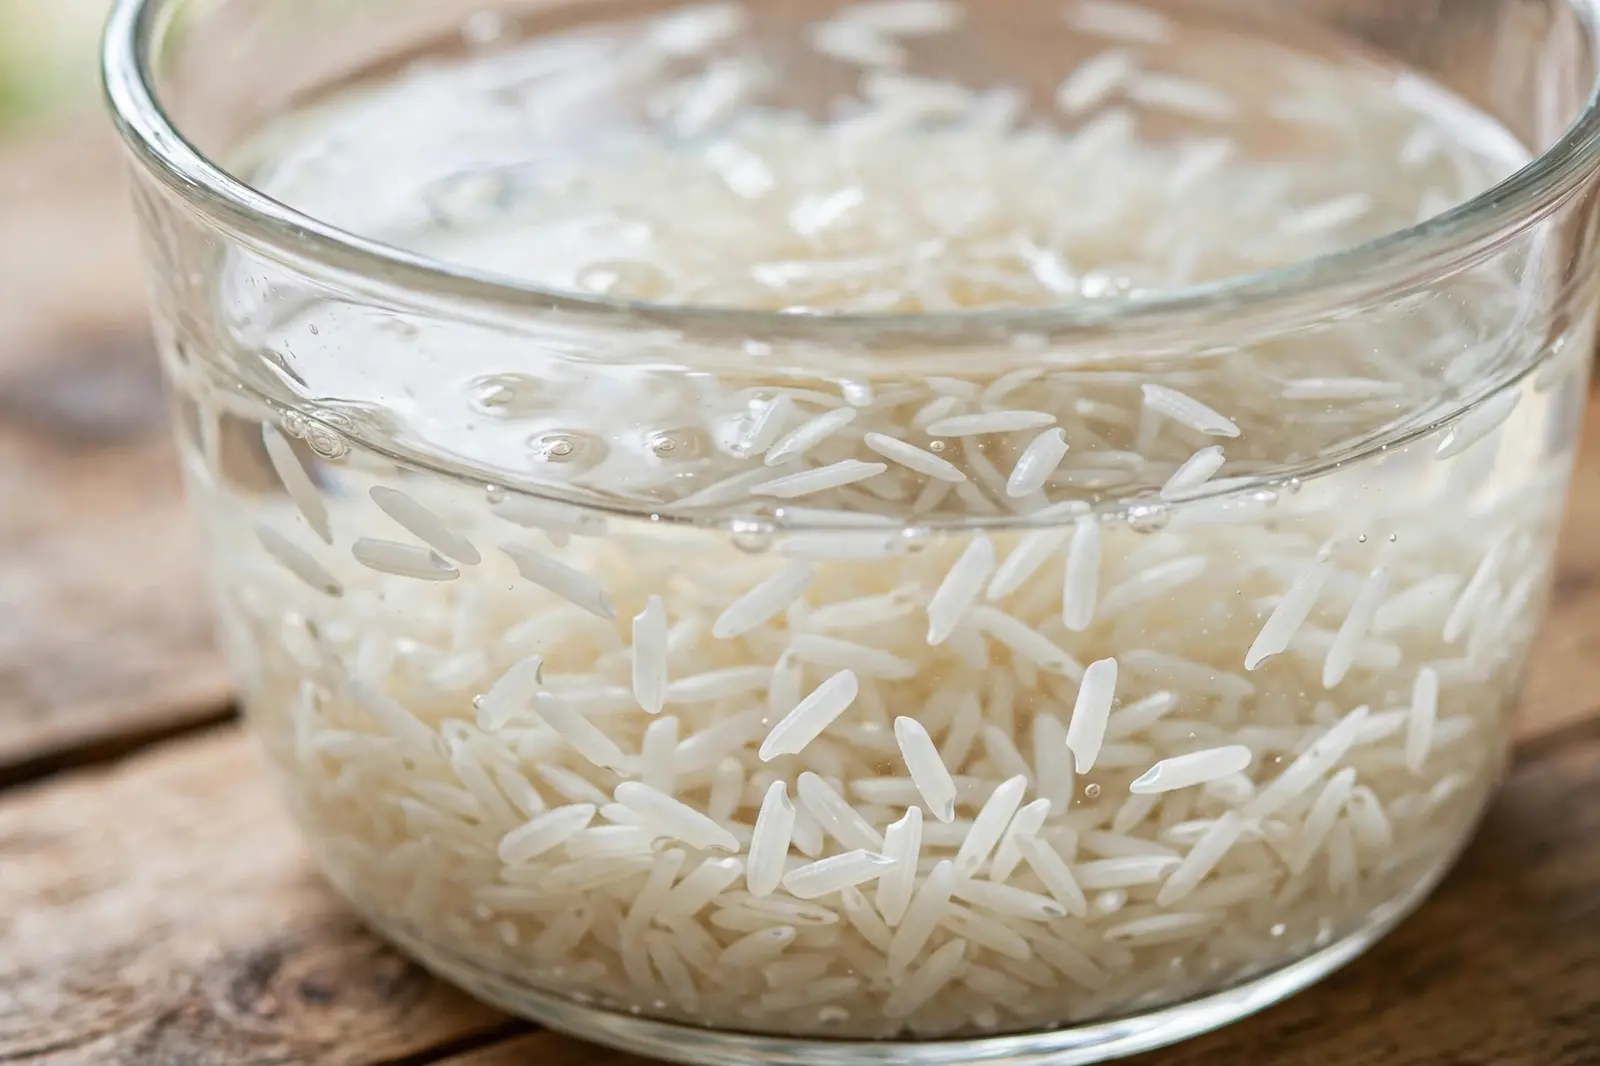
Rinse 2 cups of long-grain glutinous rice in cool water, swirling gently and pouring off the cloudy water, two or three times until it runs mostly clear. Cover the rice with fresh cool water by at least 2 inches and soak for 4 to 6 hours at room temperature, or overnight in the refrigerator. The grains will swell and turn a brighter white. A properly soaked grain snaps cleanly when you press it between your fingernails instead of bending. Drain the rice well before cooking. Do not add cooking water at this stage for the steaming methods; the grains should go in damp, not dripping.
Method 1: Strainer or colander over a pot
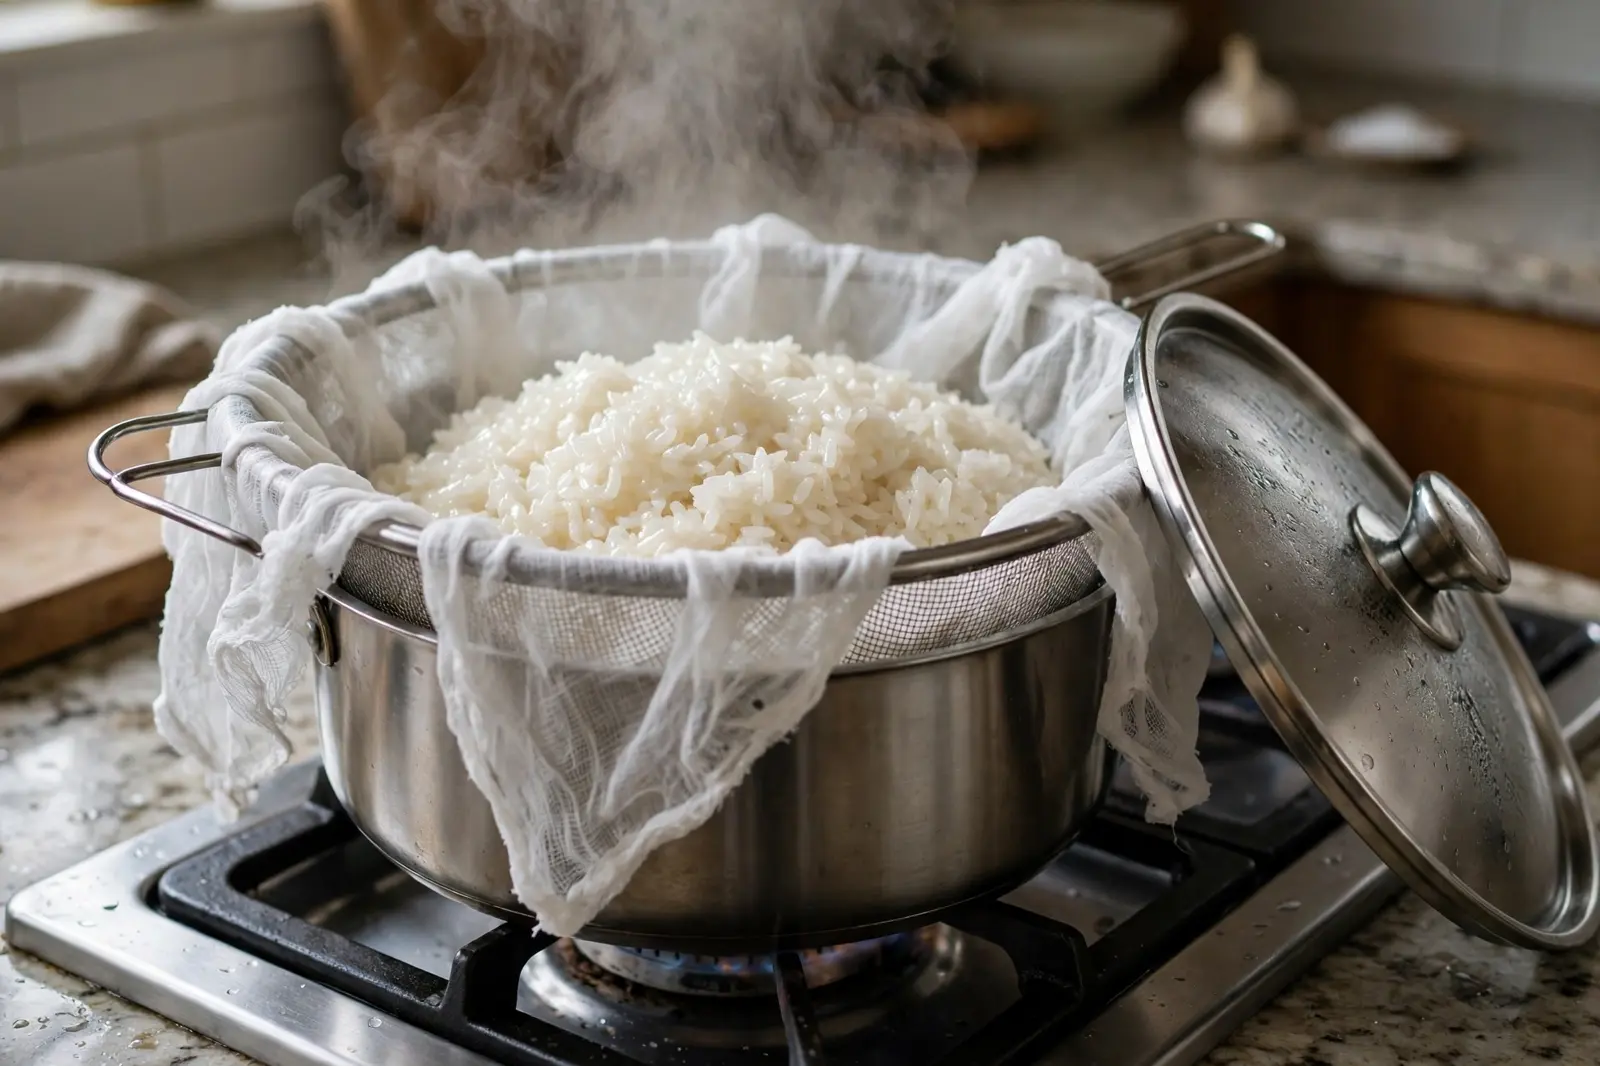
This is the method I reach for first. It cooks the rice in real steam, so the texture comes out closest to the bamboo steamer version.
You need a metal mesh strainer or a colander that can sit over a pot without falling in, a damp piece of cheesecloth or a thin cotton cloth large enough to line it, and a pot lid or inverted bowl that covers the strainer.
Fill the pot with 2 to 3 inches of water and bring it to a steady simmer. Line the strainer with the damp cloth, spread the drained rice in an even layer about 1 inch thick, and poke a few shallow wells in the surface with your finger or a chopstick so steam can move through the middle. Set the strainer over the pot, making sure the water never touches the rice, and cover it with the lid.
Steam for 15 minutes over a gentle, steady boil. Lift the cloth corners and turn the rice over in sections so the top layer moves to the bottom. One turn is the difference between an even batch and a layer of overcooked rice under a layer of firm rice. Cover again and steam 10 to 15 minutes more. The rice is done when the grains look glossy and translucent all the way through, with no hard white center when you taste a few. Total steaming time usually lands between 25 and 30 minutes for 2 cups.
Rest the rice, covered, for 5 minutes off the heat before serving.
Method 2: Rice cooker
A rice cooker with a sweet rice or glutinous rice setting handles soaked sticky rice well. With a standard white-rice setting you can get there too, but the water ratio is what matters.
Put the drained, soaked rice in the cooker bowl and add water just to the surface of the rice, roughly 1/2 inch. That is far less water than you would use for jasmine rice, and it is the most common mistake I see: a full measure of water turns sticky rice into porridge. Run the sweet rice cycle if you have one, otherwise the white rice cycle. Do not open the lid mid-cycle. When the cooker switches to warm, let the rice rest, covered, for 10 minutes.
The result is slightly softer and clingier than steamed rice, with a denser layer at the bottom of the bowl. It works well under saucy dishes like Thai green curry with chicken, where that extra stickiness is an advantage rather than a flaw.
Method 3: A heavy pot with a tight lid
This is the method with the least margin for error, but it works with nothing but a pot and a lid that seals well.
Put the drained, soaked rice in a heavy-bottomed pot and add just enough water to barely cover the surface of the rice, about 1/2 cup for 2 cups of soaked rice. Bring it to a full boil, then immediately drop the heat to the lowest setting and cover tightly. Cook for 12 to 15 minutes without lifting the lid. Not once. Every time you lift it, steam escapes and the top grains stay underdone. Take the pot off the heat and let it rest, still covered, for 10 minutes.
The risk here is the bottom. If your burner runs hot or the pot is thin, the bottom layer scorches or gums up while the top is still cooking. A heavy pot and genuinely low heat are the whole trick. When it works, the rice is chewy and tender, very close to the strainer method.
Method 4: Microwave, for single servings
For one or two servings, the microwave is fast and easy. It does not scale: anything more than about a cup of dry rice cooks unevenly.
Put 1 cup of soaked, drained rice in a large microwave-safe bowl with a lid or a plate as a cover. Microwave on high for 3 minutes, take it out and flip the rice over with a spoon, then microwave 2 to 3 minutes more. Rest, covered, for 5 minutes. The texture comes out a touch softer than steamed rice. This is my go-to when I want a small bowl of sticky rice with leftovers for lunch and do not want to set up the full steamer.
How the four methods compare
| Method | Best batch size | Active time | Result |
|---|---|---|---|
| Strainer over a pot | 2 to 4 cups cooked | About 10 minutes | Chewiest, closest to bamboo |
| Rice cooker | 2 to 6 cups cooked | About 5 minutes | Softer and clingier, denser bottom |
| Heavy pot, tight lid | 2 to 4 cups cooked | About 5 minutes | Chewy when the heat stays low, scorches easily |
| Microwave | 1 to 2 cups cooked | About 2 minutes | Soft, fine for small servings |
If you only remember one row, remember the first. The strainer method is the one that tastes like the real thing.
Common problems and fixes
A hard white center in the finished rice means the soak was too short, or the rice went in too dry. Fix it by sprinkling a few tablespoons of water over the rice and steaming 5 to 10 minutes more.
Mushy, gummy rice means too much standing water. In the pot and rice cooker methods, the water should just reach the surface of the rice, never rise above it.
Rice stuck to the cloth usually means the cloth was dry or the rice was not drained well. Dampen the cloth before you start, and let the rice drain for a few minutes after soaking.
Rice that turns hard and dry as it sits has been left uncovered. Sticky rice dries out fast in open air. Keep it in the steamer, a lidded bowl, or a clean cloth-lined basket until you sit down to eat.
Serving and storing
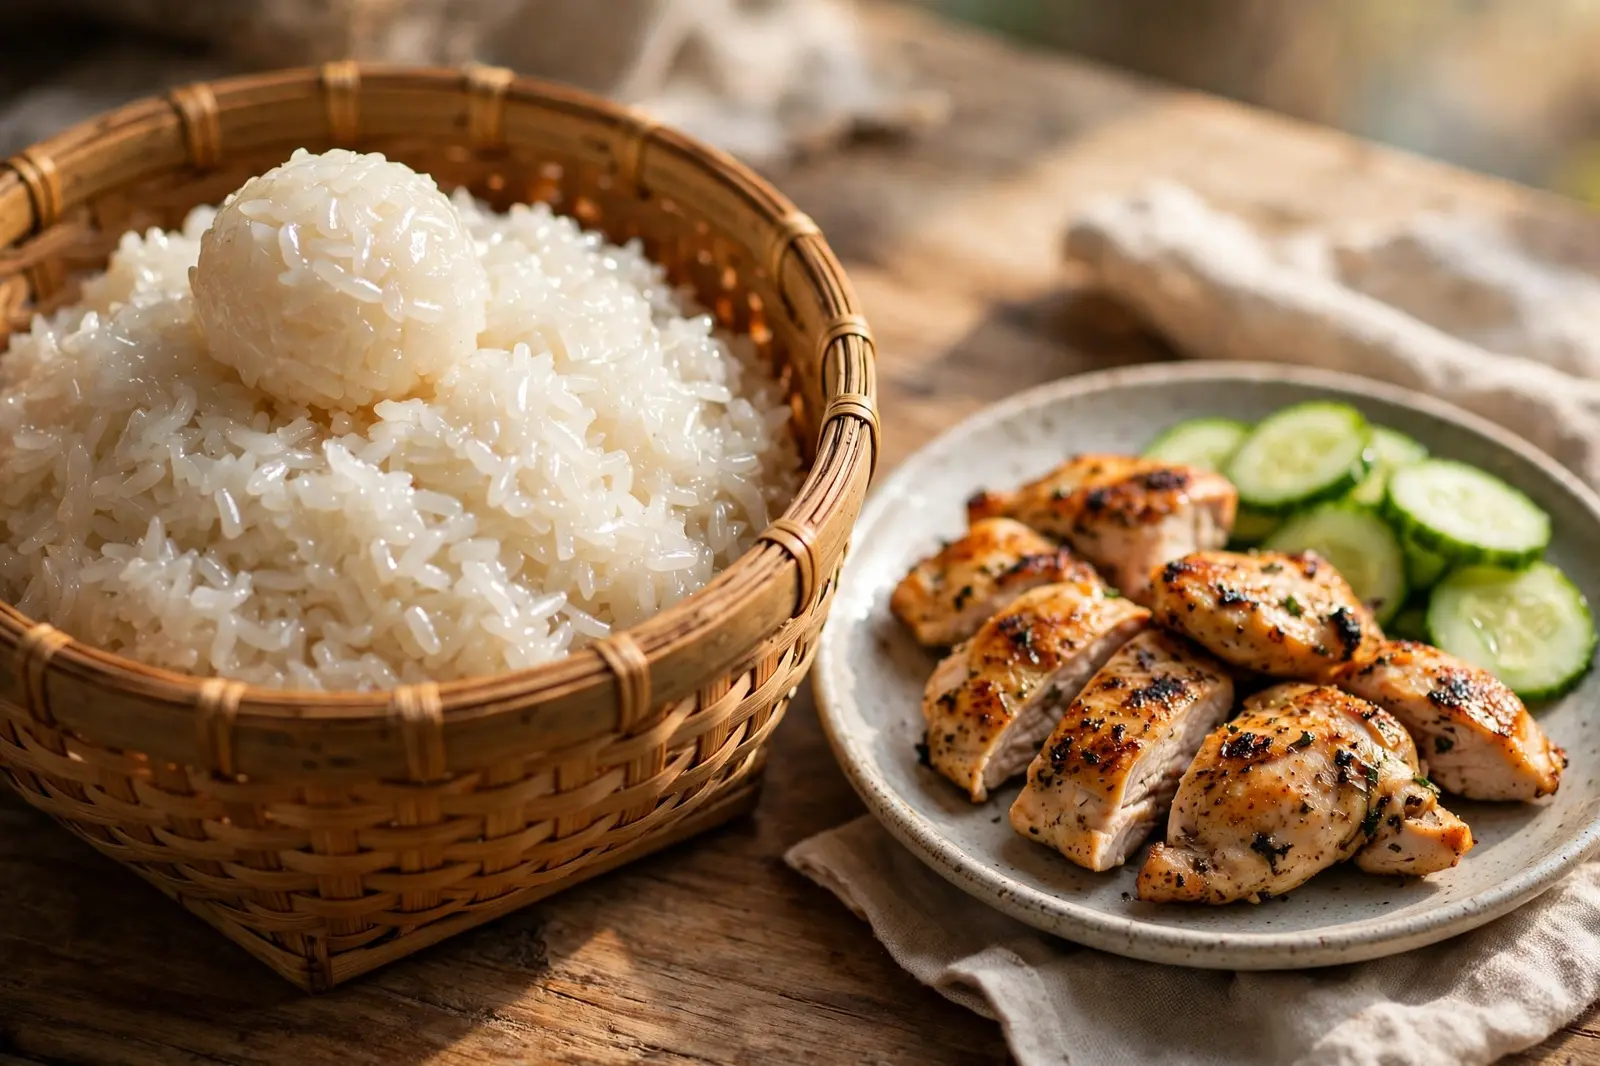
Sticky rice is served warm, not piping hot. In Thai and Lao meals, it is shaped into small balls with clean, slightly damp hands and eaten alongside grilled meats, salads, and dips. Leftovers keep in the refrigerator for up to 3 days in an airtight container. To reheat, sprinkle with a little water, cover, and microwave in short bursts until warm and soft again, or re-steam for 5 minutes.
More Thai recipes
– Mango Sticky Rice, the classic dessert for your first batch – Thai Green Curry with Chicken, rich and coconutty, great over warm sticky rice – Pad Thai with Shrimp, the weeknight noodle dish everyone asks for – Som Tum: Thai Green Papaya Salad, bright and crunchy on the side