
A small bowl of crisp garlic chips can change a plain bowl of noodles or rice. The chips add crunch and a sweet, toasted garlic flavor that raw or cooked garlic does not give you. They take about 15 minutes from start to finish, and one head of garlic makes enough to top several meals. This guide covers slicing, frying, and storing, so the chips come out golden and stay crisp.
What garlic chips are
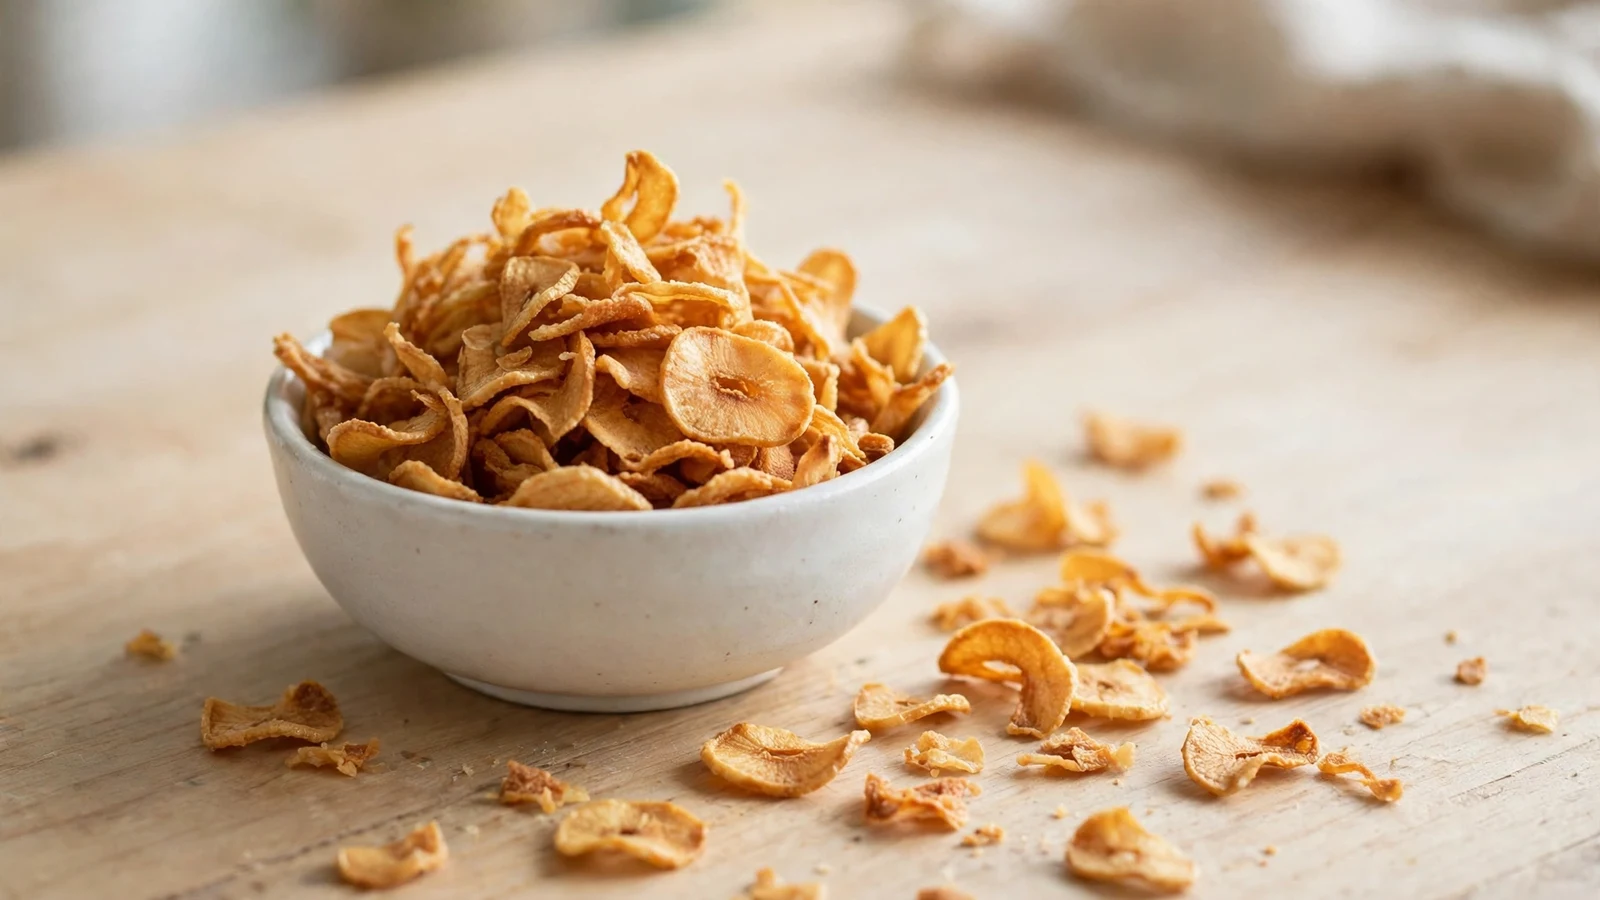
Garlic chips are thin slices of garlic fried in oil until golden and crisp. They show up across pan-Asian cooking: scattered over Vietnamese noodle bowls and rice dishes, spooned onto Thai fried rice, and used as a finishing touch on Chinese stir-fries and soups. Unlike garlic that is minced and cooked into a dish, chips are a topping. They go on last, right before serving, so they keep their crunch.
Store-bought garlic chips exist, but they are often fried too dark and taste bitter. At home you control the color, and that control is the whole trick. Garlic goes from pale gold to burnt in under a minute, so the cook who watches the pan wins.
Pick firm, fresh garlic
Start with a firm head of garlic with tight skin and no soft spots. One medium head, about 10 cloves, makes roughly 1/3 cup of chips, enough for 4 to 6 servings as a topping. Peel the cloves and trim off any green sprout in the center, since sprouts taste bitter once fried.
Cloves from the same head vary in size, so sort them before you slice. Fry the large slices and the small slices in separate batches if you can. Small pieces brown faster, and a mixed batch gives you burnt bits next to pale ones. If you use pre-peeled garlic, pick cloves that are close in size and check them for soft spots first.
Slice thin and even
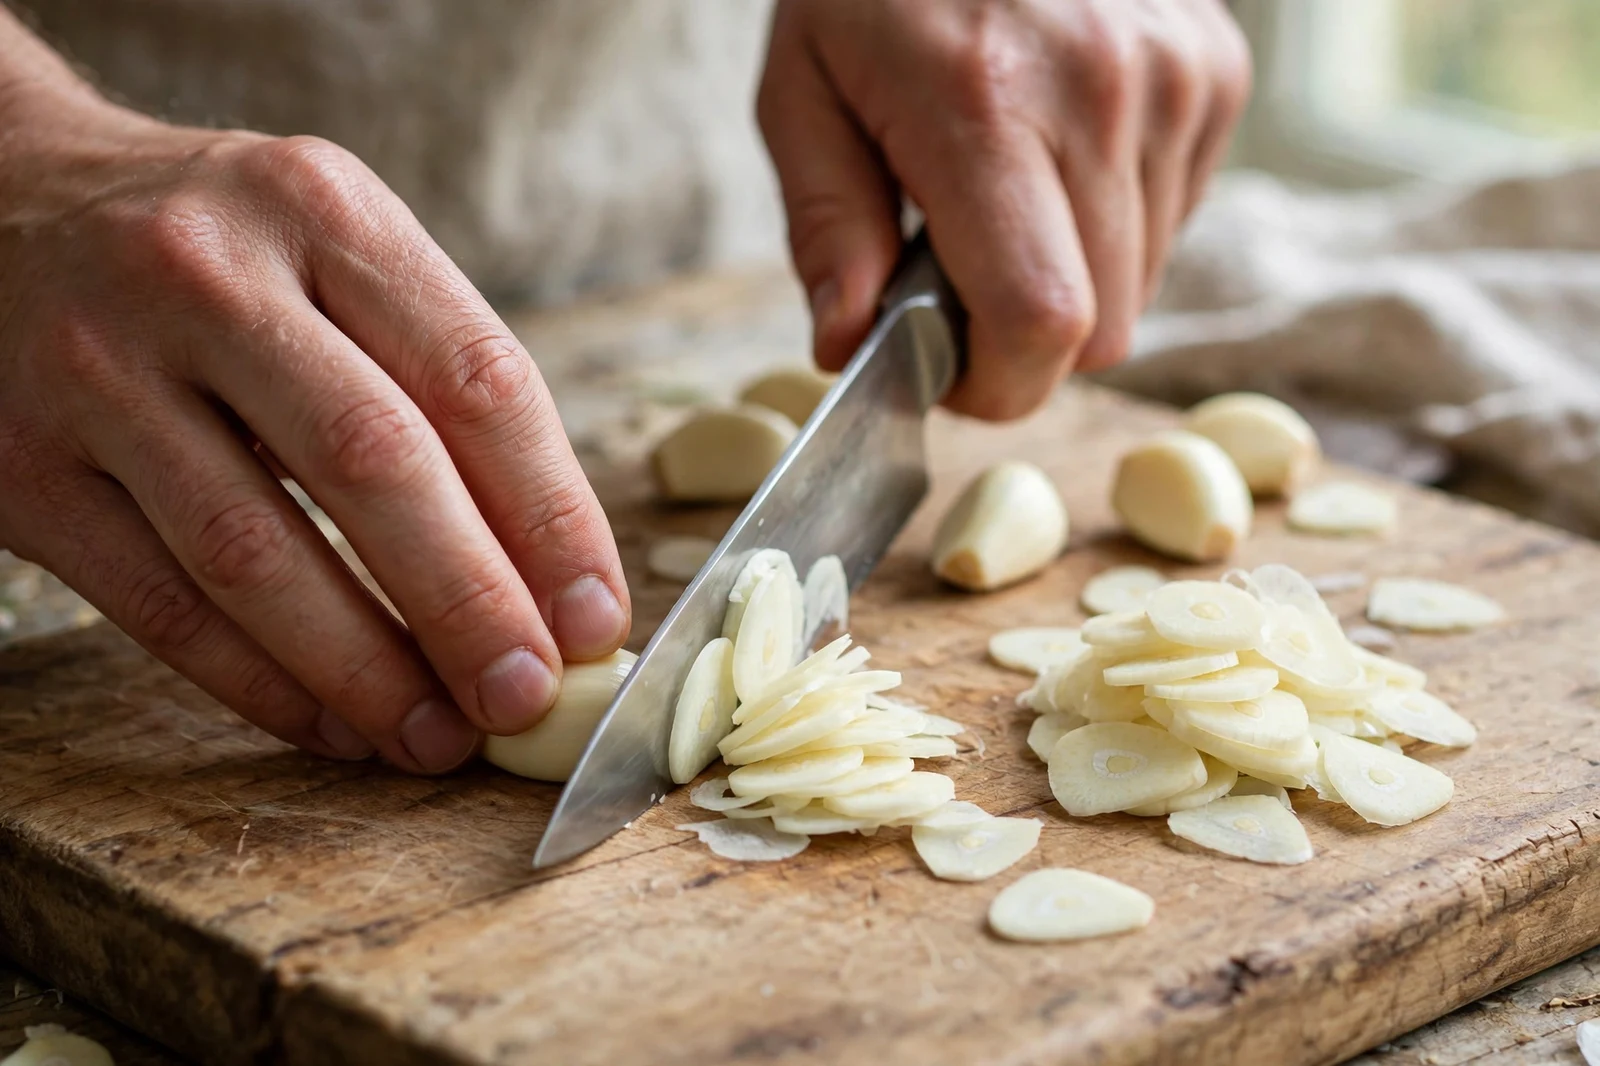
Even slices are what make the chips fry evenly. Aim for slices about 1 millimeter thick, thin enough to read print through. A sharp chef's knife does this well. Lay each clove flat side down, hold it steady with flat fingers, and cut slow, steady slices. A mandoline set to its thinnest setting works too, but use the hand guard, since garlic cloves are small and your fingers get close to the blade.
Pat the slices dry with a paper towel before frying. Wet slices spit in hot oil and fry unevenly. If a few slices are thicker than the rest, set them aside for cooking into a sauce later rather than mixing them into the chip batch.
Fry low and watch the pan
This is the step that decides the result. Garlic burns fast, so the oil stays at a gentle heat, around 300 to 325 degrees Fahrenheit, well below the heat used for deep-frying most foods.
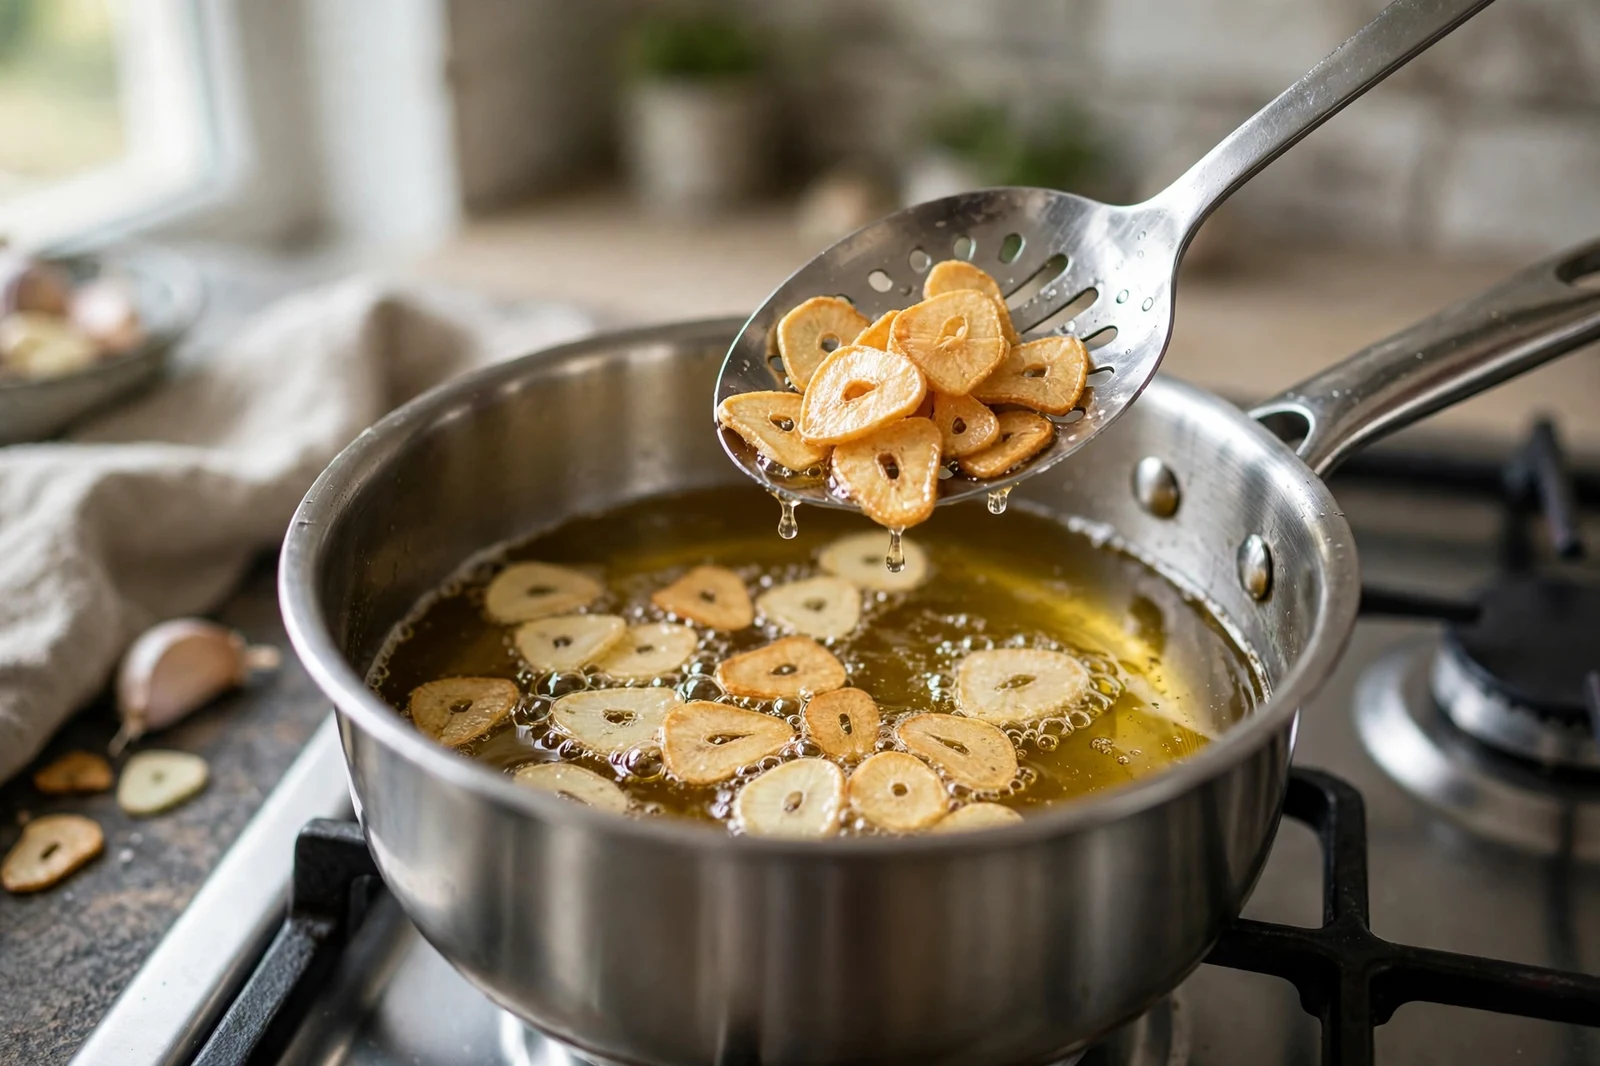
Pour 1/2 cup of neutral oil, such as vegetable or peanut oil, into a small saucepan or skillet. Add the garlic slices while the oil is still cold, then set the pan over medium heat. Starting cold lets the garlic warm up with the oil, so the slices cook evenly instead of scorching on contact. Stir often with a slotted spoon or chopsticks, keeping the slices moving and separated.
After 4 to 6 minutes the oil will start to bubble around the slices and the garlic will turn pale gold. That pale gold is your signal to stop. Pull the chips out right away with the slotted spoon. They keep cooking in their own heat after they leave the oil, so chips that look done in the pan will be dark brown by the time they reach the bowl. I pull mine when they are the color of light straw, and they finish at a deep gold on the rack.
Work in two batches if your pan is small. Crowding drops the oil temperature and the slices steam instead of crisping. Let the oil come back to a gentle bubble before the second batch goes in.
Drain, salt, and cool
Spread the chips in a single layer on a wire rack or a plate lined with paper towels. Sprinkle them with a pinch of flaky salt while they are still warm, so the salt sticks. Leave them uncovered for 10 minutes until they are fully cool and crisp to the touch. Covering them while warm traps steam and softens them, so wait until they are cool before they go into a jar.
Taste one before you store the batch. A good chip snaps cleanly and tastes sweet and toasted, with no bitter aftertaste. If the batch tastes bitter, the oil was too hot or the chips stayed in too long. Note the heat and timing for next time, and use the bitter batch in a cooked sauce, where the bitterness fades, rather than as a topping.
Store them so they stay crisp
Once fully cool, move the chips to a small airtight jar and keep them at room temperature. Stored this way they stay crisp for up to 2 weeks. Keep the jar dry, and use a dry spoon each time, since even a little moisture softens the whole batch.
Do not refrigerate the chips. The cold air in a fridge adds moisture and they lose their snap within a day or two.
Strain the leftover frying oil through a fine strainer and save it too. That garlic oil is good for drizzling over noodles, rice, and steamed vegetables. Keep it in a sealed jar in the refrigerator and use it within a week. Garlic oil should never sit at room temperature for storage, so the fridge is the right place for it.
Ways to use them
Garlic chips are a finishing touch, not an ingredient to cook into a dish. Scatter them over noodle soups right before serving, spoon them onto fried rice, or top a bowl of steamed rice and a fried egg with a spoonful. They are good on salads, congee, and grilled vegetables too, anywhere you want crunch and toasted garlic flavor in the same bite.
Pair them with crispy shallots for a two-crunch topping, or stir a spoonful into homemade chili oil for extra texture. Either way, add them last and serve right away, since steam from hot food softens them over a few minutes.

When they go wrong: fixes
Chips that turn dark brown and bitter almost always mean the oil was too hot or the chips stayed in past pale gold. Next time, lower the heat, start the garlic in cold oil, and pull the batch earlier. The color after cooling is always darker than the color in the pan.
Chips that stay pale and bend instead of snapping usually mean the slices were too thick or the oil was too cool. Slice thinner, and wait for a steady gentle bubble before you judge the color.
Chips that stick together in a clump usually mean the slices went in wet or crowded. Pat them dry, stir often, and fry in smaller batches.
Chips that go soft in the jar usually mean they went in warm or the jar was not dry. Cool them fully on a rack first, and check the jar for moisture before you fill it.
For a similar crisp-topping technique, my guide to frying tofu so it stays crisp covers the same rules of dry surfaces, hot oil, and uncovered cooling, applied to a different food.
More kitchen guides
– How to Make Crispy Shallots at Home, the same thin-slice and low-heat method for a second topping – Chili Oil 101: Make It at Home, a pantry staple that takes garlic chips well – How to Fry Tofu So It Stays Crisp, dry surfaces and hot oil for a golden crust – How to Reheat Fried Food So It Stays Crispy, for bringing fried leftovers back to life