
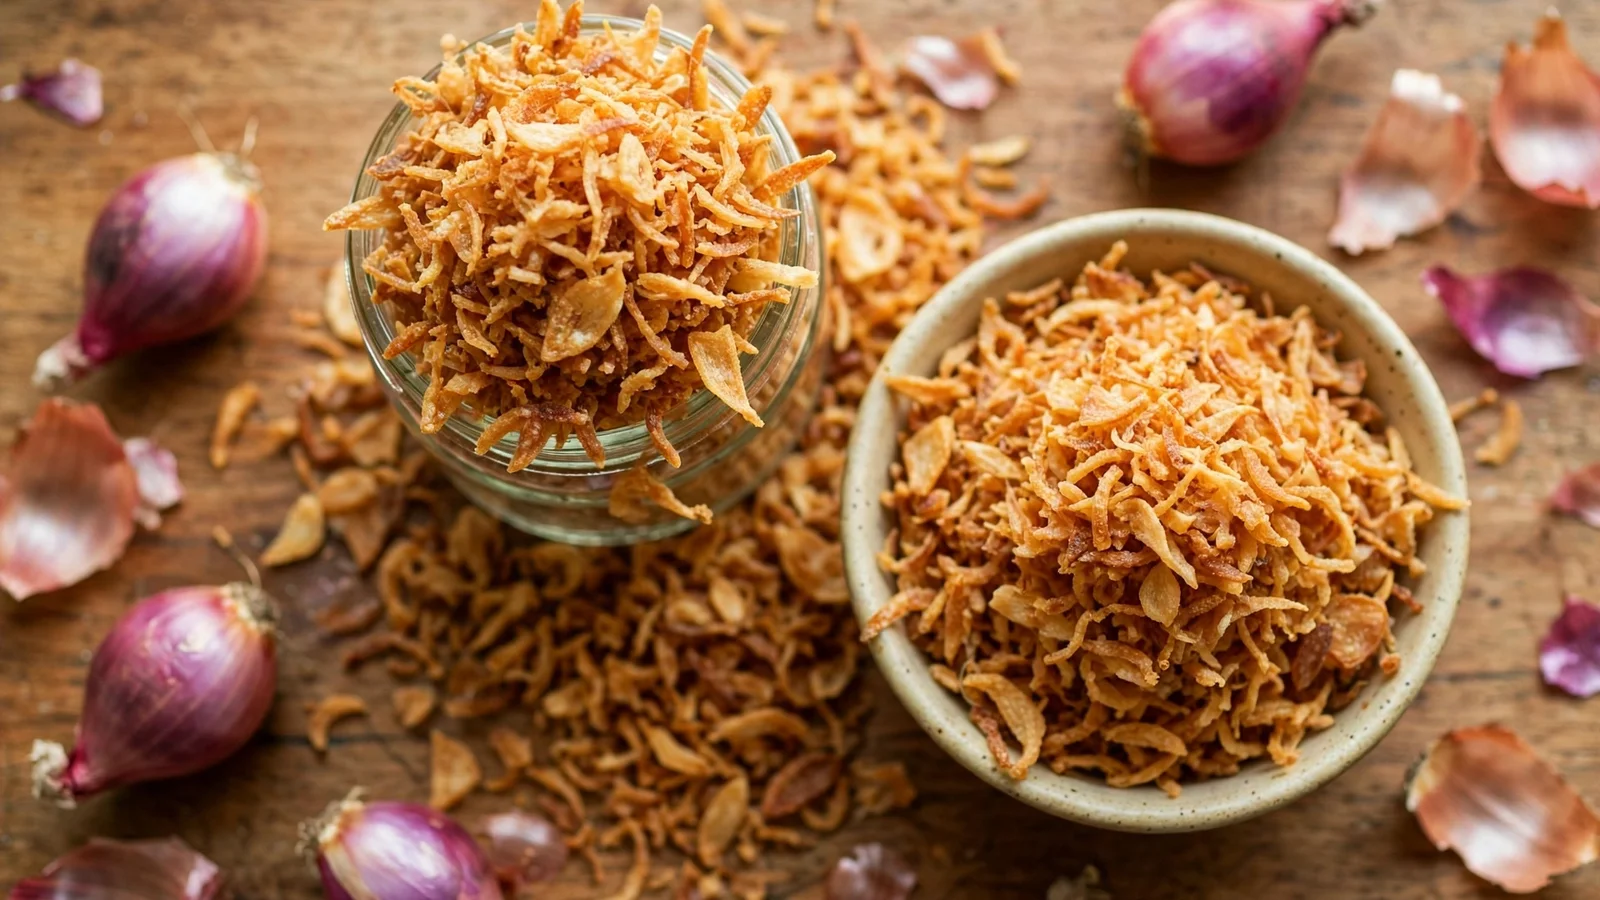
A small jar of crispy shallots changes weeknight cooking fast. Sprinkle them over fried rice and the whole bowl wakes up. Scatter them on noodle soup and you get crunch in every spoonful. Fold them into a salad and suddenly the dressing has something to play against. Store-bought versions work in a pinch, but homemade ones taste cleaner, stay crunchier, and cost a fraction of the price. The method is simple. The details are what separate pale, chewy bits from the deep golden shards you actually want.
This guide walks through picking the right shallots, slicing them evenly, frying them low and steady, and storing them so they stay crisp. If you are building out a pantry of flavor boosters, it pairs naturally with the essential Asian pantry guide and a batch of homemade chili oil once that recipe is in your rotation.
What Crispy Shallots Are and Where You Will Use Them
Crispy shallots are thin shallot slices fried in oil until the water cooks out and the natural sugars turn golden and sweet. Across Southeast Asian cooking they show up everywhere. In Vietnam they crown bowls of pho and broken rice. In Thailand they finish salads and soups. In Malaysia and Indonesia, fried shallots (bawang goreng) sit on the table like a condiment, ready for rice, noodles, and curries.
At home, keep a jar within reach for:
- Fried rice and noodle dishes that need a crunchy finish, like kimchi fried rice
- Brothy soups where a soft texture dominates and you want contrast
- Green salads and slaws, especially ones with herbs and citrus
- Congee, porridge, and steamed rice with a drizzle of soy sauce
- Mashed potatoes, roasted vegetables, and grain bowls
- Sandwiches and wraps where onion flavor should stay mellow, not sharp
The flavor is sweet and savory at once, closer to a caramelized onion chip than to raw onion bite. That is why a tablespoon goes a long way.
Choosing Shallots That Fry Up Crisp
Start with firm shallots. Asian shallots, the small reddish-purple ones sold in nets at Asian markets, are the classic choice. They are drier than most Western shallots, slice into neat rings, and fry up especially crisp. If you only have larger French shallots, those work too. The slices will be bigger and a touch milder, but the method stays the same.
Look for bulbs that feel heavy for their size, with tight, papery skin and no soft spots. Skip any with green sprouts pushing through the top or dark, damp patches under the skin. You want dry bulbs. Extra moisture in the shallot means a longer fry and a higher chance of uneven color.
How many do you need? About 1 pound (450 g) of shallots makes roughly 2 cups of crispy shallots, and they shrink a lot as the water leaves. That sounds like a big batch until you start using them on everything. The oil left behind is a bonus. Shallot oil is deeply flavored and wonderful for stir-fries, dressings, and drizzling over steamed greens, much like the aromatic oil in scallion oil noodles.
The One Tool That Matters Most: Even Slices
Uneven slices are the number one reason a batch burns in spots. Thick pieces stay pale and soft while thin edges scorch. You have two good options.
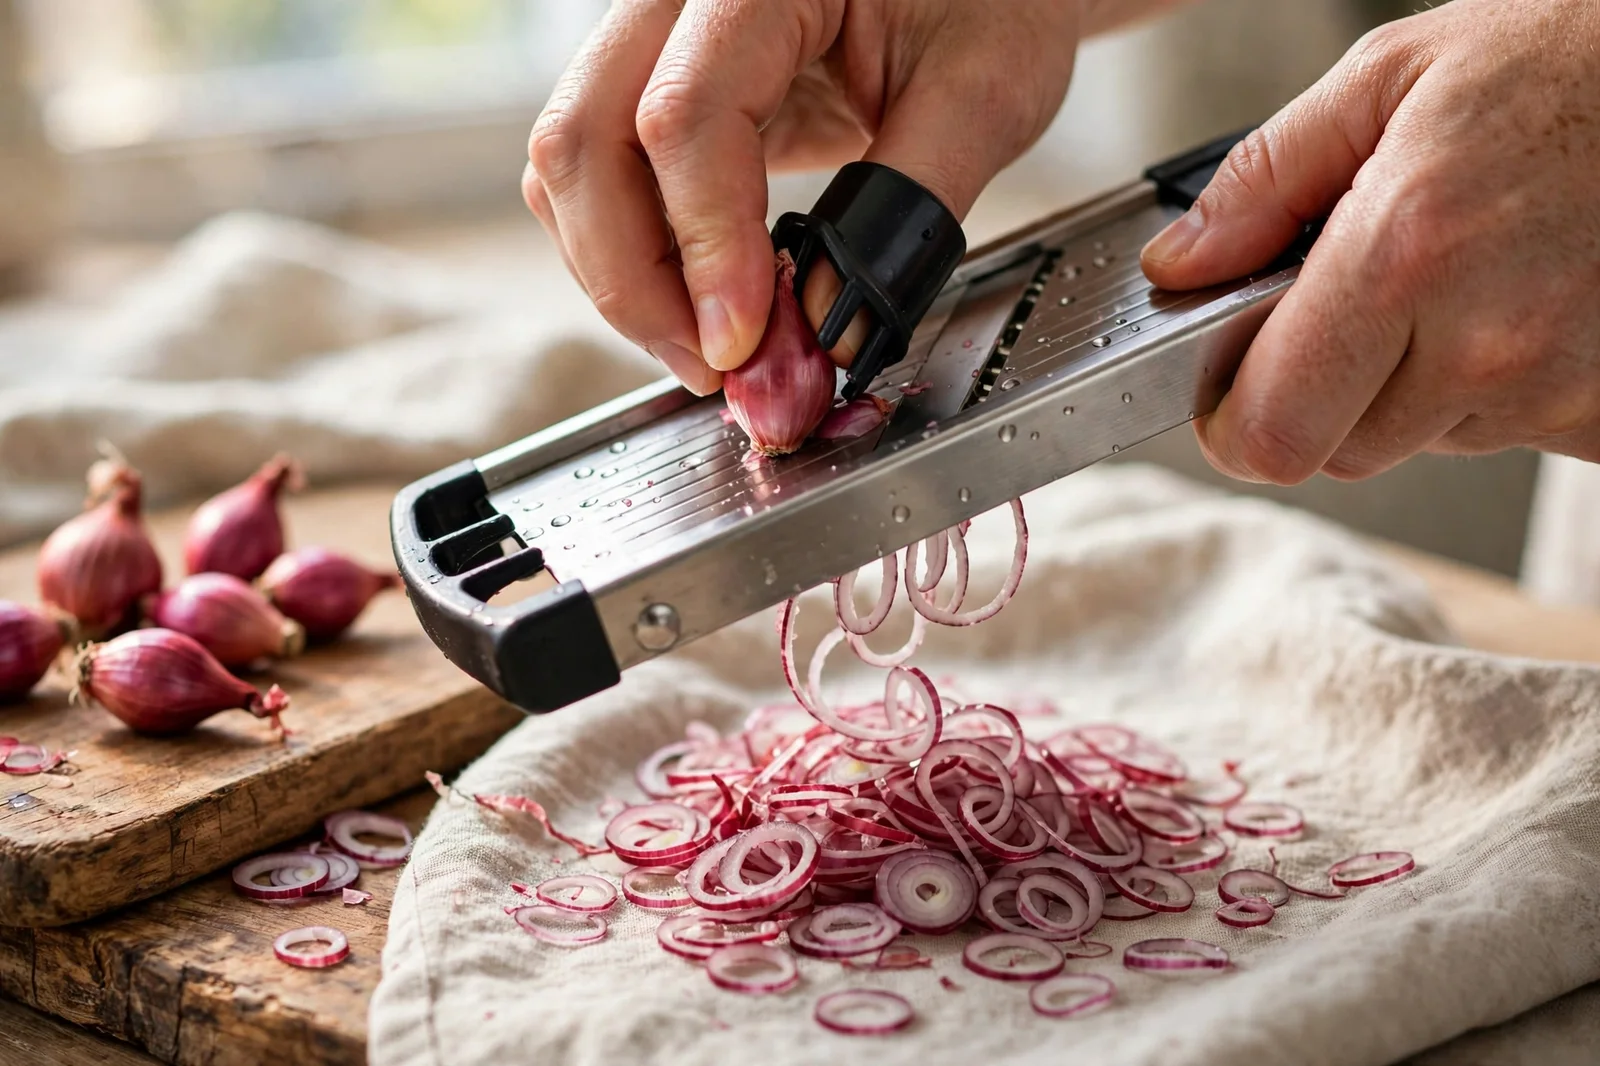
A mandoline set to about 1/16 inch (1.5 mm) gives the most even results. Work slowly, use the guard, and stop before your fingers get anywhere near the blade. If you do not own a mandoline, a sharp chef’s knife works fine. Slice the shallot in half from root to tip, lay the flat side down, and cut crosswise into thin half-rings. Take your time on the first few slices. A steady rhythm matters more than speed.
After slicing, pull the rings apart gently with your fingers and spread them on a clean towel for 10 to 15 minutes. That short air-dry pulls off surface moisture and helps the slices fry instead of steam. Some cooks toss the slices with a pinch of salt and let them sit for 10 minutes, then pat them dry. The salt draws out a little more water and seasons the finished shallots from the start. Either approach works. Do not rinse the slices. You want them dry going into the oil.
Step by Step: Frying Low and Steady
Here is the full method. Read it once before you start, because the last minute moves quickly.
You will need:
- 1 pound (450 g) shallots, peeled and sliced thin (about 1/16 inch / 1.5 mm)
- 1 1/2 to 2 cups (360 to 480 ml) neutral oil, enough to cover the slices by about 1/2 inch
- 1/2 teaspoon fine salt, plus more to finish
- Optional: 1 teaspoon rice flour or cornstarch for extra insurance on crunch
Method:
- Spread the sliced shallots on a towel for 10 to 15 minutes. If using, toss them with the salt and the rice flour or cornstarch until the slices look lightly dusted.
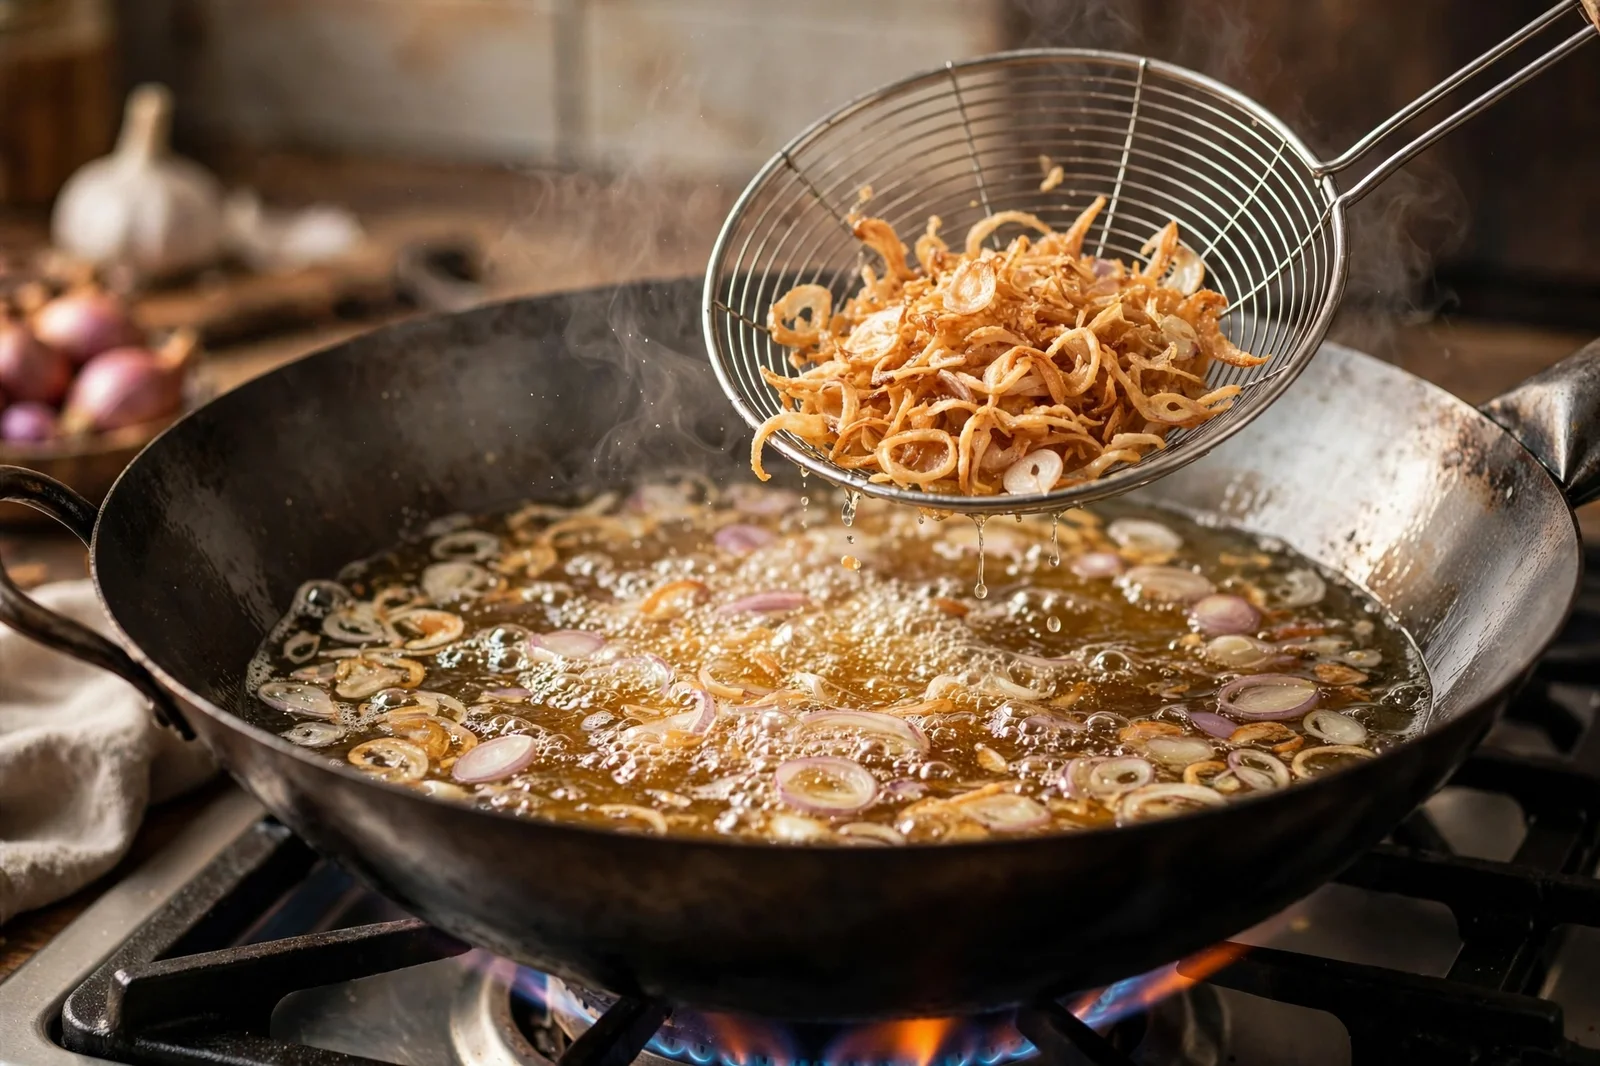
- Pour the oil into a wide, heavy pan or wok. Add all the shallots to the cold oil and spread them into an even layer. Starting in cold oil sounds odd, but it lets the slices heat gradually, cook evenly, and give up their water without shocking into dark edges.
- Set the pan over medium heat. In a few minutes you will see small bubbles forming around the slices. Stir gently every minute or so with a spider strainer or heatproof spatula so nothing sticks in a clump.
- Keep the heat at medium to medium-low. The bubbles will grow more active as the water cooks out. This stage takes roughly 12 to 18 minutes depending on slice thickness and pan size. Do not walk away for long. Stir often enough that the slices move and separate.
- Watch the color, not the clock. When the bubbles slow down and the shallots turn a light golden color, pull the pan off the heat right away. The slices keep cooking in the hot oil and will deepen one more shade in the next 30 seconds. This is the moment most batches burn, so trust your eyes over any timer.
- Scoop the shallots onto a paper towel-lined plate or a fine strainer set over a bowl. Spread them out in a thin layer so steam escapes. They will feel soft at first and turn crisp as they cool, usually within 5 minutes.
- While they are warm, sprinkle with a pinch of salt and toss gently. Let them cool completely before jarring.
- Strain the cooled oil through a fine sieve into a clean jar. Store the shallot oil in the fridge for up to a month and use it anywhere you would use a finishing oil.
If the shallots darken too much, they will taste bitter no matter what you do with them. A pale batch can go back into warm oil for another minute. A burned batch cannot be saved, so always err on pulling them early.
Troubleshooting the Common Problems
Some pieces are dark, others are pale. Your slices were uneven, or the pan was crowded. Slice thinner and more evenly next time, and fry in two batches if your pan is small. The slices should move freely in the oil.
The shallots turned out chewy, not crisp. They came out of the oil too early, or they sat in a pile and steamed while cooling. Spread them wide on the towel so air can reach every piece. If a cooled batch is still soft, you can recrisp it in a 300°F (150°C) oven for 5 to 8 minutes.
The shallots taste bitter. They went past golden into brown. Shallot sugars darken quickly at the end. Pull the pan off the heat when the slices look one shade lighter than your target, because carryover color is real.
The oil foamed up a lot. Fresh shallots carry water, and water makes foam. That is normal in the first half of frying. Keep the pan no more than half full of oil and slices so the foam has room, and lower the heat slightly if it climbs.
The color looks good but the crunch fades by day two. Moisture got into the jar. Cool the shallots fully before sealing, keep the jar away from steam, and take out what you need with a dry spoon. A small food-safe silica packet in the jar helps in humid kitchens.
Storage That Actually Keeps Them Crisp
Let the shallots cool to room temperature, then transfer them to a clean, dry glass jar with a tight lid. Stored in a cool, dark pantry, they stay crisp for 3 to 4 weeks. In the fridge they can last longer, but bring them to room temperature before serving so the crunch comes back. For the longest keeping, freeze them in a sealed bag for up to 3 months and recrisp in a low oven for a few minutes after thawing.
Keep the jar sealed between uses. Every time you open it over a steaming pot, moisture drifts in. Scoop out what you need, close the lid, then sprinkle.
Five Fast Ways to Use a Fresh Batch
- Spoon over a bowl of classic miso soup right before serving for a sweet crunch against the savory broth.
- Toss a handful over fried rice in the last 30 seconds so the pieces stay crisp.
- Mix into a cucumber salad with lime juice, fish sauce, and herbs for a Thai-leaning side.
- Layer into a banh mi or any sandwich where pickled vegetables already bring the tang.
- Stir into steamed greens with a spoonful of the reserved shallot oil and a splash of soy sauce.
Once you have a jar on the counter, you will find your own favorites quickly. Crispy shallots are less a recipe than a habit, and it is one of the easiest habits in Asian home cooking to pick up.