
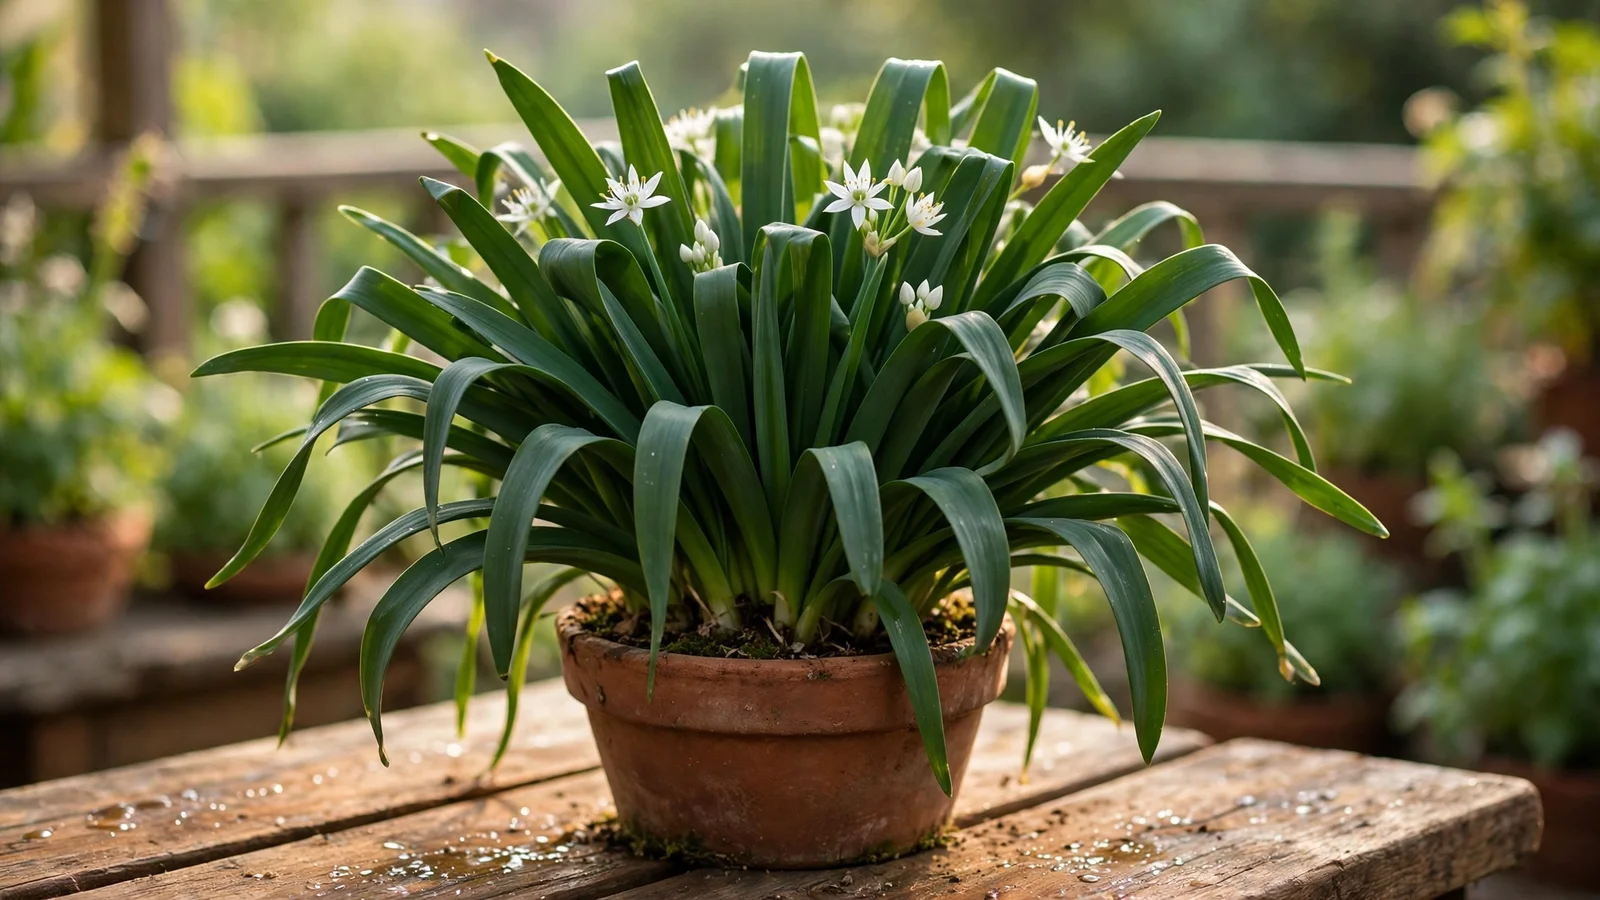
Garlic chives are the herb that keeps its end of the bargain. You plant them once, in a pot that fits on a balcony railing or a kitchen stoop, and they come back for years, pushing up flat green blades with a mild garlic-onion flavor that wakes up everything from dumplings to scrambled eggs. Gardeners sometimes call them Chinese chives or jiu cai, and in Korean markets you’ll see them labeled buchu — same plant, endless uses.
Unlike many herbs that fade after one good season, garlic chives are true perennials in most climates. They shrug off a light frost, regrow within days of a cutting, and even reward you with pretty white star-shaped flowers in late summer. If you have one sunny corner and a pot with a drain hole, you have everything this plant asks for.
This guide walks through the whole container routine: choosing the pot, mixing the soil, sowing seed or splitting a clump, watering without drowning the roots, cutting so the plant keeps producing, and handling winter so the same clump greets you next spring. If you’re already growing a few pan-Asian herbs, garlic chives settle in happily next to culantro and a pot of Thai chili peppers.
Why Containers Suit Garlic Chives So Well
Garlic chives spread politely in a pot. In open ground they self-seed with enthusiasm — drop one flower head and you’ll find seedlings popping up in the path stones next spring. A container keeps that energy where you want it: close to the kitchen door, easy to water, and simple to move.
Containers also solve the two things this plant dislikes. It wants steady moisture but hates sitting in cold, soggy soil through winter, and a pot on a raised stand drains far better than a clay-heavy bed. And because the clump lives in a known volume of soil, feeding it takes thirty seconds instead of a guessing game across a whole garden bed.
There’s a bonus for small-space growers: garlic chives grow upright and tidy, and a single 10-inch pot looks ornamental even if you forget to harvest for a month.
Choosing the Pot and Soil
Size matters more than material here. Garlic chives build a dense mat of white roots, and a cramped pot means thin, yellowing blades by midsummer.
- Diameter: 10 inches minimum for a starter clump; 12–14 inches is better if you plan to harvest often.
- Depth: at least 8 inches. The roots run deeper than you’d expect for an herb.
- Drainage: non-negotiable. One clear hole beats five blocked ones — set the pot on feet or a saucer you empty after watering.
- Material: terracotta breathes and dries fast, which suits warm climates; plastic or glazed ceramic holds moisture longer and suits hot, windy balconies. Either works if you adjust watering to match.
For soil, reach for a quality all-purpose potting mix and improve it slightly. A good blend is roughly three parts potting mix to one part compost, plus a handful of perlite per pot if your mix feels heavy. Garlic chives like soil that stays evenly moist but releases water freely. Garden soil straight from the yard compacts in pots and invites root rot, so skip it.
Starting from Seed or a Divided Clump
You have two honest routes, and both work.
From seed is slow but cheap. Garlic chive seed stays viable for about a year, so buy fresh. Sow in early spring, indoors under lights or outside once nights stay above 50°F. Scatter seed on moist mix, cover with about 1/4 inch of soil, and keep it damp. Germination takes 10 to 20 days. The seedlings come up looking like single blades of grass — thin, patient, easy to underestimate. They won’t give a real harvest the first season, but by year two the clump thickens into something you can cut weekly.
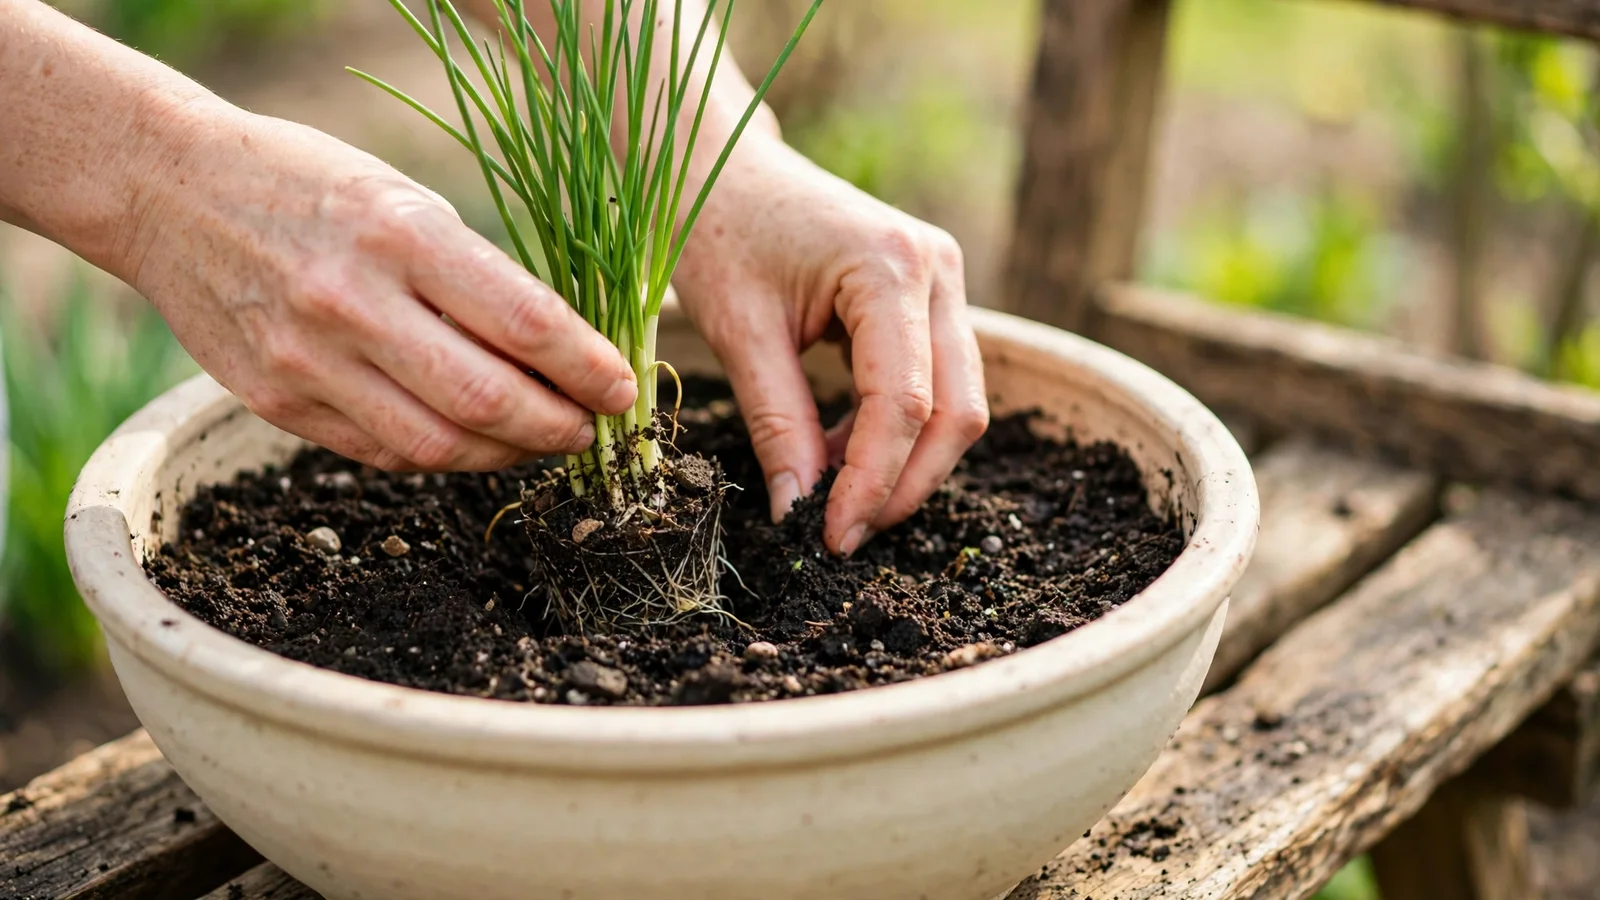
From a division is the fast lane. A friend with an established clump can slice off a wedge with a spade in spring or early fall. Or buy a nursery pot and split it into two or three sections before planting. Each section needs roots plus a few growing points. Plant divisions at the same depth they were growing, water deeply, and you’ll be snipping blades within weeks.
Planting Day, Step by Step
- Fill the pot to within an inch of the rim with your soil blend and water it once so it settles.
- For divided clumps, tease the roots apart gently and spread them over the soil surface. For nursery starts, keep the root ball intact.
- Set each clump so the crown — where blades meet roots — sits just at soil level, not buried.
- Space multiple clumps about 4 inches apart in a wide pot. They will knit together into one green mass by midsummer.
- Water thoroughly until it runs from the drain hole, then mulch the surface with a thin layer of straw or shredded bark to slow evaporation.
Light, Water, and Food
Garlic chives want six hours of sun for the thickest, darkest blades. In very hot climates, afternoon shade keeps the tips from scorching. On a windowsill, a south- or east-facing window works; leggy, pale growth means the plant needs more light, not more fertilizer.
Watering is the one habit that makes or breaks a pot of garlic chives. The goal is evenly moist, never swampy. A practical rhythm: water deeply when the top inch of soil feels dry to the touch, then let the excess drain away completely. In summer heat that might mean every other day; in cool spring weather, twice a week is plenty. Wilting between waterings now and then is survivable, but repeated drought makes the blades tough and fibrous.
Feeding stays simple. Work a slow-release balanced fertilizer into the soil at planting, then give the pot a half-strength liquid feed every three to four weeks during the growing season. Compost tea or fish emulsion both suit this plant. Go easy — garlic chives pushed with heavy nitrogen grow fast but taste watery.
Cutting Without Weakening the Plant
The harvest rule is simple: cut high, cut often. Snip the outer blades first, taking them about an inch above the soil line with clean scissors. Never shear the whole clump to the ground in one go during its first year; after that, a full haircut every few weeks is fine and actually keeps fresh, tender growth coming.
A healthy established clump regrows to cutting size in about two weeks in warm weather. If you cut and the new blades come up yellow and thin, the pot is hungry or root-bound — feed it, and plan to divide it in the fall or spring.
Kitchen timing matters too. Blades cut in the morning hold their snap longer in the fridge. For storage tricks that keep cut herbs fresh for a week or more, see How to Store Fresh Herbs So They Last Longer.
Flowers, Seeds, and the Self-Sowing Question
By late summer, flat-topped clusters of white flowers open at the top of stiff stalks. They’re genuinely pretty, bees work them all day, and the blossoms themselves are edible — scatter them over a salad or fold them into an omelet and you get the garlic flavor in its gentlest form.
If you let the flowers mature, the heads fill with black seeds. That’s free planting stock and also the moment containers earn their keep: deadhead spent flowers unless you want seed. To save seed, let one or two heads dry on the plant until the capsules split, then shake them into a paper bag. Sow fresh seed the following spring for the best germination.
One honest warning: an uncut flower head dropped into the pot gives you a dense mat of seedlings next spring. Some growers love that self-renewal. If you don’t, snip the stalks as the petals fade.
Winter Care and Dividing Old Clumps
In zones 7 and warmer, garlic chives often stay green through a mild winter. Colder than that, the tops die back and the roots wait it out. For container plants, the risk isn’t cold air — it’s a frozen, waterlogged pot. Move pots against a sheltered wall, raise them off cold concrete, and water sparingly, just enough that the soil never turns to dust.
In very cold climates (zone 5 and below), slide the pot into an unheated garage or bury it up to the rim in a garden bed for insulation. Growth resumes as soon as soil temperatures climb in spring.
Every two to three years, an old clump gets crowded: thick in the center, thin at the edges, slower to regrow. That’s your cue to divide. Tip the whole root ball out in early spring, cut it into wedges with a sharp knife or spade, replant the healthiest outer sections in fresh mix, and compost the woody center. Each wedge becomes a new pot — or a gift for the neighbor who keeps asking what smells so good on your balcony.
Troubleshooting the Usual Problems
- Thin, pale blades: almost always too little light or a tired, unfed pot. Move it to more sun and give it a liquid feed.
- Yellowing at the base: overwatering or blocked drainage. Ease off, clear the drain hole, and trim the mushy growth.
- Aphids on flower stalks: common in early summer. A firm jet of water knocks them off; repeat every few days for a week.
- Nothing sprouting from seed: old seed or soil that dried out during germination. Start over with fresh seed and keep the surface consistently damp.
Putting Your Harvest to Work
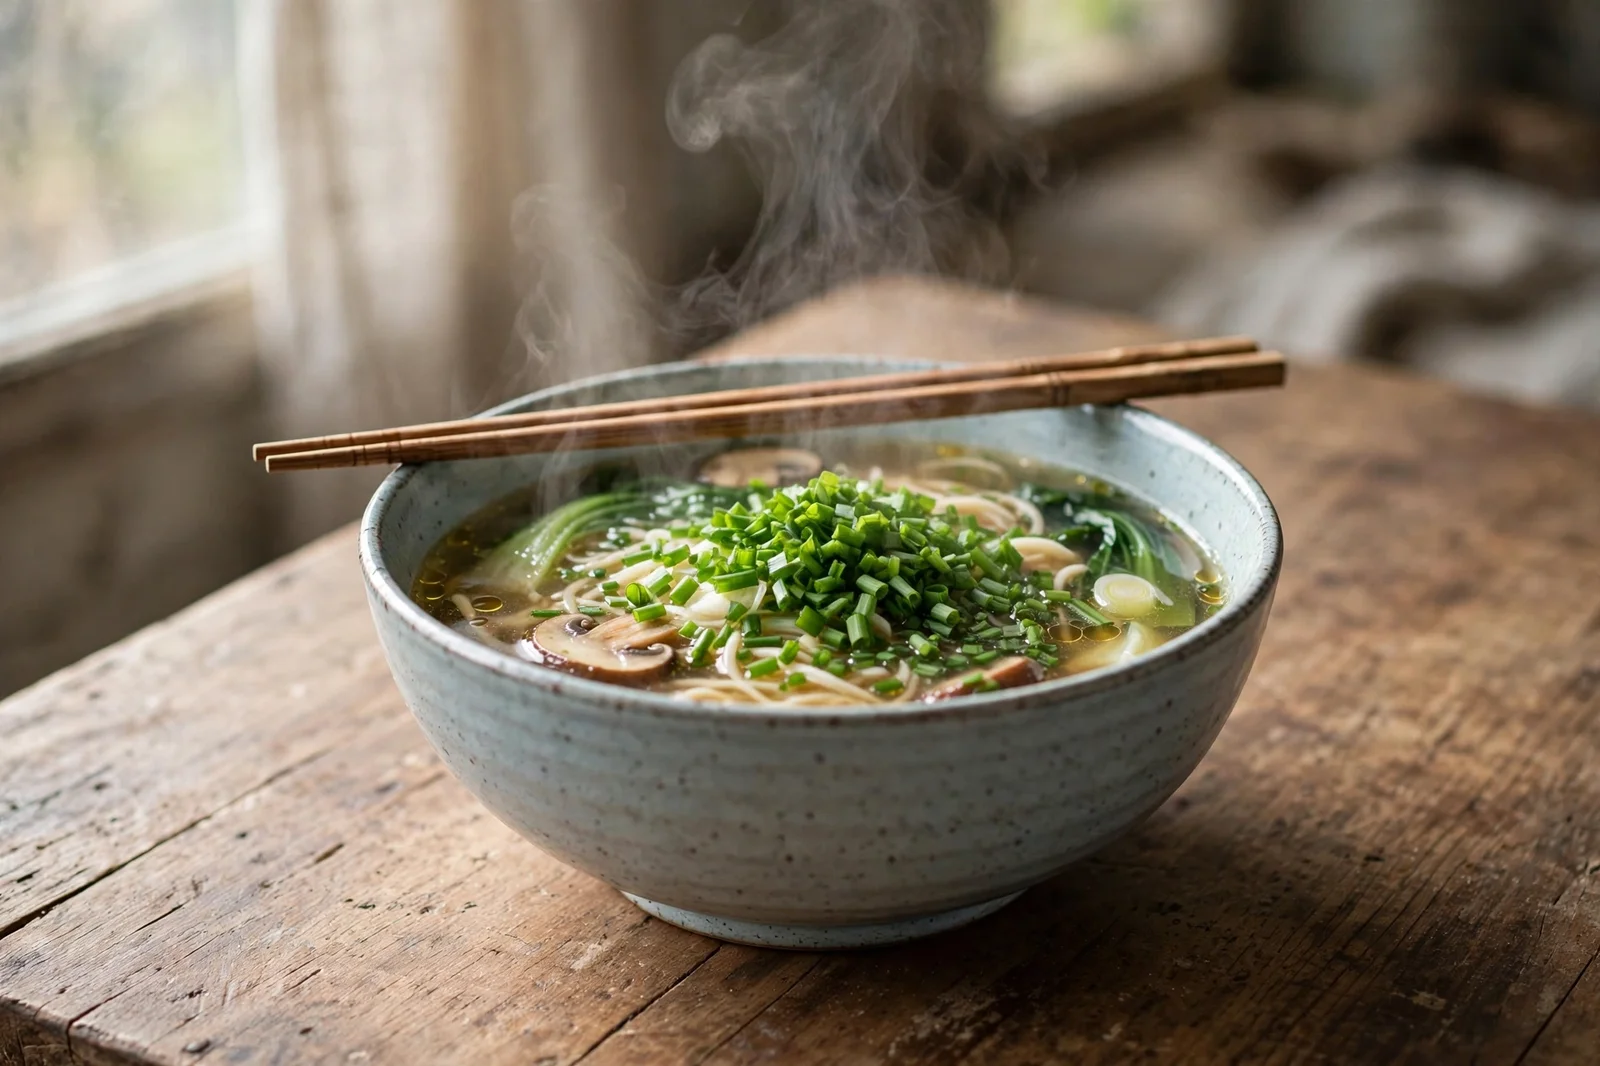
Garlic chives earn their pot the first time you snip a handful into a hot pan. They’re the backbone of Chinese chive-and-egg stir-fry, the green fleck in dumpling fillings and scallion pancakes, and a natural finisher for noodle soups — a raw handful over the bowl at the table gives you that fresh allium bite without the harshness of raw garlic. Stir them into soft scrambled eggs at the last second, or chop them fine over fried rice.
If your plant is producing faster than you can cook, the blades freeze well: wash, dry thoroughly, chop, and freeze in a thin layer in a small container. They lose their crunch but keep their flavor for soups and stir-fries. It’s a good problem to have — and with a perennial this generous, it’s a problem you’ll have every year.
1 thought on “Growing Garlic Chives in Containers”