
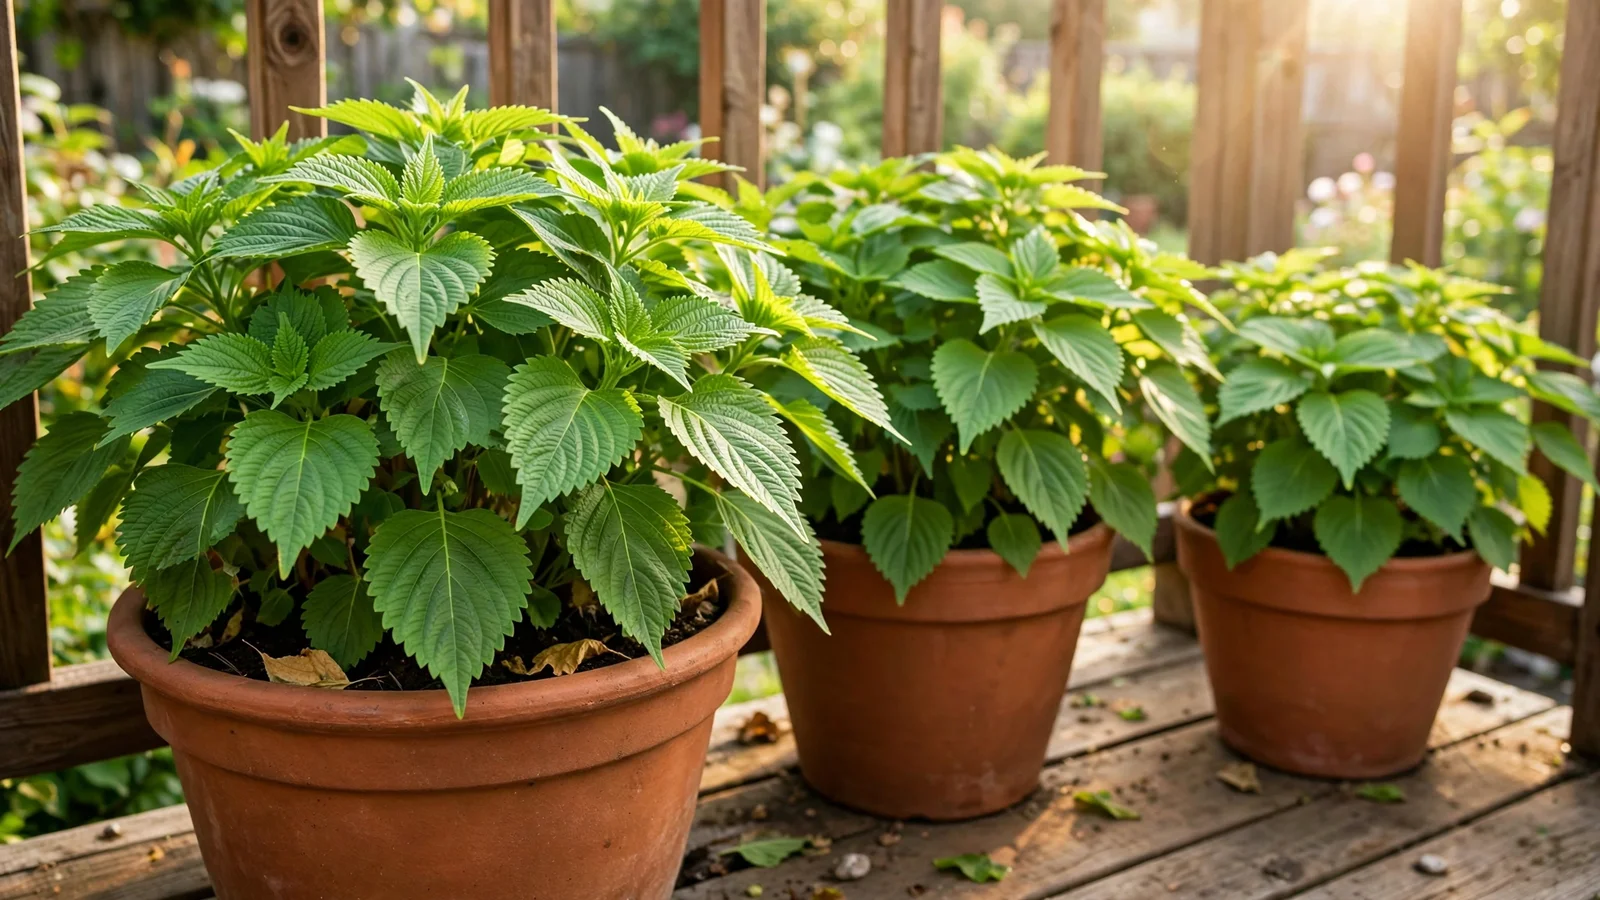
Perilla is the leaf that does three jobs at once. In Japanese kitchens it’s shiso, tucked under sashimi and fried into lacy tempura. In Korean cooking the bigger, rounder leaves — kkaennip — wrap grilled meat and rice, or get pickled in soy sauce until they turn silky and savory. Vietnamese cooks know a purple-backed cousin, tía tô, scattered fresh over noodle soups. All of it grows happily in a pot on a sunny balcony.
If you cook pan-Asian food at home, perilla is one of the most rewarding herbs you can grow, partly because it’s hard to buy well. Supermarket shiso wilts within a day or two, and Korean perilla leaves often only show up in Asian groceries for a short season. A pot by the kitchen door solves that: you pick leaves minutes before they hit the plate.
This guide covers the full container routine — which type to choose, how to coax the stubborn seeds awake, the pinching habit that keeps plants bushy instead of lanky, and how to save seed so next year’s crop costs you nothing. It pairs naturally with the other pot herbs in this series, like culantro and garlic chives, and a windowsill of perilla next to a Thai chili plant covers a surprising amount of weeknight cooking.
Green, Red, or Korean? Picking Your Perilla
All three types grow the same way in pots. The differences are leaf size, color, and how you’ll use them.
- Green shiso (aojiso): bright green, deeply serrated leaves with a clean, minty-citrus bite. This is the tempura and sashimi leaf, and the easiest type to find as seed.
- Red shiso (akajiso): purple-red leaves with a more earthy, less sweet flavor. It’s the traditional coloring for pickled plums and makes a beautiful ruby drink when steeped with a little sugar and lemon.
- Korean perilla (kkaennip): the largest leaves of the three — broad, heart-shaped, and sturdy enough to wrap a bite of rice and grilled pork without tearing. The flavor leans warmer and more basil-like. If wraps are your goal, grow this one.
- Vietnamese perilla (tía tô): green on top, purple underneath, with a sharper, almost lemony edge. Wonderful torn over hot noodle soup at the table.
One plant gives you plenty. Two plants — say a green shiso and a Korean perilla — give you options all season. Perilla is an annual, so it completes its life cycle in one year, but as you’ll see below, it replaces itself generously if you let it.
The Pot and the Soil
Perilla grows into a bushy plant two to three feet tall by midsummer, with a root system to match. Give it room from the start.
- Pot size: 12 inches across at minimum for one plant; a 14- to 16-inch pot or a wide planter can hold two. Shallow, cramped pots produce small, bitter leaves.
- Depth: at least 10 inches. Perilla sends down a strong taproot before it branches out.
- Drainage: one or more clear holes, and a saucer you actually empty. Soggy feet are the fastest way to lose this plant.
- Soil: a good all-purpose potting mix with about a quarter compost blended in. Perilla likes steady moisture and decent fertility — richer soil than you’d give Mediterranean herbs like rosemary. Skip straight garden soil; it compacts and drains poorly.
Terracotta dries fast in summer heat; plastic or glazed pots hold moisture longer and forgive a missed watering. Either way, mulch the surface with shredded bark or straw once the plant is established — it keeps the soil evenly moist and stops mud from splashing onto the lower leaves.
Starting from Seed (The One Fussy Step)
Perilla seed has a reputation: fresh seed sprouts willingly, old seed barely sprouts at all. Buy from a current-season packet, and use these tricks to wake it up.
- Soak the seeds in room-temperature water for 12 to 24 hours before sowing. This softens the hard coat and speeds things along.
- Fill a small pot or seed tray with fine, moist potting mix and firm it gently.
- Scatter seeds on the surface and press them in, then cover with only about 1/8 inch of mix — perilla germinates better with a little light reaching the seed.
- Mist the surface, cover with a clear lid or plastic wrap, and set it somewhere warm, ideally 65–75°F.
- Watch for sprouts in 7 to 14 days. Remove the cover as soon as they appear and give them your brightest light right away — leggy seedlings never quite catch up.
A week in the refrigerator helps stubborn seed. And if a packet fails you, don’t assume you did something wrong — perilla seed simply loses its spark after a year or so.
Start seeds indoors four to six weeks before your last frost, or sow directly in the outdoor pot once nights stay above 50°F. Perilla sulks in cold soil, so patience here pays off.
Transplanting and Spacing
Move seedlings out when they have two sets of true leaves and the weather has settled. Harden them off over about a week — a few hours of outdoor sun, then a little more each day — because indoor-grown leaves scorch quickly.
Set one plant per 12-inch pot, centered, at the same depth it grew in its tray. In a wide planter, space plants 12 inches apart; they’ll fill in and shade their own soil, which they like. Water deeply after planting and keep the mix consistently moist for the first two weeks while roots establish.
Light, Water, and Food
Light: six hours of sun gives you the thickest, most flavorful leaves. Perilla tolerates partial shade better than basil does, and in hot climates a little afternoon shade actually improves leaf size and tenderness. On a morning-sun balcony, expect slower, softer growth — still worth picking.
Water: keep the soil evenly moist, never bone dry and never swampy. In summer that usually means a deep drink every day or two for a pot in full sun. The leaves wilt dramatically when thirsty and perk back up within an hour of watering, so use them as your gauge. Chronic wilting makes leaves tough and sharp-tasting, so don’t make a habit of it.
Food: blend a slow-release balanced fertilizer into the pot at planting, then feed with a half-strength liquid fertilizer every two to three weeks while the plant is growing hard. Perilla is grown for leaves, so steady, moderate feeding beats heavy doses. A side-dressing of compost in midsummer keeps things simple.
Pinching: The Habit That Makes the Plant
Left alone, perilla races upward on one main stem, flowers early, and gives you a narrow column of leaves. Pinching changes everything. When the plant is about 8 inches tall, snip the top inch of the main stem just above a pair of leaves. Two side branches push out from that point. Pinch those tips again when they’re 6 inches long.
That five-second habit, repeated every week or two, turns one stem into a rounded bush with several times the leaf production — and it delays flowering, which matters because leaves turn bitter and coarse once the plant blooms. Think of every pinch as a small early harvest; the tender tips are perfect chopped over rice.
Harvesting Leaves
Start picking once the plant is a foot tall and bushy. Take the largest outer leaves first, snapping the leaf stem where it meets the branch, and never strip more than a third of the plant at once. Morning harvests keep best — the leaves are plump with water and hold their texture longer in the fridge.
For Korean-style wraps, let individual leaves reach palm size before picking. For shiso, slightly smaller leaves are more tender. Regular picking keeps new growth coming; a plant that never gets harvested slows down and hurries toward flowering.
Picked more than tonight’s dinner needs? The storage methods in How to Store Fresh Herbs So They Last Longer work well for perilla — a loose damp-towel wrap in the fridge keeps leaves supple for the better part of a week.
Flowers, Seeds, and Next Year’s Free Plants
By late summer, spiky flower stalks rise from the stem tips. If your goal is leaves, pinch those stalks out the moment you spot them and you’ll buy several more weeks of harvest. If you want seed, let a stalk or two finish.
Perilla self-seeds with real enthusiasm — one plant left to drop seed can carpet the pot (and the pots next door) with seedlings next spring. Many growers treat this as a feature: let the plant reseed its own pot, thin the spring seedlings to the strongest one or two, and skip seed packets entirely. If that’s not your plan, deadhead the flower stalks before the seeds harden.
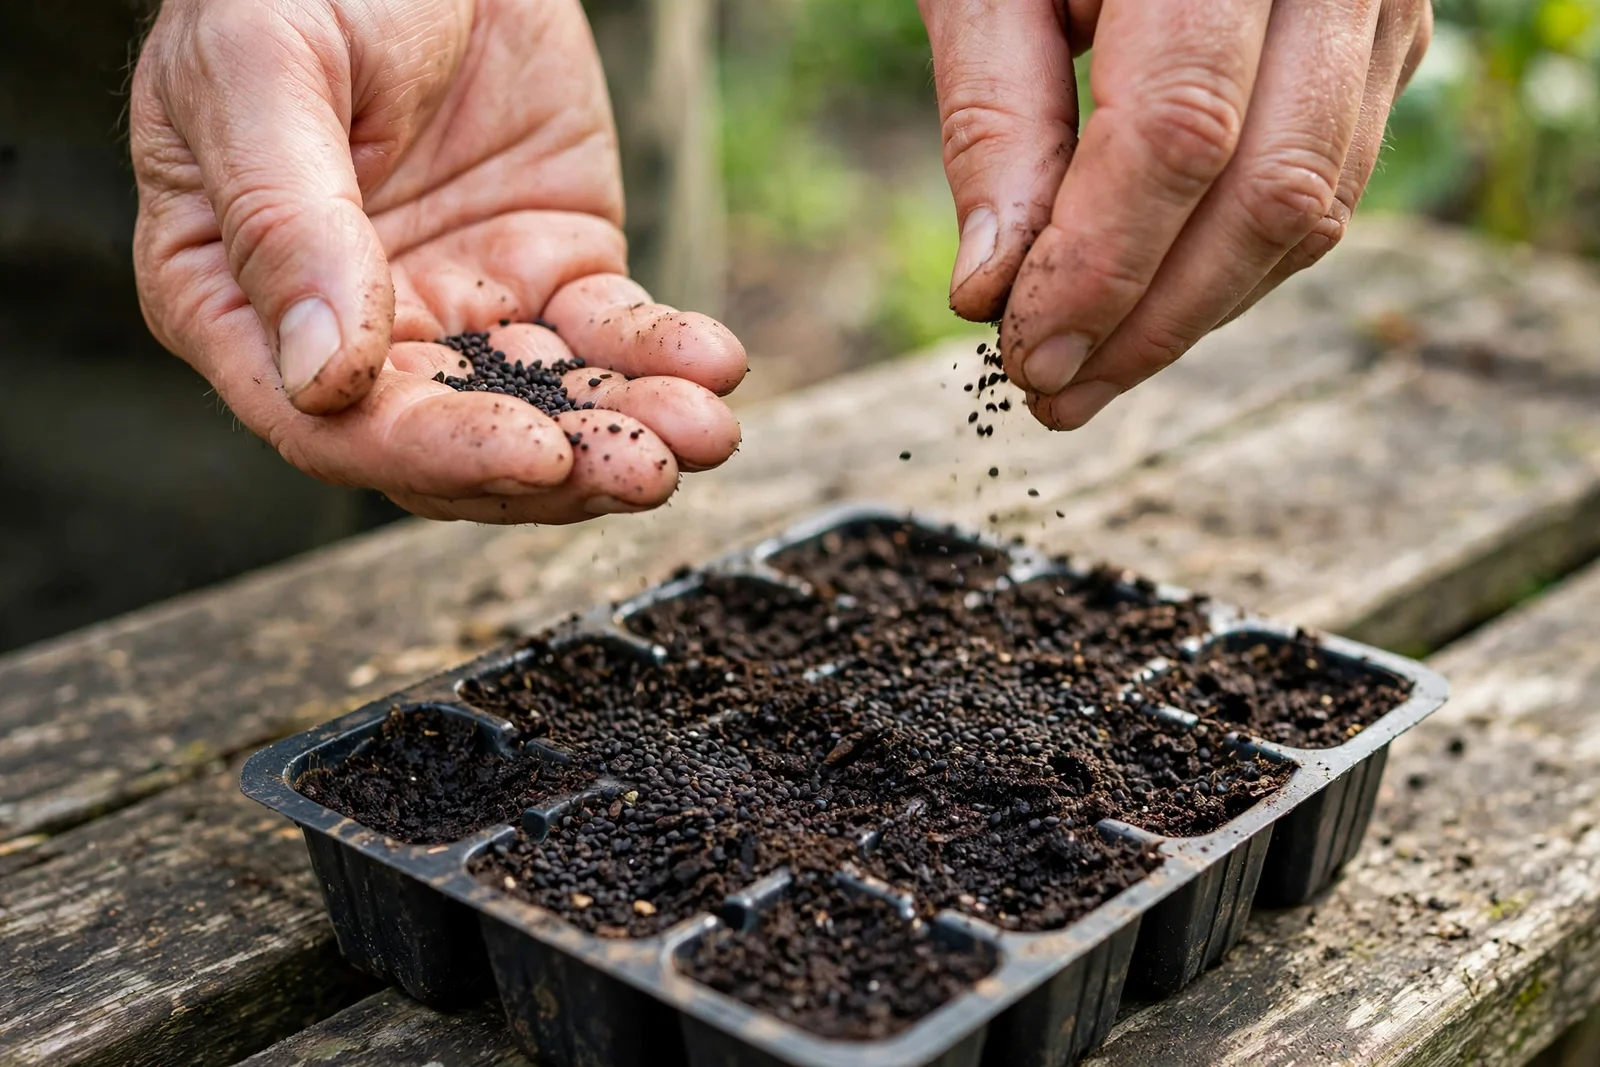
To save seed deliberately, let the stalks dry on the plant until they turn tan and papery, then shake them into a paper bag. Store the seed cool and dry, and sow it within a year while it’s still lively.
Troubleshooting
- Seedlings that never sprout: almost always old seed or soil that stayed cold. Start again with a fresh packet and a warm spot.
- Leaves turning bitter: flowering is near, or the plant is stressed by drought. Pinch out flower stalks, water steadily, and pick younger leaves.
- Small, pale leaves: the pot is hungry or root-bound. Feed, or step the plant up to a bigger pot with fresh mix.
- Holes chewed in leaves: slugs and the occasional caterpillar both like perilla. Check the undersides at dusk; hand-pick what you find.
- Powdery white patches late in the season: mildew in humid, crowded conditions. Space the plants, water at the base, and remove the worst leaves.
Putting the Harvest to Work
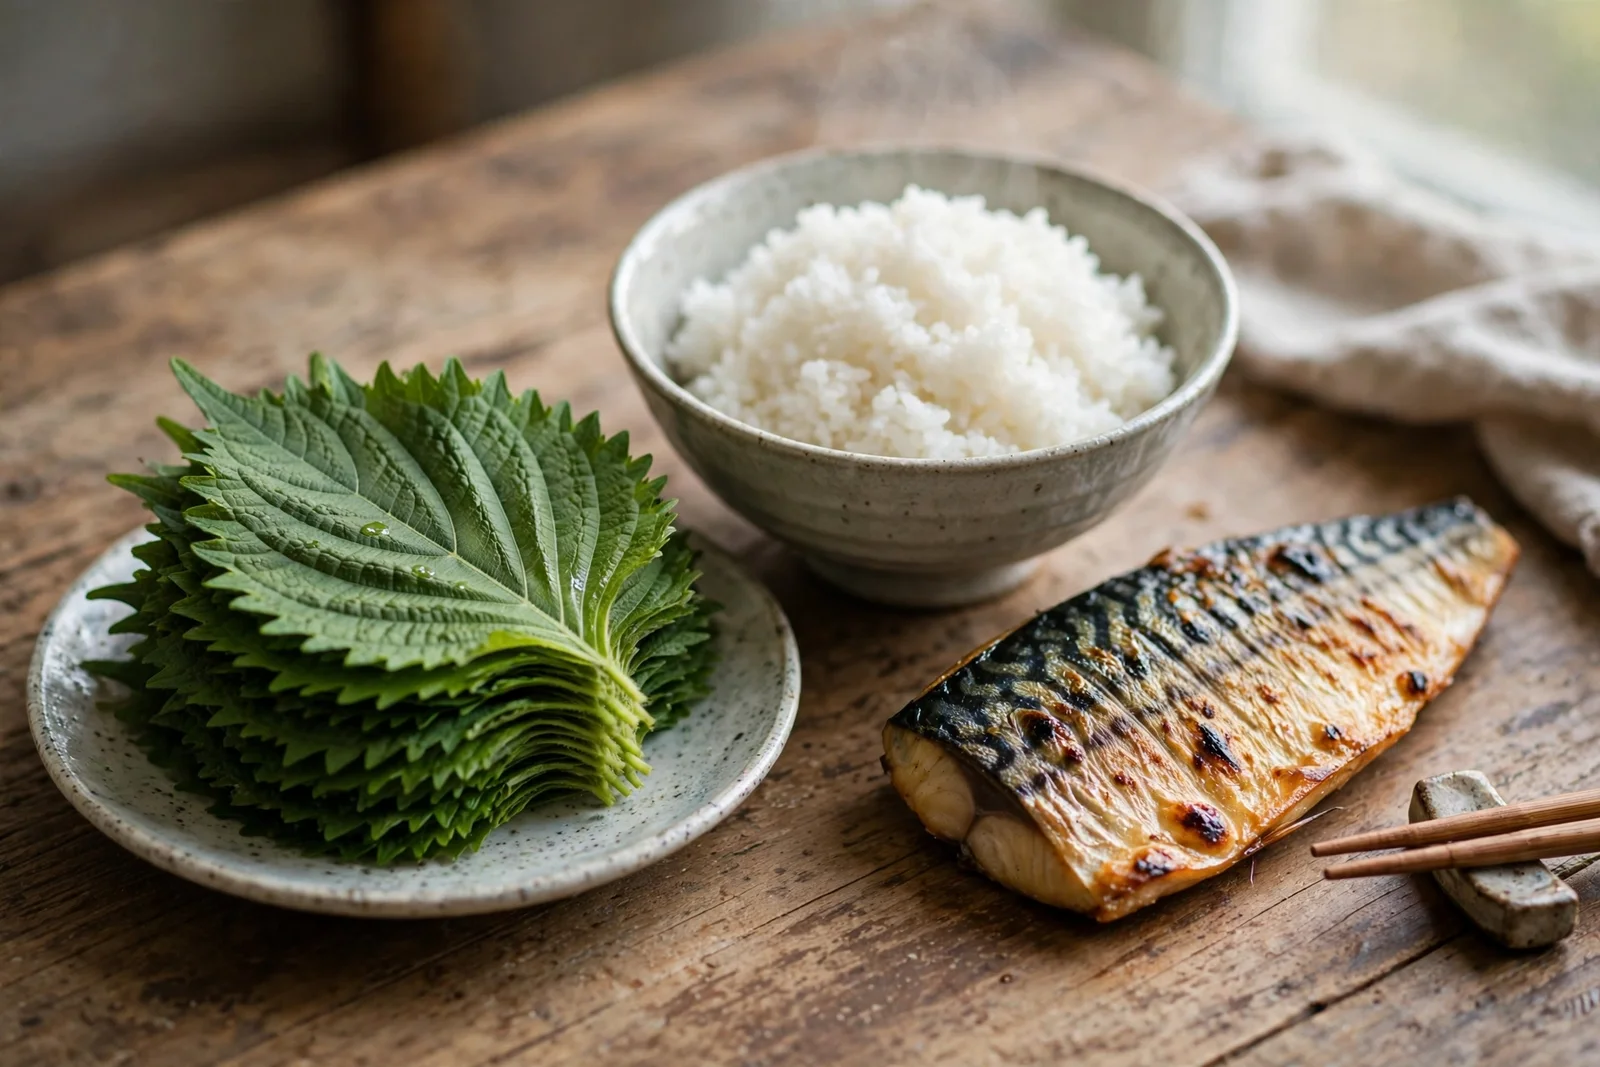
The easiest use is also the best: a stack of leaves on the table, a bowl of hot rice, something grilled, and everyone wrapping their own bites. Green shiso leaves fried in a light tempura batter for thirty seconds turn crisp and translucent. Red shiso steeped with sugar and a squeeze of lemon makes a jewel-colored drink over ice. Korean perilla leaves layered with soy sauce, garlic, and chili flakes in a jar become a pickle that improves plain rice all on its own, and a handful of any type torn over noodle soup at the table releases that cool, herbal aroma just as you eat.
Perilla is at its best within minutes of picking, and no grocery store can sell you that. One plant, a little pinching, and a season of leaves — then a bag of seed in the drawer and the whole thing starts again next spring for free.
2 thoughts on “How to Grow Perilla (Shiso) in Pots”