
Why Thin Slices Are the Whole Game in Stir-Frying
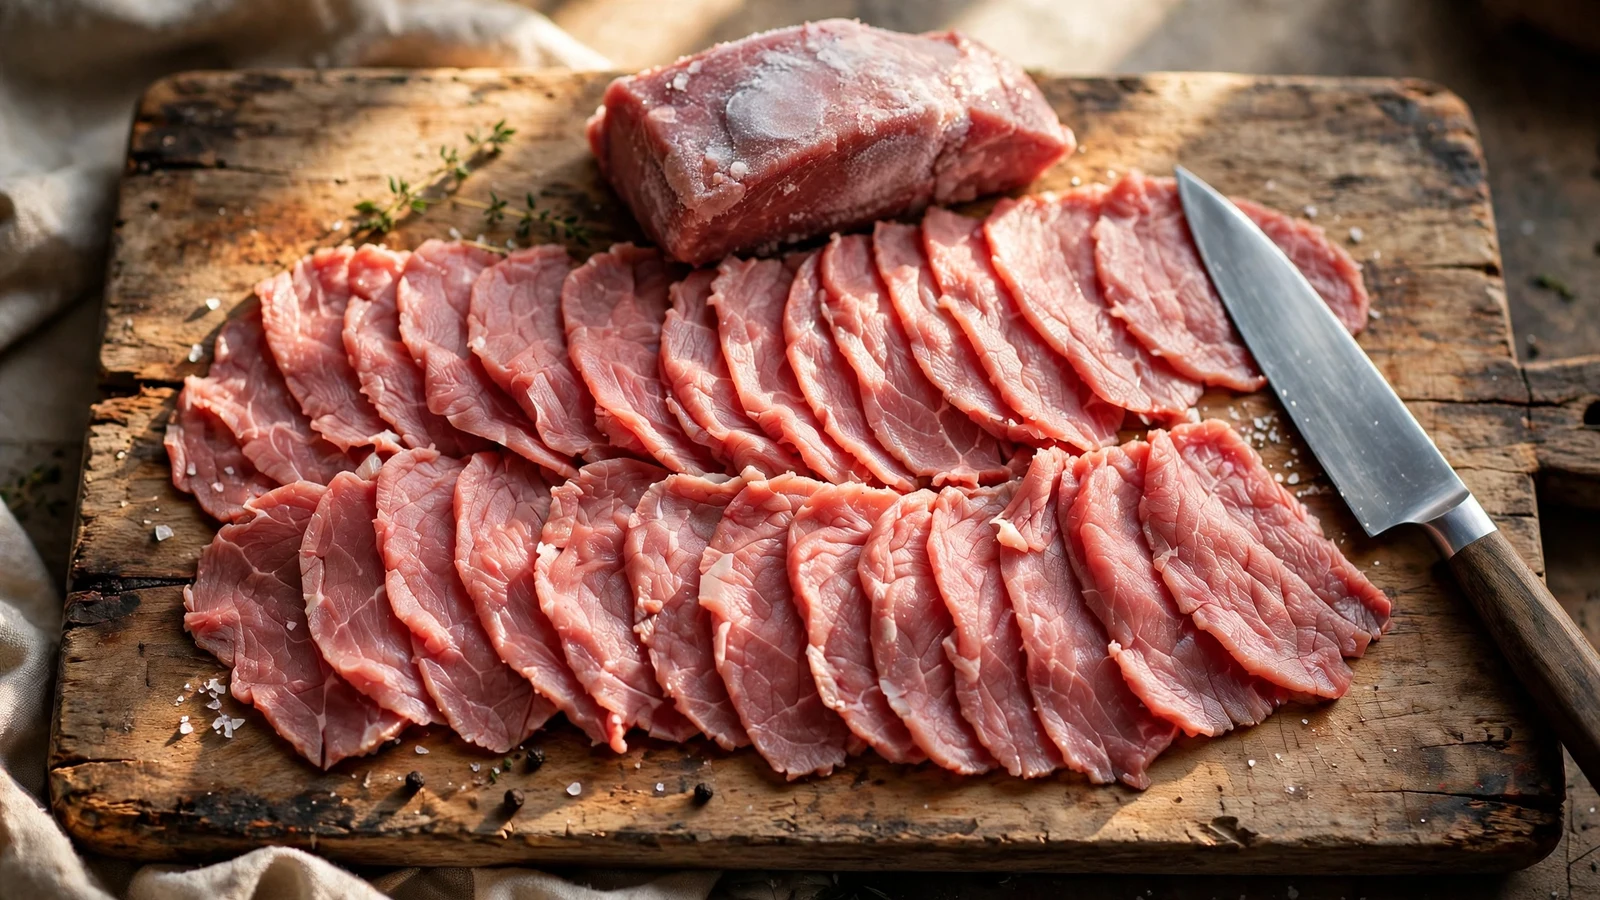
A stir-fry lives or dies in under five minutes over fierce heat. Thick chunks of meat can't keep up with that pace — the outside overcooks while the center stays raw, and the pan floods with juice instead of searing. Paper-thin slices, on the other hand, cook through in about a minute, pick up char at the edges, and soak up sauce like they were built for it. They were, in a sense: most stir-fry cuts at the butcher counter in Asia are sliced thin by hand, for exactly this reason.
The good news is that you don't need a butcher's decade of practice. You need one trick — a brief stint in the freezer — a sharp knife, and a sense of which way the grain runs. This guide covers all three, plus the timing and thickness targets that work for beef, pork, and chicken.
What "Paper-Thin" Actually Means
Paper-thin isn't poetry; it's a measurement. Aim for slices between 1/16 and 1/8 inch thick (about 1.5 to 3 mm) — thin enough to read a newspaper through, if you're feeling dramatic. In practice:
- 2 mm (about 1/16 inch) is the sweet spot for stir-fries. Cooks in 60–90 seconds over high heat.
- 3 mm (about 1/8 inch) suits velveted chicken and pork, where the coating adds a little bulk and protection.
- 1 mm is shabu-shabu territory. Impressive, but overkill for a weeknight stir-fry — slices that thin tear when tossed.
A kitchen ruler the first few times is not overkill. After a dozen slices, your hand learns what 2 mm feels like, and you'll never measure again.
The Partial-Freeze Trick (Your Only Shortcut)
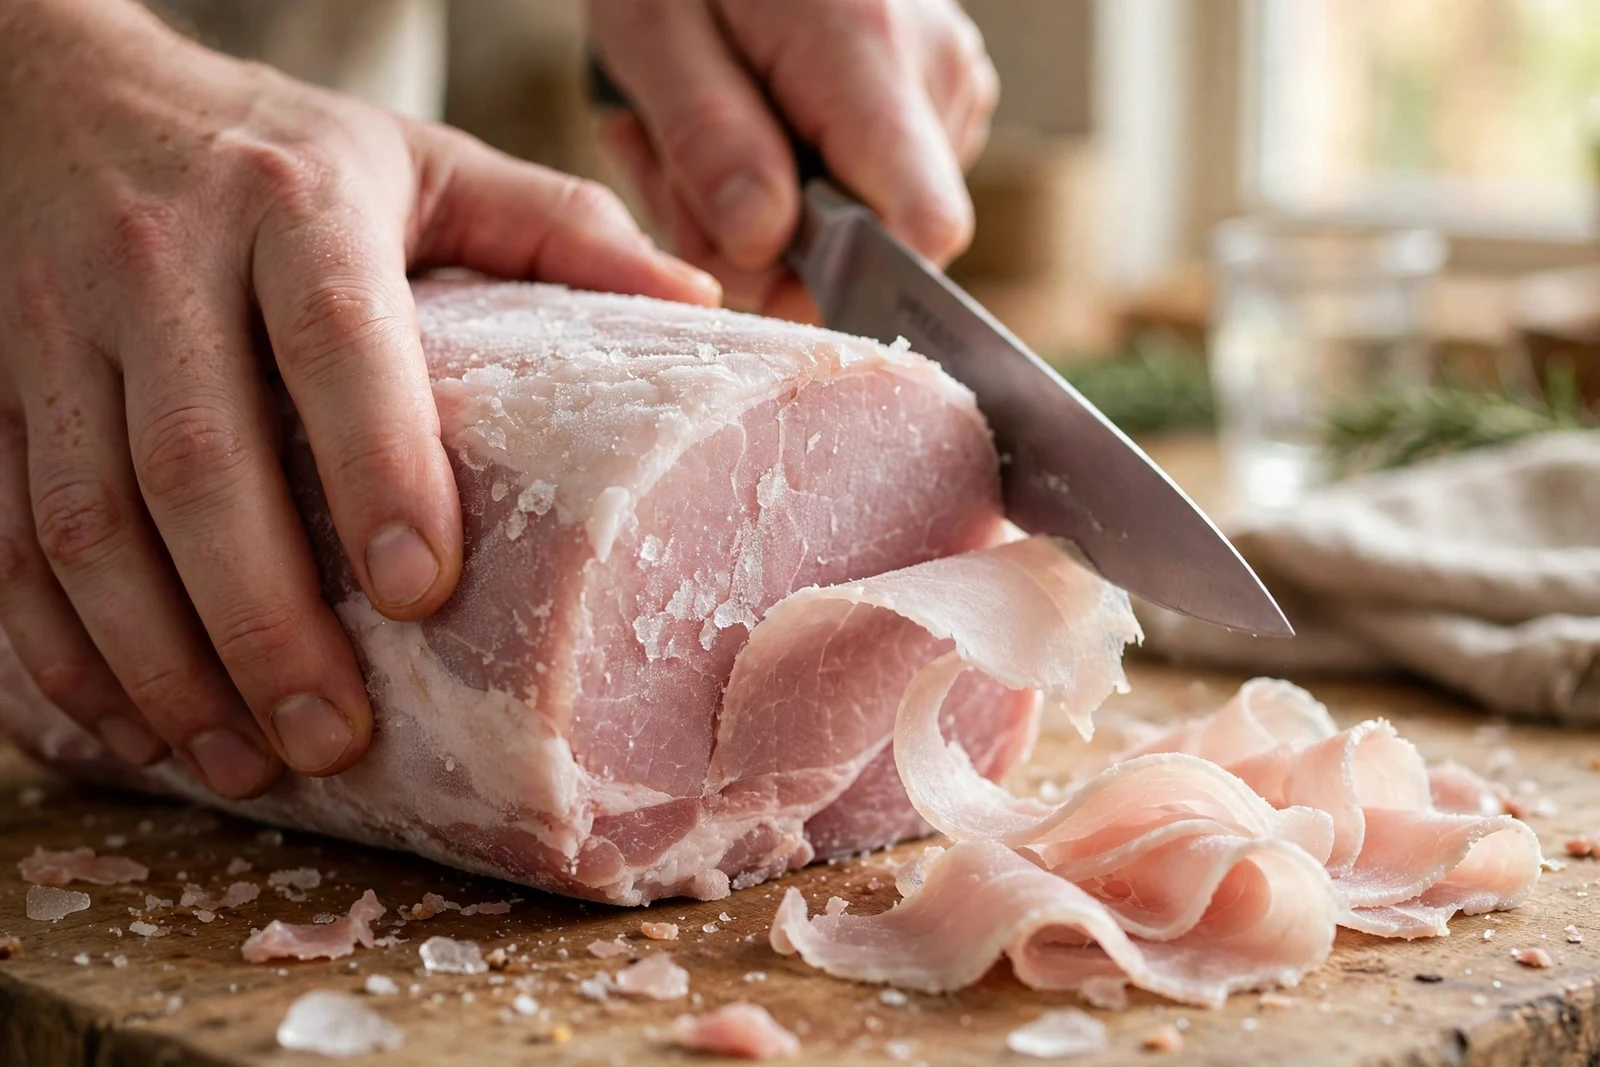
Raw meat at room temperature is soft and springy; the knife pushes it around instead of cutting cleanly. Meat straight from the deep freeze is a brick. But meat that has spent 30 to 90 minutes in the freezer — firm at the edges, giving only slightly in the center — slices like a dream. The cold firms up the protein so the blade glides through instead of dragging.
How long depends on the cut's thickness and fat content. Fatty meat firms up slower than lean. Here's what works on a standard home freezer set around 0°F (-18°C):
| Cut | Typical thickness | Freezer time |
|---|---|---|
| Chicken breast | 1–1.5 inches | 30–45 minutes |
| Pork loin or tenderloin | 2 inches | 45–60 minutes |
| Beef flank or skirt steak | 1–1.5 inches | 45–60 minutes |
| Beef ribeye or sirloin | 2–3 inches | 60–90 minutes |
Check by pressing the meat through the wrap or with the back of a finger: it should feel firm like a ripe avocado, not rock-hard like a hockey puck. If you overshoot and it freezes solid, leave it on the counter for 10–15 minutes — you can always rescue it, but you can't un-slice a brick.
While the meat chills, sharpen (or at least hone) your knife. A half-frozen piece of meat punishes a dull edge, and sawing at it is how you end up with ragged, uneven slices. A sharp 8-inch chef's knife handles every cut below; a long, thin slicing knife is a luxury, not a requirement.
Read the Grain Before You Cut
This is the step most home cooks skip, and it's the one that decides whether thin slices turn out tender or chewy. Muscle fibers run in parallel lines — the grain. Slices cut across those fibers are short, so your teeth shear through them easily. Slices cut with the grain keep the fibers long, and no amount of thinness will save them from chewiness.
- Beef flank and skirt steak have an obvious, ropey grain. Lay the steak flat, find the long lines, and cut perpendicular to them. On a flank steak the grain usually runs the length of the meat, so you slice across the short side — sometimes at a slight diagonal, which widens each slice.
- Ribeye and sirloin have a finer, less obvious grain. Look closely for faint parallel lines and cut across them; if you can't see them, any consistent direction works, since the grain is short anyway.
- Pork loin shows a clear grain running lengthwise. Slice across the short side for coins or bias-cut for wider strips.
- Chicken breast has a grain too, running along its length. Trim the tenderloin strip, then slice across the breast — the slices should show a crosshatch of short fiber ends, not long strands.
If you've ever wondered why restaurant beef melts while yours chews, the grain direction is usually the answer. Our knife skills basics guide walks through grain reading with photos if you want to drill the habit.
The Slicing Technique
With the meat firmed up and the grain mapped, the actual slicing is straightforward:
1. Set up a stable station. A damp towel under the cutting board stops it from wandering — thin slicing needs a still surface.
2. Use your knuckles as a guide. Curl the fingers of your holding hand into a claw, knuckles forward, and rest the flat of the blade against them. Slide the knuckles back as you cut; the slice thickness follows your knuckle position.
3. Draw the knife in one long pull. Start at the heel and pull toward the tip in a single smooth stroke — no sawing. Let the blade's length do the work; pressing down just crushes the meat.
4. Shingle the slices as you go. Lay each slice overlapping the last in a neat row instead of stacking them in a pile. Shingled slices separate cleanly when they hit the pan; stacked ones glue themselves together.
5. Keep slices consistent. Uneven slices cook unevenly — the thin ones overcook while the thick ones catch up. Slow down rather than rushing; speed comes with repetition.
A small failure I've repeated enough to warn you about: slicing beef that's only been in the freezer 15 minutes. It looks firm on the outside but is still soft inside, so the first few slices come out clean and the rest turn ragged. Give it the full time in the table above — the last 15 minutes are the ones that matter.
Thin Slices by Meat: What Changes
Beef. Flank, skirt, sirloin, and ribeye all slice beautifully. Aim for 2 mm against the grain. Beef benefits the most from the freezer step because its muscle fibers are the most pronounced — and its chewiness, if you cut with the grain, is the most unforgiving.
Pork. Loin and tenderloin are the stir-fry workhorses. Pork is leaner and firmer than beef at room temperature, so it needs the shorter end of the freezer range. Slice 2–3 mm; pork dries out faster than beef, so don't go thinner than you need. Bias-cutting (blade at 30–45 degrees to the board) gives you wide, dramatic slices from a narrow tenderloin.
Chicken. Breast is the classic, and it's the trickiest — its wedge shape means thickness varies along the piece. Butterfly the thick end first so the whole breast is roughly even, then freeze 30–45 minutes and slice 3 mm across the grain. Thighs are harder to slice thin (they're floppy and uneven), which is why most stir-fry recipes call for breast. If you're velveting the chicken afterward, our velveting guide picks up exactly where this one leaves off.
From the Cutting Board to the Pan
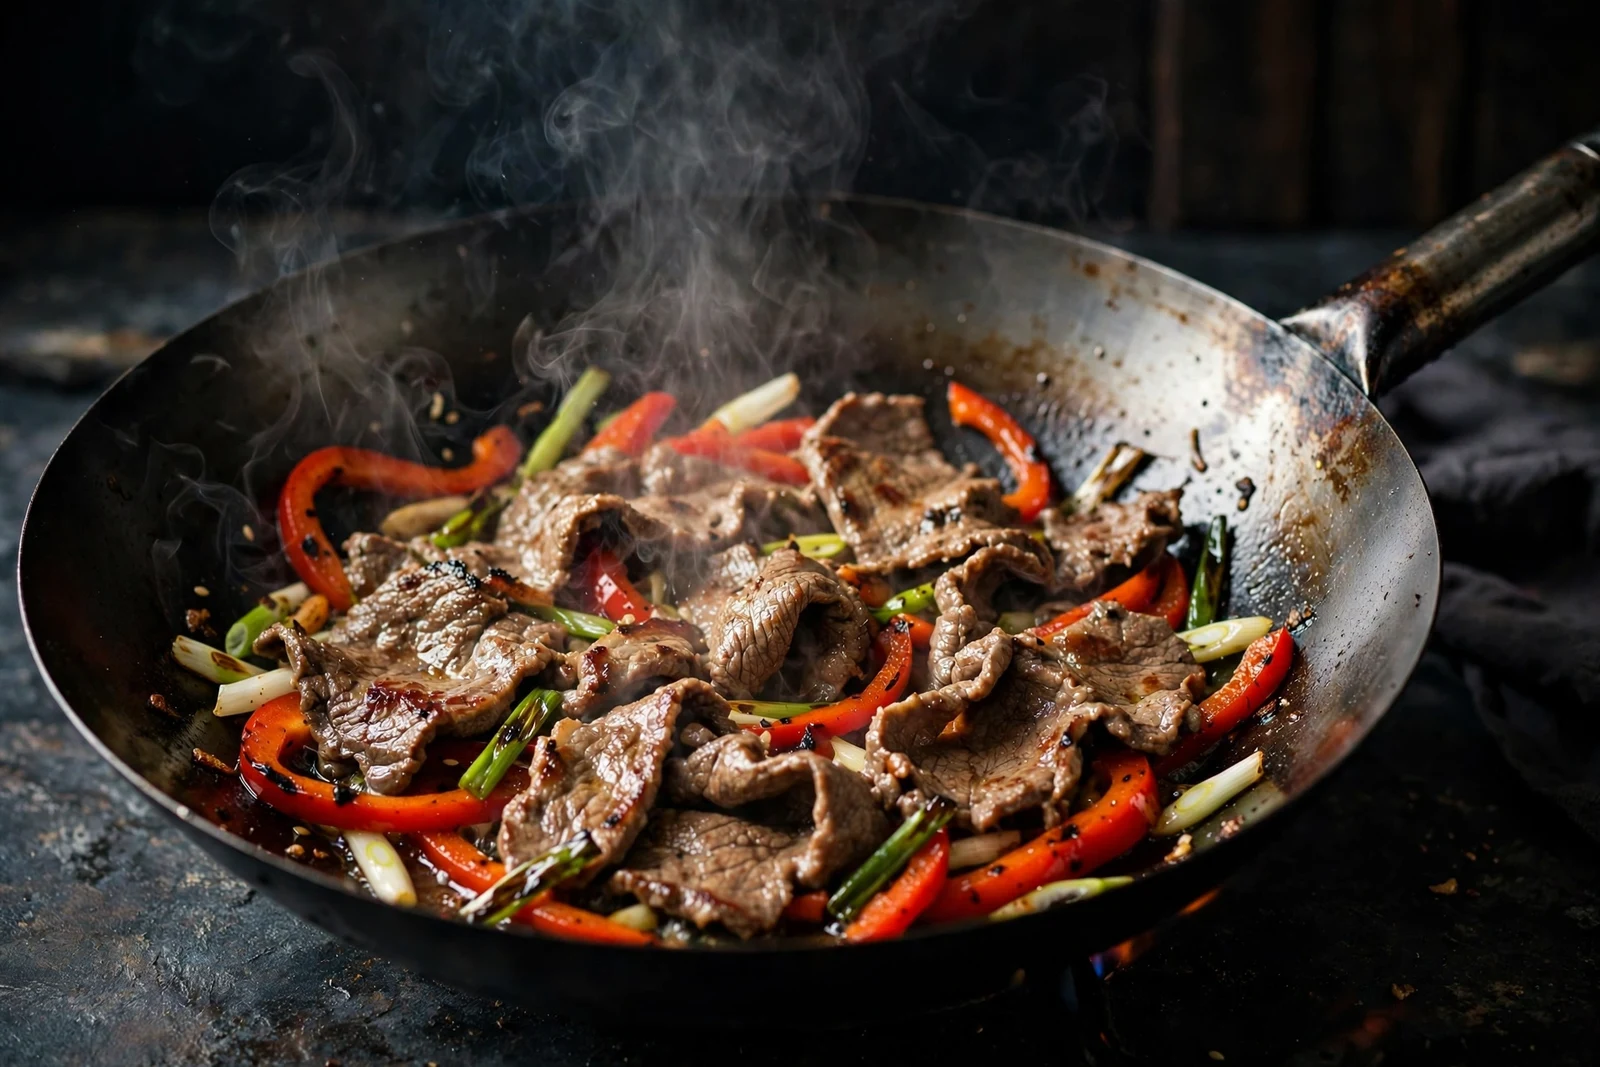
Thin slices are only half the equation; the pan has to be ready for them. A wok or skillet needs to be properly hot before the meat goes in — ripping-hot oil, a shimmer, the faintest wisp of smoke. Cold-start thin slices steam instead of searing, and all that careful slicing goes to waste. If you want the smoky edge that defines great stir-fry, our guide to what wok hei is and how to get it at home covers the technique and the home-stove workarounds.
Three habits that protect thin slices in the pan:
- Don't crowd. Cook in batches if you have to. A crowded pan drops the temperature and steams the meat — the exact opposite of what thin slices are for.
- Move them fast, then leave them alone. Toss for the first 30 seconds to separate the shingled slices, then let them sit undisturbed for another 30 to pick up color.
- Pull them early. Thin beef goes from perfect to gray in about 30 seconds. Take the meat out when it's just barely done — it finishes cooking in the residual heat and again when it goes back in with the sauce.
Practice Checklist
Run through this the first few times and the technique becomes muscle memory:
- Meat in the freezer for the full time in the table — firm, not frozen solid
- Knife honed or sharpened before you start
- Grain direction identified for this specific cut
- Damp towel under the cutting board
- One long pull per slice, knuckles guiding the thickness
- Slices shingled, not stacked
- Wok or skillet fully hot before the meat goes in
- Meat pulled from the pan while still slightly underdone
More Kitchen Guides
- What Is Wok Hei and How to Get It at Home — the smoky breath of a proper stir-fry, and how to chase it on a home stove.
- How to Velvet Chicken for Stir-Fry — the cornstarch coating technique that keeps thin chicken slices silky.
- Knife Skills Basics for Asian Home Cooking — grip, cuts, and grain reading for everyday Asian prep.
- How to Season a Carbon Steel Wok — get your wok ready for the high-heat cooking thin slices demand.
2 thoughts on “How to Slice Meat Paper-Thin for Stir-Fry”