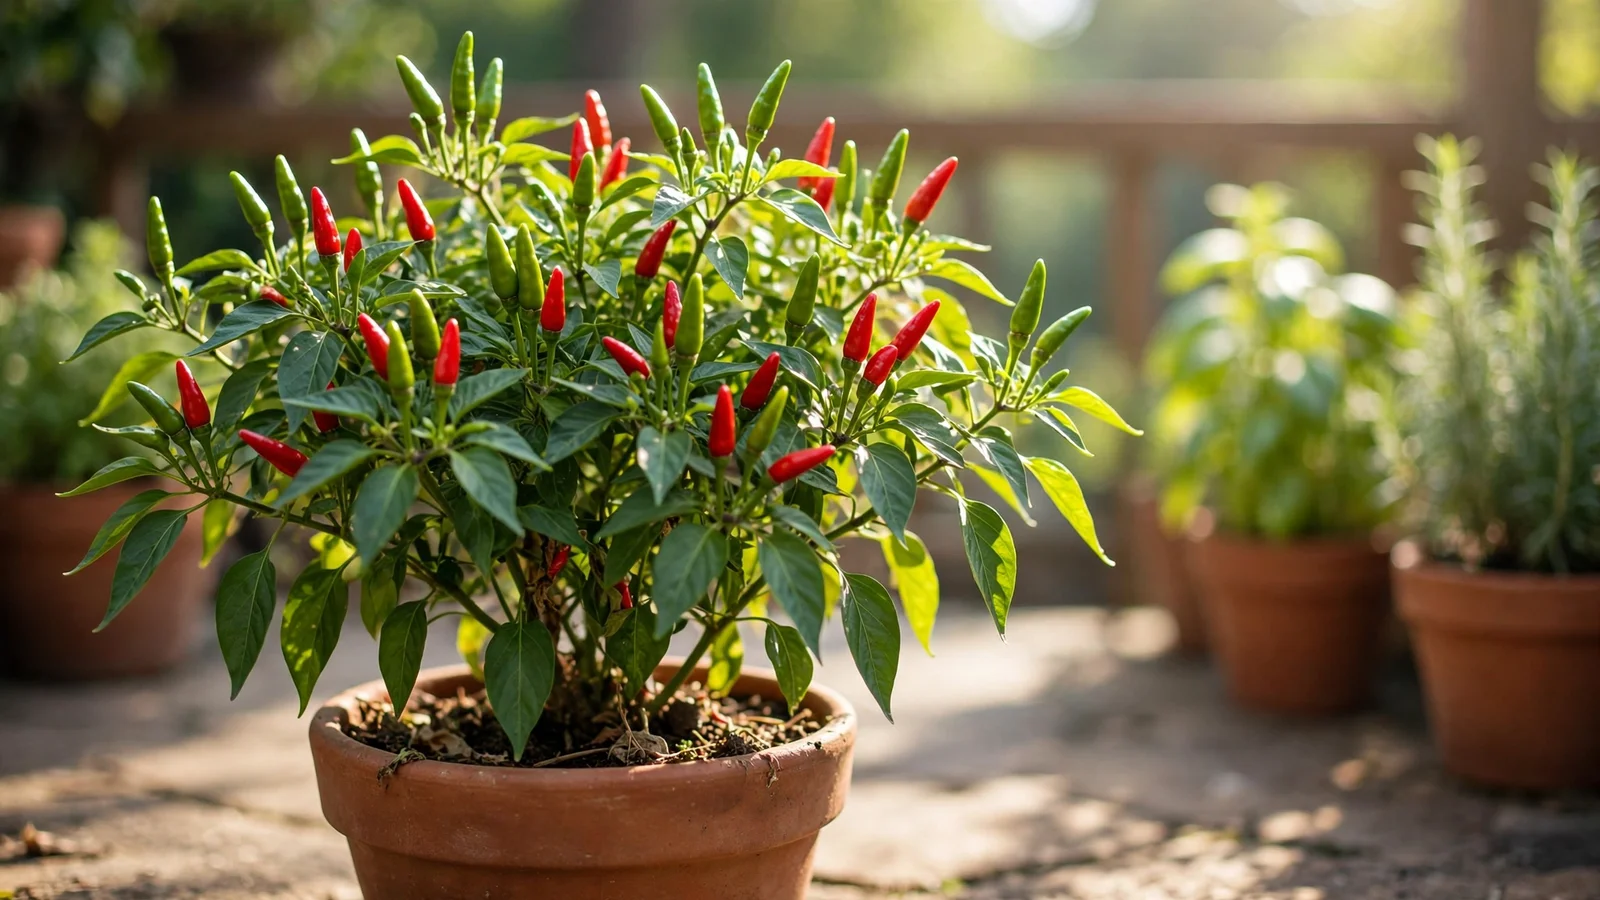
If you cook pan-Asian food at home, fresh Thai chilies are one of the most useful things you can grow. They are small, fierce, and hard to find truly fresh at many grocery stores. A single healthy plant in a pot on a sunny patio can give you handfuls of peppers all season, and it asks for very little room in return. Peppers are naturally happy in containers, sometimes happier than in garden beds, because you control the soil, the drainage, and how fast the roots warm up in spring.
This guide walks through the whole job: picking a variety, choosing a pot, starting plants, feeding and watering, heading off the common problems, and bringing in the harvest. If you already keep a few pots going, Thai chilies slot right in next to Thai basil and lemongrass as the backbone of a small cooking garden.
Why Pots Suit Thai Chilies So Well
Thai chili plants are compact. Most kitchen types top out at 12 to 24 inches tall in a container, with a bushy shape that fits on a balcony rail or a sunny step. They like warm roots, and a dark pot in full sun warms up faster than garden soil in spring. That head start matters, because peppers are slow. A plant that warms up early fruits earlier, and early fruit means a longer picking season.
Containers also give you an escape hatch. A late cold snap, a week of drenching rain, or an early fall frost can all stall a pepper plant. A pot moves. You can drag it under cover for two nights, shift it to follow the sun, or bring it indoors at season’s end for a few more weeks of ripe peppers.
Picking a Variety
“Thai chili” covers a few related peppers, and they differ more than the bags at the store suggest. Any of these will grow well in a pot:
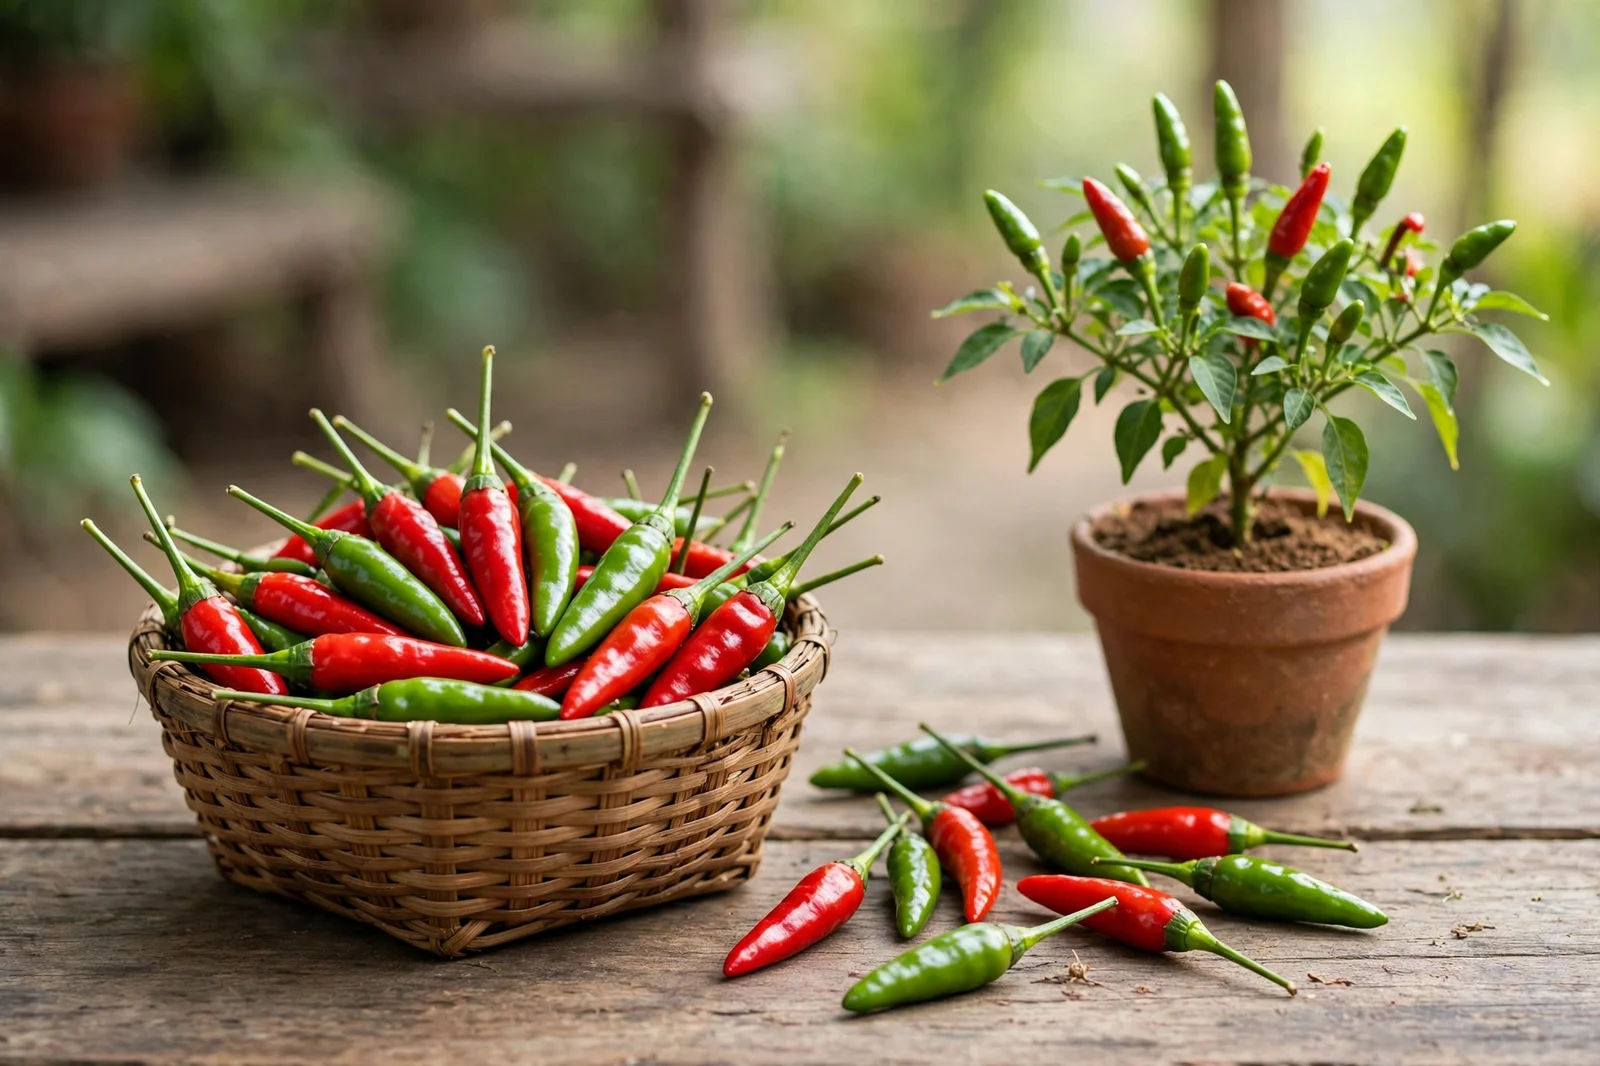
- Bird’s eye chili (prik kee nu): the classic. Tiny peppers, about an inch long, pointing up from the branches. Heat lands around 50,000 to 100,000 Scoville units, so a couple of peppers can run a whole pot of soup.
- Thai Hot: a widely sold seed variety with slender 2- to 3-inch peppers that ripen from green to bright red. Prolific and reliable.
- Thai Dragon: longer, slender red peppers with strong heat and a slightly sweeter finish when ripe. Plants grow bigger, so give this one the larger pot.
- Orange Thai types: milder and fruitier, good in salads and fresh sambals where you want flavor with a gentler burn.
One plant produces a surprising amount. Two plants, one picked green and one left to ripen red, cover almost every recipe that calls for fresh chilies.
Pot and Soil Setup
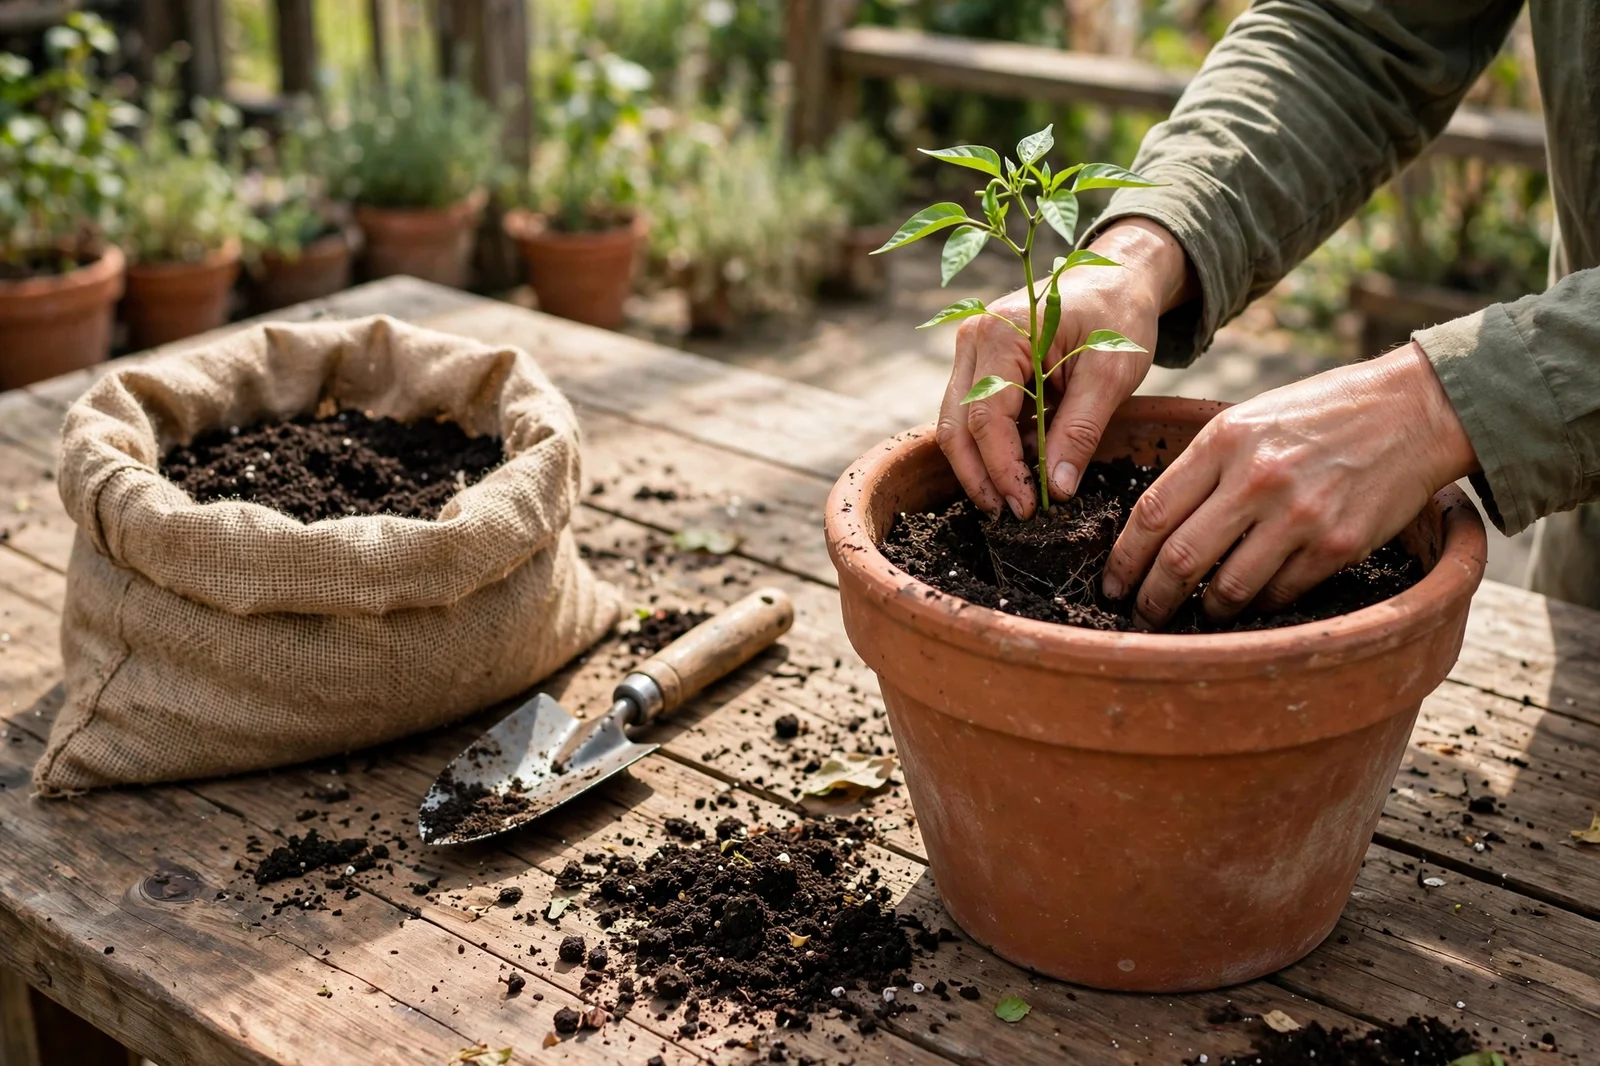
Give each plant its own pot, at least 3 gallons, and 5 gallons is better. A bigger pot holds moisture more evenly, and even moisture is half the battle with peppers. Plastic, fabric grow bags, and glazed ceramic all work. Fabric bags drain fast and need watering more often in hot weather. Whatever you pick, drainage holes are non-negotiable: peppers hate sitting in soggy soil, and root rot moves fast in a warm pot.
Fill with a quality potting mix, not garden soil, which packs down hard in containers. A simple, reliable blend:
- Bagged potting mix as the base
- A few handfuls of perlite for drainage
- A handful or two of compost or worm castings for slow nutrition
Aim for soil that feels loose and slightly spongy. Peppers prefer a mildly acidic to neutral pH, roughly 6.0 to 6.8, which is right where most potting mixes land. Set the pot where it will live before you fill it, because a wet 5-gallon pot is heavier than you expect.
Starting Seeds or Buying Seedlings
Peppers are one of the slowest vegetables to start from seed, and Thai types are slower than most. Seeds want warm soil, 80 to 90°F, and can still take 10 to 20 days to sprout, sometimes longer. A heat mat makes a real difference. Plan backward: seeds started 8 to 10 weeks before your last spring frost, under a bright light or on the sunniest sill you have, gives you stocky little plants ready for warm weather.
Short on time or patience? Buy seedlings. Look for a plant that is stocky and deep green, about as tall as it is wide, with no flowers yet. A seedling already flowering in a tiny cell pot is stressed and will sulk after transplanting. Wait until nights stay reliably above 50°F before putting any pepper outside for good. One cold night will not kill a plant, but it can stall it for weeks, and stalled peppers rarely catch up.
Harden seedlings off over a week: an hour of morning sun the first day, a little more each day, then full sun. Skipping this step sunburns leaves white, and young plants do not forgive it quickly.
Sun, Water, and Food
Sun is the big one. Peppers want 6 to 8 hours of direct sun at minimum, and more is better. In very hot climates, a little late-afternoon shade keeps plants from wilting and dropping blossoms, but for most home growers, full sun all day is the right call.
Water deeply, then let the top inch of soil dry before watering again. Inconsistent watering, feast then famine, is the main cause of blossom end rot, the dark leathery spot that ruins the bottom of a pepper. The fix is rhythm, plus a mulch layer. An inch of straw or shredded bark on top of the pot keeps moisture steady and soil off the leaves. In the heat of summer, a 5-gallon pot in full sun may need water every day. Check with a finger, not a schedule.
Food matters because a pot holds only so much nutrition, and every watering washes a little away. Work a slow-release balanced fertilizer into the soil at planting, or feed every two weeks with a liquid fertilizer at half strength. Once flowers appear, ease off high-nitrogen feeds. Too much nitrogen grows a gorgeous green bush with almost no peppers. A feed with a little extra calcium helps head off blossom end rot.
Pruning, Staking, and Pollination
Pinch out the first flower buds that appear while the plant is still small. It feels wrong, but it pushes the plant to build branches and roots first, and a bigger frame carries far more peppers later. When the plant reaches 8 to 10 inches, pinch the growing tip to encourage side branches.
Branches loaded with peppers get heavy, and a summer storm can snap them. One slim stake or a small tomato cage per pot, set in place early, prevents heartbreak later.
Peppers pollinate themselves, and outdoors the wind and visiting bees handle it. On a still balcony or indoors, give the plant a gentle shake every day or two while it flowers. If blossoms drop without setting fruit, the usual causes are cold nights, days above 95°F, or dry air. Fruit set usually resumes when the weather settles.
Pests and Problems Worth Knowing
- Aphids cluster on new growth and under leaves. A firm jet of water every few days knocks them down. For a stubborn crowd, insecticidal soap works well.
- Spider mites show up in hot, dry weather as fine webbing and speckled leaves. Hosing down the undersides of leaves helps; they dislike the moisture.
- Whiteflies puff up in a little cloud when you brush the plant. Yellow sticky traps catch adults before they build numbers.
- Blossom end rot is a watering problem, not a disease. Steady moisture and a calcium-containing feed sort it out.
- Sunscald leaves pale, papery patches on peppers that suddenly lose their leaf shade. It is cosmetic; the rest of the pepper is fine to use, trimmed.
Most pepper trouble traces back to water or weather rather than disease, which is good news in a pot, because both are under your control.## Harvesting and Storing
Peppers are ready to pick about 60 to 90 days after transplanting, depending on the variety and the heat of your summer. You can harvest at two stages:
- Green: firm, bright, and sharp-tasting, with grassy heat. This is the stage for many stir-fries and fresh chili dips.
- Fully ripe (red or orange): hotter on paper, but rounder and a little sweeter in practice. Letting some peppers ripen also gives you seeds worth saving.
Pick with scissors or snips rather than pulling. Yanking tears branches and can take the next cluster of flowers with it. Regular picking keeps a plant producing; leave ripe peppers hanging too long and the plant slows down.
Fresh peppers keep about a week in the fridge in a paper towel inside a loose bag. For longer storage, they freeze beautifully whole, no blanching needed, and thaw firm enough for cooked dishes. Strings of ripe peppers also dry well in a warm, airy spot; once brittle, they can be crushed into flakes or ground. For a good place to use a bumper crop, a batch of homemade chili oil turns surplus peppers into a jar that keeps for months. And like most of the fresh harvest from a small garden, chilies last longest when you handle them gently from the start, the same idea behind storing fresh herbs so they last.
A Few Words on Heat and Handling
Fresh Thai chilies are small, but the heat is real. Wear gloves when seeding a big batch, and wash hands well after handling cut peppers before touching your face. If you are new to them, start with one pepper in a dish and adjust from there.
Quick-Start Checklist
- Pick a variety; bird’s eye for classic heat, Thai Hot for reliability.
- One plant per 3- to 5-gallon pot with drainage holes.
- Loose potting mix with perlite and a little compost.
- Start seeds 8 to 10 weeks before last frost, or buy stocky seedlings.
- Full sun, 6 to 8 hours or more, once nights stay above 50°F.
- Water deeply on a steady rhythm; mulch the surface.
- Feed lightly, ease off nitrogen once flowers appear.
- Pinch early buds, stake before the plant loads up.
- Pick often, green or ripe, with snips.
A pot of Thai chilies will not feed the neighborhood, but it does something better: it puts the exact pepper your cooking wants within arm’s reach, picked a minute before it hits the wok. Start with one plant. By the time the first red peppers show up, you will already be planning where a second pot can fit.