
A Thai kitchen runs on a mortar and pestle the way a Western kitchen runs on a knife. Curry paste, som tum, nam prik, crushed peanuts, toasted rice powder, and the garlic chili mix for a stir fry all pass through the same stone bowl. A food processor can do some of these jobs, but it cuts where a mortar crushes, and the difference shows up in the texture: a pounded paste holds together and fries dry, while a processed one turns wet and thin.
This guide covers the tool itself: which mortar to buy, how to season a new one, the order to pound ingredients in, the three jobs beyond curry paste, and how to clean it so it lasts for years. The full paste walkthrough lives in our guide to how to make Thai curry paste from scratch, and the paste-only technique is in our guide to how to use a mortar and pestle for curry pastes. This one is about the tool across the whole Thai kitchen.

What a mortar and pestle does in Thai cooking
A mortar does three kinds of work, and each one asks for a different touch. First, it pounds pastes. The pestle crushes fibers and presses the oils out of chilies, lemongrass, galangal, and spices, which is how a curry paste turns thick enough to hold its shape on a spoon. Second, it bruises and mixes. Som tum and other pounded salads need light taps that bruise the papaya and press the dressing into it, not hard pounding that turns the salad to mush. Third, it crushes dry things: peanuts for a topping, toasted rice for larb, dried spices for a curry, garlic for a stir fry base.
Thai cooks use two mortars for these jobs. The granite mortar, called a krok hin, is heavy and rough inside, and it suits pastes and anything that needs real force. The clay mortar, called a krok din, is lighter and wider, and it suits som tum and salads, where the cook needs room to toss with a spoon between taps. One granite mortar covers most home cooking, and a clay mortar is worth adding once you start making som tum often.
Which mortar to buy
Buy granite, and buy it big enough. A bowl about 7 inches across, roughly 18 cm, holds a full batch of paste without spilling, and the mortar weighs about 4 to 5 kg, heavy enough to stay put on the counter while you pound. Smaller bowls look handy and hold almost nothing: a 5 inch mortar fills up after a few spoonfuls, and the mix climbs the sides instead of staying under the pestle. The pestle should feel heavy in your hand, about 1 kg, with a smooth rounded end.
Skip the alternatives for Thai cooking. A wooden mortar is too light and bounces on the counter. A ceramic or marble mortar is too smooth inside, so the ingredients slide instead of catching, and ceramic can chip under hard pounding. A Thai granite mortar costs about 30 to 50 dollars at an Asian grocery store, and it lasts for decades, so the price per year is close to nothing.
Before the first use, season a new granite mortar. Rinse it with hot water, let it dry, then pound two small handfuls of dry white rice, a little at a time, until the rice turns into a grey powder. Throw the powder away and repeat with one more handful. The rice picks up the loose grit from the fresh stone, and the second handful should come out white. After that, the mortar is ready to use.
The pounding order: dry first, wet last
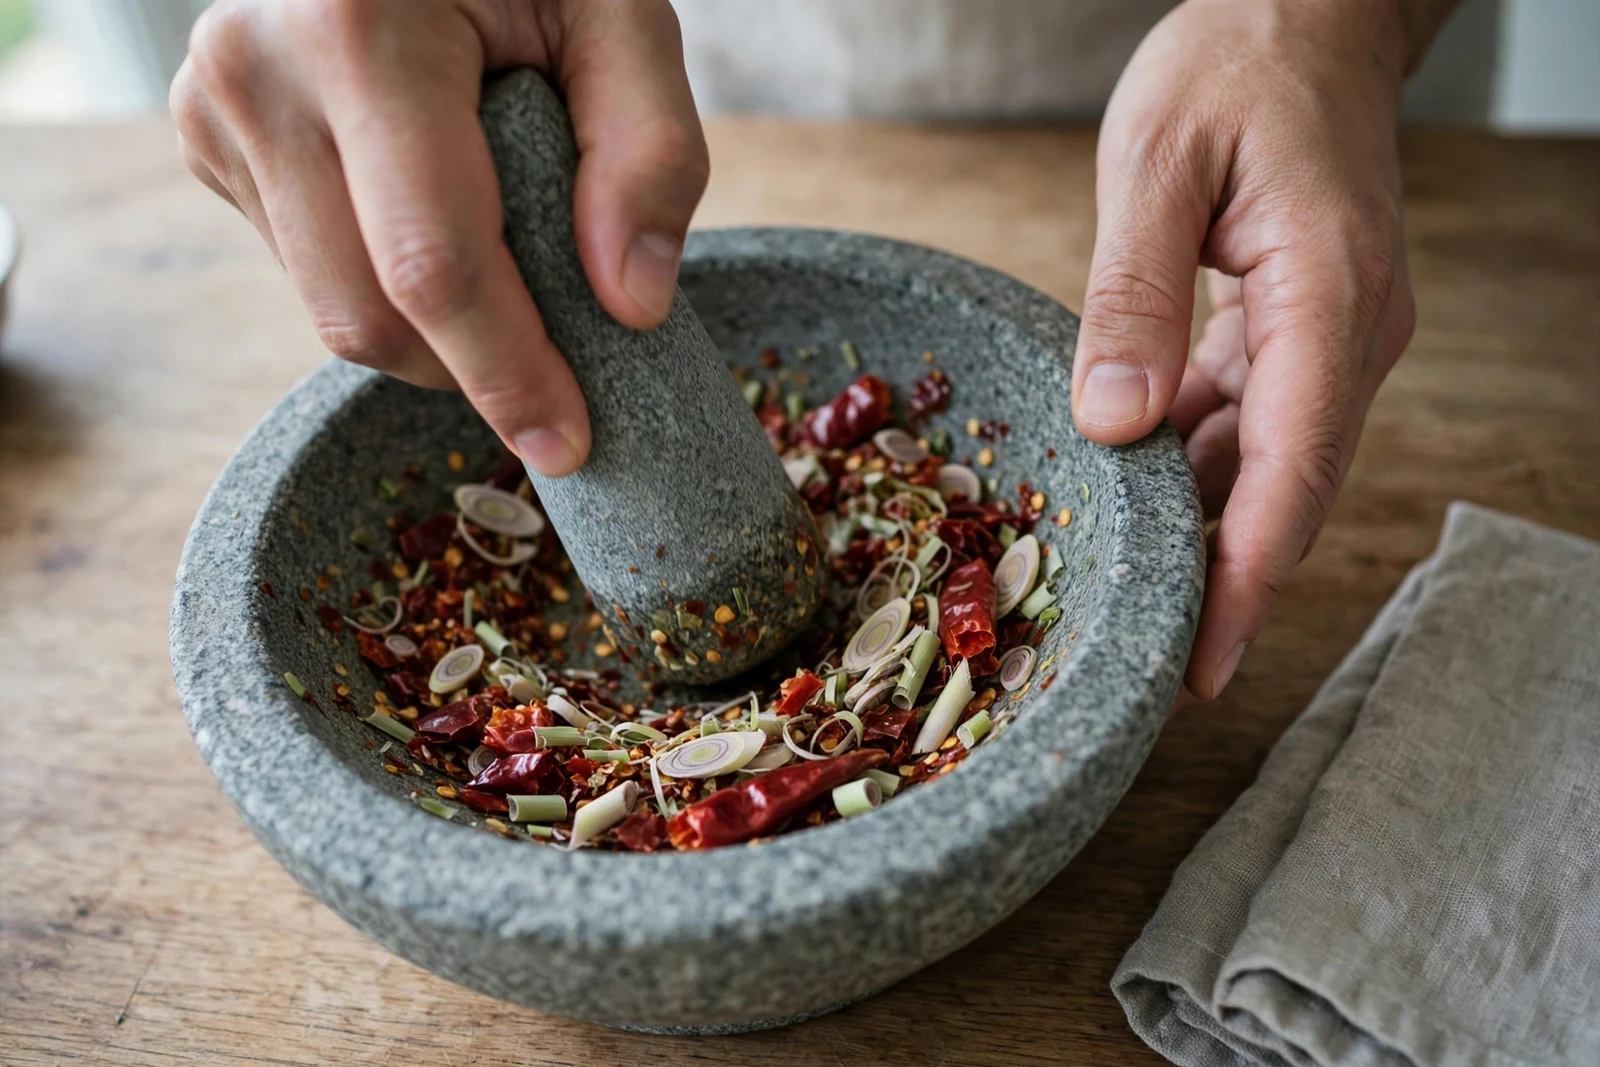
The order matters more than the effort. Pounding everything at once turns the mix into a wet mash that never gets smooth, and the fibrous pieces stay in long strands. Work in this order instead, and scrape the sides down with a spoon between each addition.
Cut fibrous ingredients into pieces about 1/4 inch long before they go in. Lemongrass, galangal, and lime leaf cut this short break down in 4 to 5 minutes of pounding; left in long strips, they stay stringy no matter how long you work. Add a teaspoon of coarse salt with the first ingredients. The salt gives the pestle something to grip and keeps the mix from sliding around the bowl.
Start with the dry spices and pound them to a fine powder, about 1 minute. Next come the fibrous aromatics, about 4 to 5 minutes. Then the chilies, about 3 minutes, until the skins break apart and the mix turns red. Add shallots and garlic last among the fresh ingredients, then shrimp paste if the dish calls for it, and pound everything together for a final 2 minutes until the mix looks even and holds together in a clump when you press it with a spoon.
Fill the bowl no more than one third full. Past that point the pestle pushes the mix up the sides instead of crushing it, and you end up scraping more than pounding. A full batch of paste takes 20 to 25 minutes by hand, and your arm will tire before the paste is done. Take a short break, scrape the sides down, and keep going.
Three jobs beyond curry paste
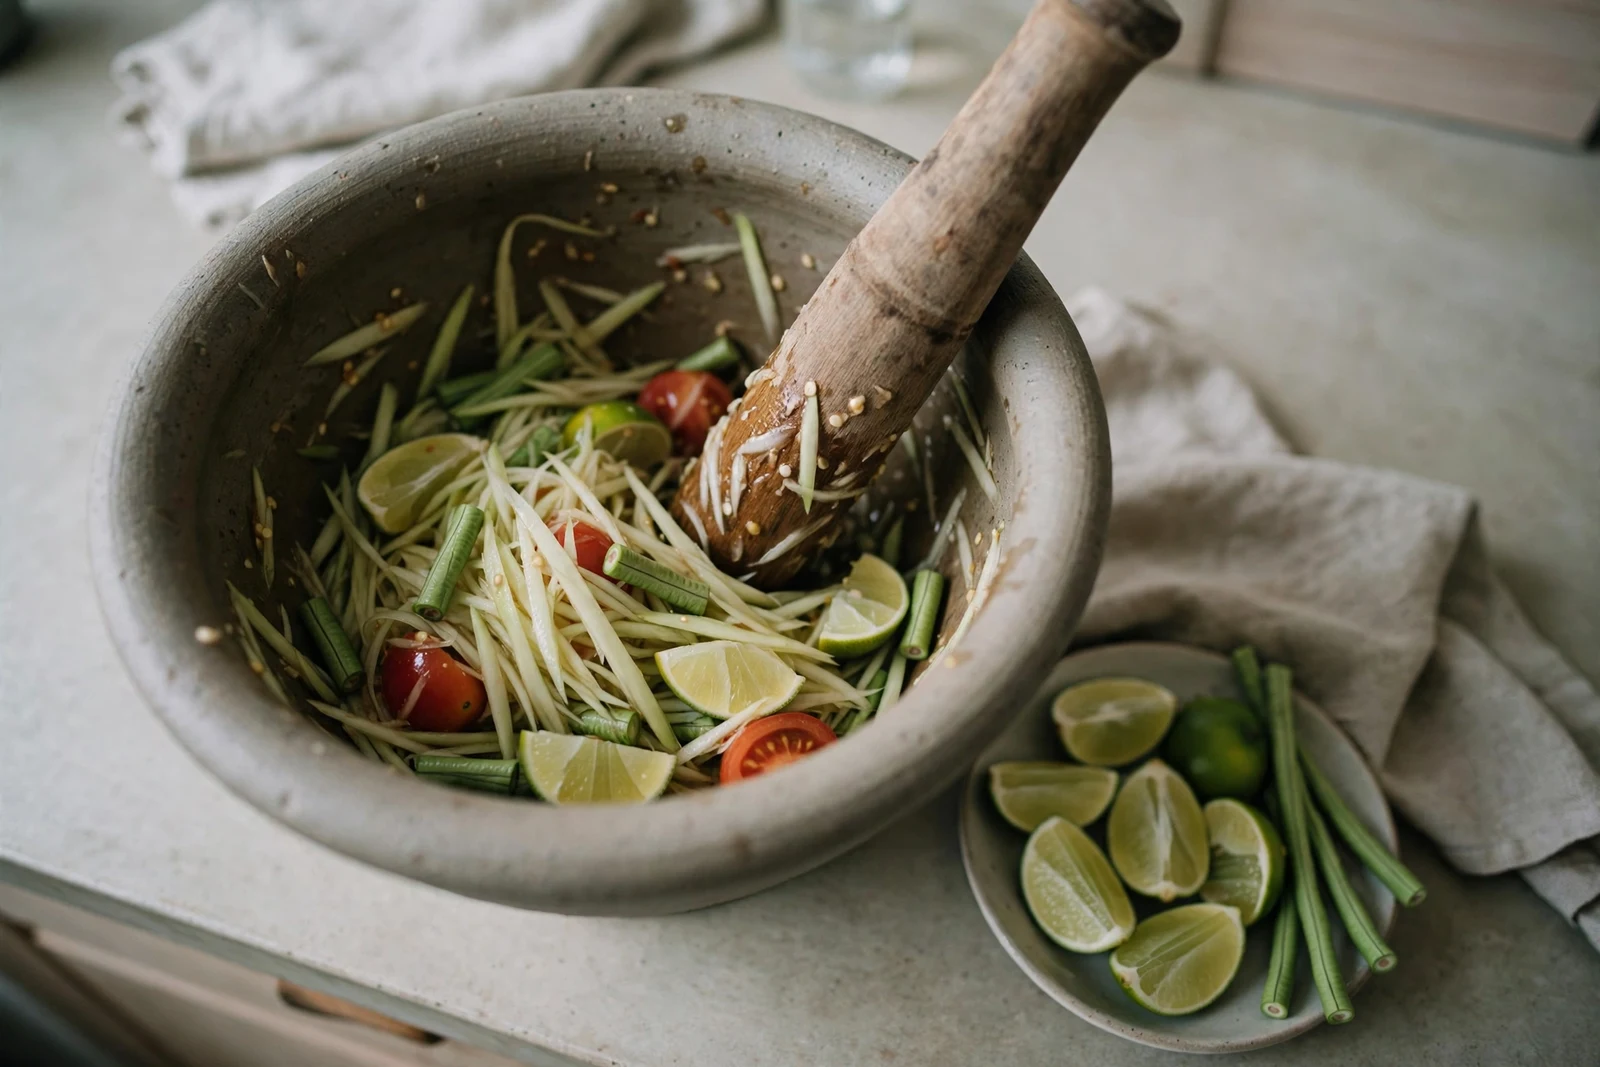
Som tum is the second job, and it uses the clay mortar. The cook puts the dressing, chilies, and garlic in first, gives them a few firm taps, then adds the shredded papaya and pounds with light, quick taps while turning the mix with a spoon. Count about 10 to 15 taps for the whole salad. More than that and the papaya turns soft and wet. The test is in the texture: the shreds should stay crisp and separate, with the dressing clinging to them. Our som tum recipe walks through the full salad.
Nam prik, the chili relish served with vegetables and grilled fish, is the third job. The pounding is short and coarse: chilies, garlic, and shrimp paste pounded just until they come together, about 3 to 4 minutes, with visible pieces left in the mix. A nam prik pounded to a smooth paste loses the rough texture that makes it good with raw vegetables.
The fourth job is dry crushing. Peanuts for a topping take about 2 minutes of steady pounding to a coarse crumble, and the point to stop is easy to miss: past 3 minutes the crumbs start to clump toward peanut butter, so stop while the pieces are still separate. Toasted rice for larb takes about 1 minute to a sandy powder, and our guide to toasted rice powder covers the toasting step that comes first.
What not to pound, and what goes wrong
A few habits cause most of the trouble. The first is filling the bowl too full. The mix climbs the sides, the pestle skids, and the work takes twice as long. Split a big batch in half and pound it in two rounds instead.
The second is pounding wet ingredients first. Shallots and garlic release water as soon as they break, and a bowl full of juice never turns into a paste. Dry spices and fibrous aromatics go in first, and the wet ingredients go in last, when there is already a thick base for them to mix into.
The third is using the wrong mortar for the job. A small, light mortar walks across the counter when you pound a paste, and a clay mortar can crack under the force a granite one takes without complaint. Keep the clay mortar for salads and light work, and the granite one for pastes.
The fourth is pounding garlic on its own for too long. Garlic turns bitter when it is worked past the point where it breaks down, so add it near the end and stop once it blends in. The same goes for fresh chilies in a nam prik: short pounding keeps the flavor bright, and long pounding turns it flat.
If you have no mortar at all, a food processor covers the paste job in 3 to 4 minutes, and our guide to mortar and pestle substitutes covers which tools work for dry spices and which ones do not. The paste will be smoother and a little wetter than the pounded version, and it fries a touch less crisp, but the flavor is close.
How to clean and store it
Cleaning is simple, and soap is the one thing to leave out. Rinse a granite mortar with hot water and scrub it with a stiff brush, then rinse again and turn it upside down to dry. Soap soaks into the stone and leaves a taste in the next batch, and the hot water and brush take off everything the pounding left behind. For a clay mortar, rinse the same way and let it dry in the sun if you can, since the clay holds moisture longer than granite.
Store the mortar dry, with the pestle resting inside the bowl. A mortar left damp in a cupboard picks up a musty smell, and a granite one stored wet can leave a ring on a wood shelf. Dried and stored this way, a granite mortar outlasts every other tool in the kitchen, and the inside only gets smoother with use.

More Thai recipes
Thai Green Curry with Chicken is the first curry to make with a fresh pounded paste; Massaman Curry with Beef leans on the dry spices your mortar grinds best; Panang Curry with Chicken shows the thicker, drier fry a pounded paste holds; and Som Tum: Thai Green Papaya Salad puts the clay mortar to work.
From the garden
Lemongrass is the one mortar ingredient worth growing yourself, since a pot on a balcony gives you fresh stalks all summer and the bottom 4 inches are exactly what a paste needs. Our guide to growing lemongrass in pots covers pot size and watering, and the same goes for chilies in our guide to growing Thai chili peppers in pots. A stalk cut fresh from a pot pounds down faster than a store-bought one that has sat in the fridge for a week, and the difference is easy to feel in the first minute of pounding.
From Paul’s kitchen.