
Store-bought ginger is often tired: dried out, fibrous, and sometimes months old by the time it reaches your kitchen. Homegrown ginger is a different ingredient entirely — juicy, fragrant, and tender enough to grate without stringy fibers. The best part is that ginger is one of the easiest pantry staples to grow at home. It does not need a garden bed, it tolerates partial shade, and the whole plant lives happily in a single wide pot. One pot started in spring can keep you in fresh ginger for months, and it asks for surprisingly little attention in return.
This guide covers the whole job: picking seed rhizomes that actually sprout, the wide-pot setup ginger prefers, planting and watering, overwintering indoors, and harvesting both tender baby ginger and fully mature hands. If you cook with it often, a steady homegrown supply is a small luxury worth having — a piece of fresh ginger for ginger scallion sauce is never more than a reach away.
Why Ginger Is Made for Pots
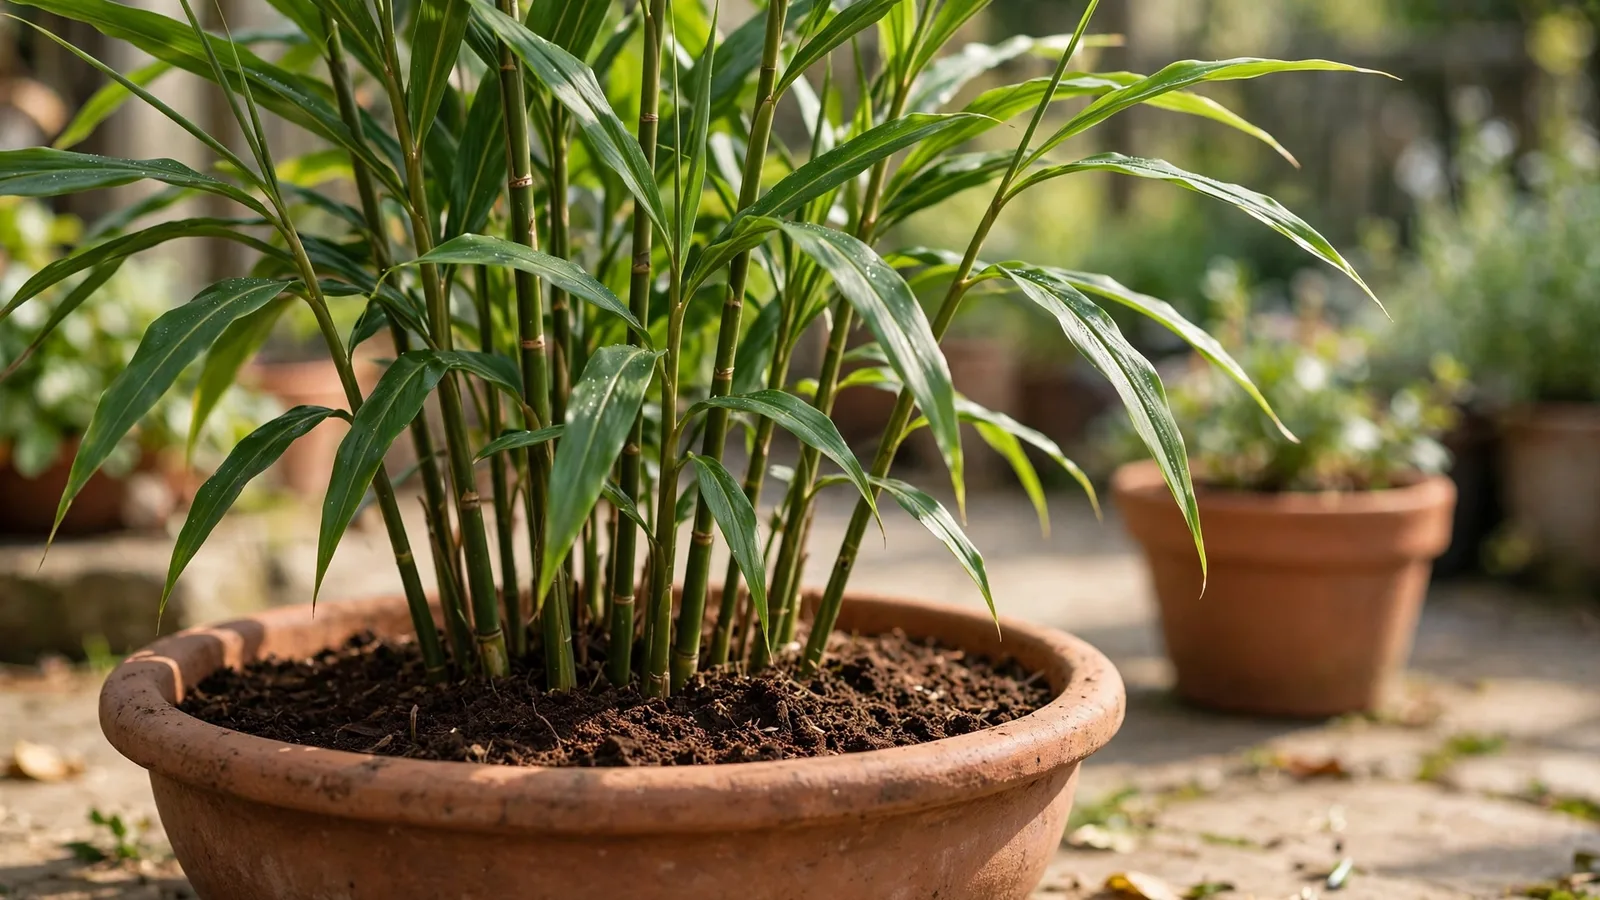
Ginger grows from rhizomes that spread horizontally just under the soil surface, so it wants width, not depth. A wide container suits it perfectly. Ginger is also a tropical understory plant — in the wild it grows in the dappled shade of taller plants — so a balcony that only gets gentle morning sun will grow ginger fine where a sun-hungry vegetable would sulk.
A pot gives you one more advantage: mobility. Ginger stalls when temperatures drop below about 50°F and frost kills the tops outright. In a pot, you simply carry it inside when fall arrives, which means even cool-climate growers can keep a plant going for years. A plastic or glazed ceramic pot also keeps the soil warmer and moister than a breathable terra-cotta one in dry climates, though any of them work with the right watering.
Picking Seed Rhizomes
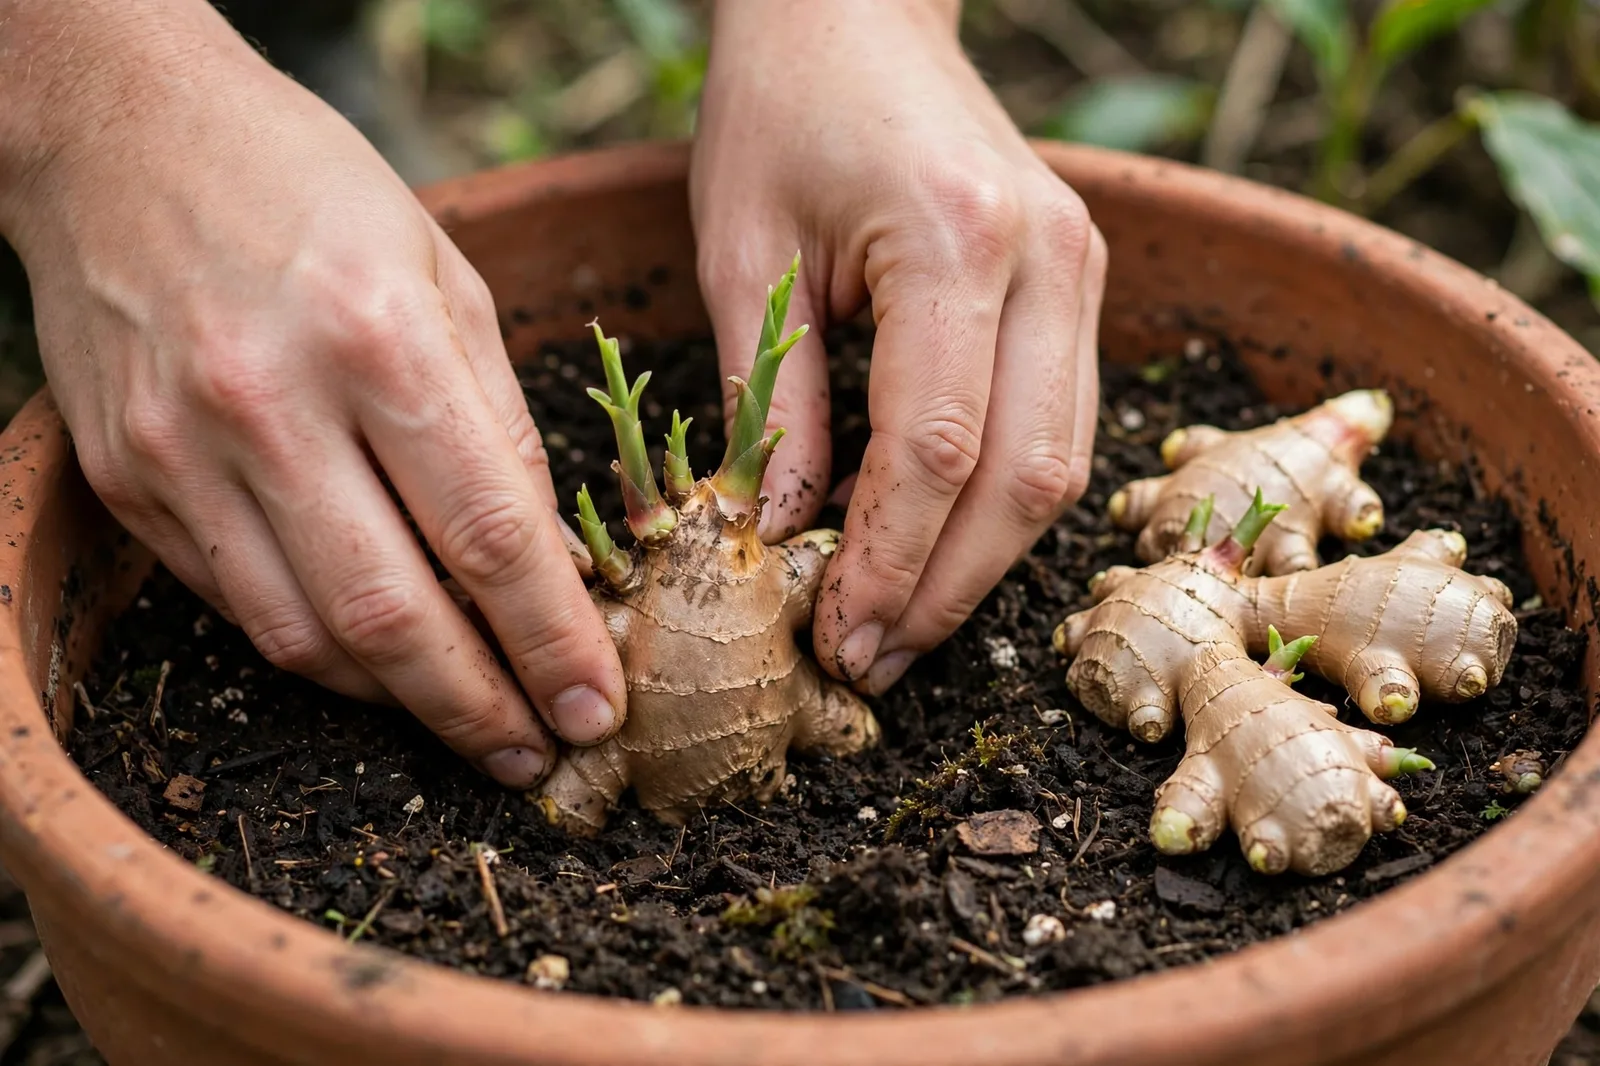
You can start with grocery-store ginger, but pick it like you mean it. Look for rhizomes that are plump, firm, and heavy for their size, with visible growth buds — the small nubby "eyes" at the joints. Wrinkled, soft, or light pieces often rot instead of sprouting.
Two things genuinely improve your odds:
- Buy organic when you can. Conventional ginger is sometimes treated with sprout inhibitors, which can delay or prevent shoots. If conventional is all you find, soak the rhizome in room-temperature water overnight before planting to rinse off residue.
- Break big pieces down. Cut or snap the rhizome into pieces 1.5 to 2 inches long, each with at least 2 or 3 eyes. Then let the cut ends dry for 24 to 48 hours before planting. That brief callusing period is the cheapest rot insurance there is.
Pot and Soil Setup
Width matters more than depth here. Choose a pot at least 12 to 14 inches wide and about 12 inches deep — a 5-gallon container fits 3 or 4 rhizome pieces with room to spread. Ginger fills a pot from the edges inward over the season, so a wider pot directly means a bigger harvest. Drainage holes are non-negotiable: soggy soil is the one thing that reliably kills ginger.
Ginger wants soil that is rich, loose, and holds moisture without staying wet. A simple mix that works:
- 2 parts bagged potting mix as the base
- 1 part compost or worm castings for slow nutrition
- 1 part perlite or coco coir for drainage and air
Aim for a slightly acidic mix, roughly pH 5.5 to 6.5, which is where most potting mixes land. Fill the pot to about 3 inches below the rim so you can top up with soil as the rhizomes swell toward the surface later in the season.
Planting
Temperature is everything at this stage. Ginger only wakes up when the soil is warm — about 70°F (21°C) or higher. Plant in spring after the soil has genuinely warmed, not just the air. A soil thermometer takes the guesswork out; guessing wrong is the most common reason rhizomes sit there doing nothing.
Lay each piece flat on the soil with the eyes facing up, spacing pieces 6 to 8 inches apart, then cover with 1 to 2 inches of mix. Water once, deeply, to settle the soil. Then wait — and mean it. Sprouting takes anywhere from 2 to 8 weeks, and the range is almost entirely temperature. At 75 to 80°F, shoots can appear in 2 to 3 weeks. At 65°F, you may wait 6 to 8 weeks for the same result. Ginger is the slowest sprouter in the kitchen garden, and cool soil is always the culprit when it stalls. If your spring runs cold, start the pot indoors on a heat mat or near a warm appliance and move it out once nights stay reliably above 55°F.
Light, Water, and Food
Light: bright indirect light or partial shade. Two to five hours of direct morning sun is plenty; harsh afternoon sun scorches the leaves. This is a plant that genuinely prefers a little shade, so the spot on your patio that is too dim for tomatoes is probably just right for ginger. Thai chili peppers, by contrast, want full sun — pair them on opposite ends of the same balcony and both get what they want.
Water: keep the soil consistently moist, never soggy. Water when the top inch feels dry. In summer heat a pot in a warm spot may need water every day; in cool weather it might go a week. A 1- to 2-inch mulch of straw or shredded leaves steadies moisture between waterings. Overwatering rots the rhizome from the inside — if you are unsure whether to water, wait a day.
Food: ginger is a light feeder. Work a slow-release balanced fertilizer into the mix at planting, or feed every 2 to 3 weeks with a half-strength liquid fertilizer through the growing season. Stop feeding by early fall so the plant winds down naturally as days shorten.
Troubleshooting
- The rhizome rots instead of sprouting. Almost always too much water, too little drainage, or un-callused cuts. Ease off watering, confirm the drainage holes run freely, and always let cut ends dry a day or two before planting.
- Nothing sprouts after a month. The soil is too cool. Move the pot somewhere warmer — ginger wakes up above 70°F and sulks below 65°F. Time alone will not fix a cold pot.
- Leaf tips turn brown and crispy. Underwatering or dry air. Water more steadily and add a mulch layer; the new growth will come in clean.
- Shoots are thin and spindly. Not enough light, or the pot ran out of food mid-season. Shift toward more morning sun and give it a light feeding.
- Tiny insects on the leaves. Aphids or mealybugs, mostly an indoor-winter problem. Wipe them off with a damp cloth or use insecticidal soap; ginger usually outgrows a light infestation.
Overwintering Indoors
Ginger goes dormant as temperatures fall, and that is normal. When nights drop below 50°F, bring the pot inside to a bright window. The leaves will yellow and die back — let them. Cut water way back to just enough that the soil does not bone-dry for months, and stop feeding entirely.
You can store the dormant pot in a cool, dark spot until spring. When soil temperatures climb back above 70°F, move the pot to light, resume normal watering, and new shoots will push up — often from rhizome pieces that looked completely dead. The same bring-it-inside rhythm works for other tropical kitchen plants; the lemongrass overwintering guide covers a near-identical routine if you grow both.
Harvesting and Storing
There are two harvests, and both are worth it:
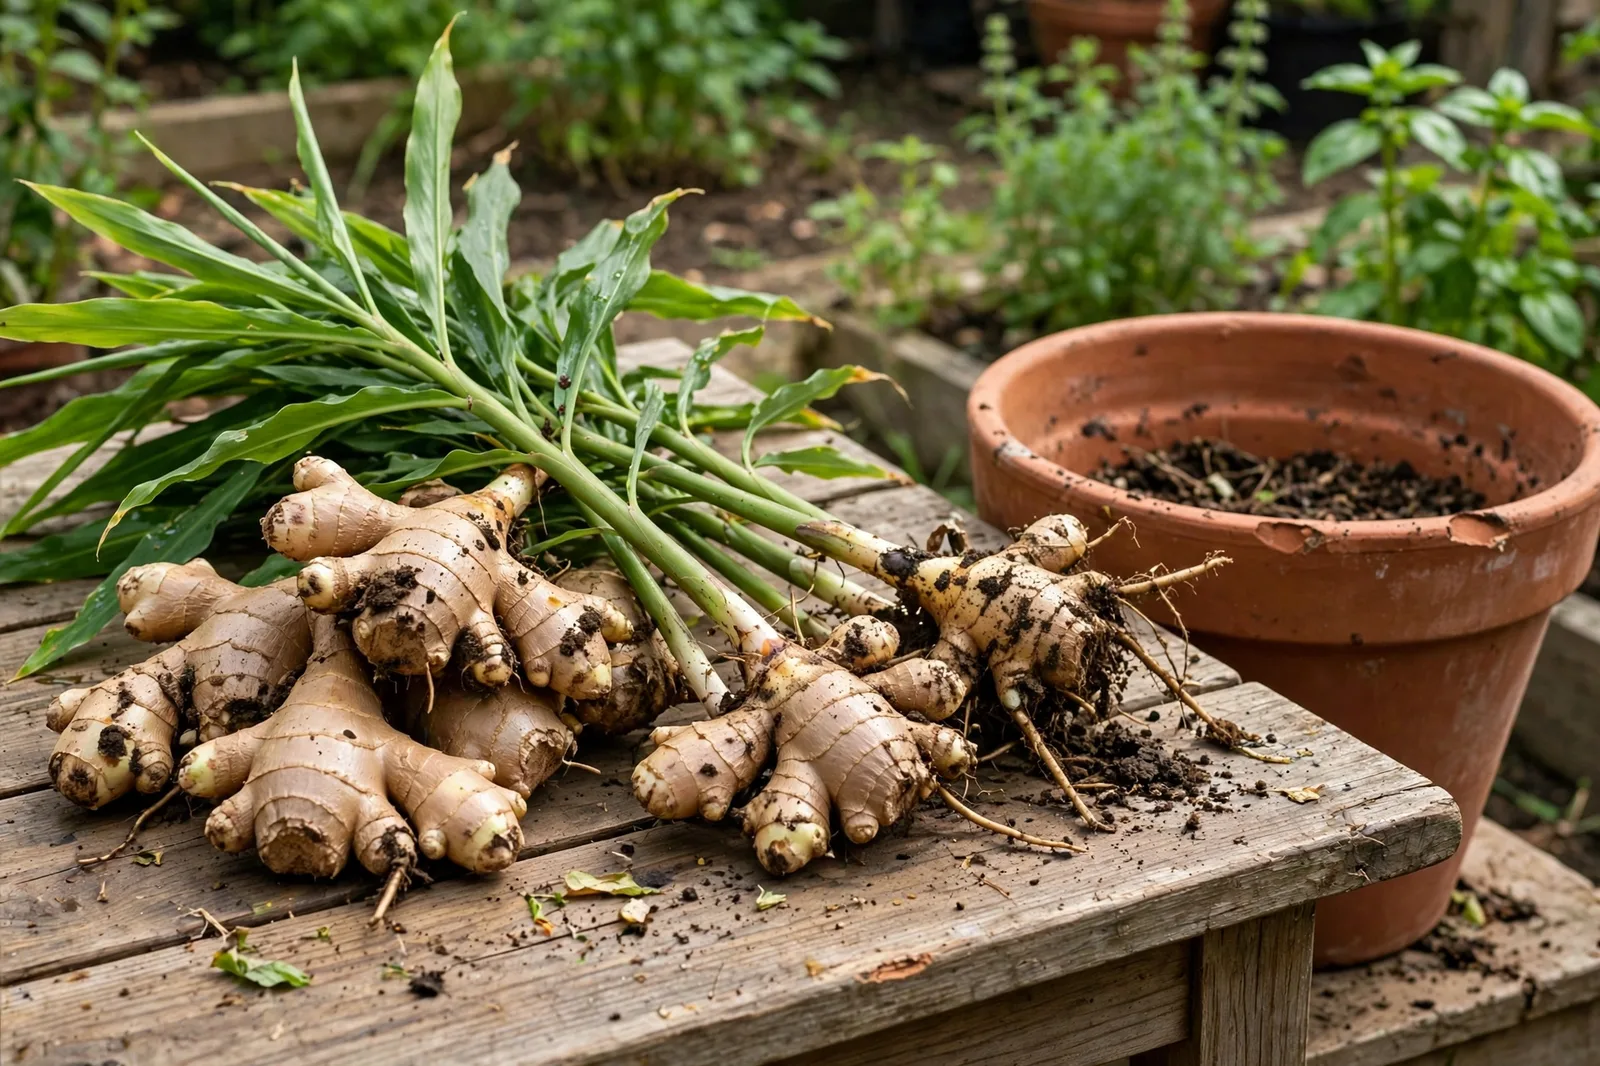
- Baby ginger (4 to 5 months in): the rhizomes are small, pale, and thin-skinned, with a mild, juicy bite and almost no fiber. Start reaching into the soil around the edges of the pot and snapping off pieces — harvest from the perimeter so the mother rhizome keeps growing. This edge-harvest trick means one pot can keep producing for months without ever being uprooted.
- Mature ginger (8 to 10 months in): when the leaves yellow and die back on their own, the rhizomes are fully developed. Tip the whole pot out and separate the hands. Save a few plump pieces with good eyes to replant, and the cycle starts over.
Fresh ginger keeps 3 to 4 weeks in the fridge, wrapped in a paper towel inside a loose bag. It also freezes beautifully — freeze chunks whole and grate them straight from frozen, no thawing needed. For places to use a good haul, there is ginger scallion sauce and Vietnamese ginger chicken, and like any fresh harvest it stays fresher longer when you store fresh herbs and aromatics with care.
More From the Garden
- How to Grow Thai Chili Peppers in Pots — full-sun companion for the other end of the balcony.
- How to Grow Culantro (Ngo Gai) at Home — another shade-tolerant tropical herb that pairs well with ginger's growing conditions.
- Container Garden Plan for a Vietnamese Herb Garden — how to arrange a whole cooking garden in pots.
- Growing Water Spinach (Kangkong) at Home — a fast summer crop for the warm months ginger also loves.
From the Garden
The first ginger shoots of spring always catch me off guard: they come up looking like blunt green asparagus spears, nothing like the bamboo-like stalks they become. Break a piece of baby ginger open in the garden and the smell — sharp, clean, almost floral — is the whole reason to grow it. No store jar has ever smelled like that.
1 thought on “How to Grow Ginger in Pots”