
The small pile of pink ginger beside sushi does more work than it looks like it should. One thin slice clears the taste of the last piece so the next one starts fresh, and its sweet-sour edge cuts through oily fish in a way plain ginger never does. A jar of it costs little, takes about 20 minutes of work, and then waits in the fridge for two days while the brine does the rest. This guide covers how to pick young ginger, the brine ratio I use, and the fixes for batches that come out too tough, too sour, or stubbornly white.
What pickled ginger is
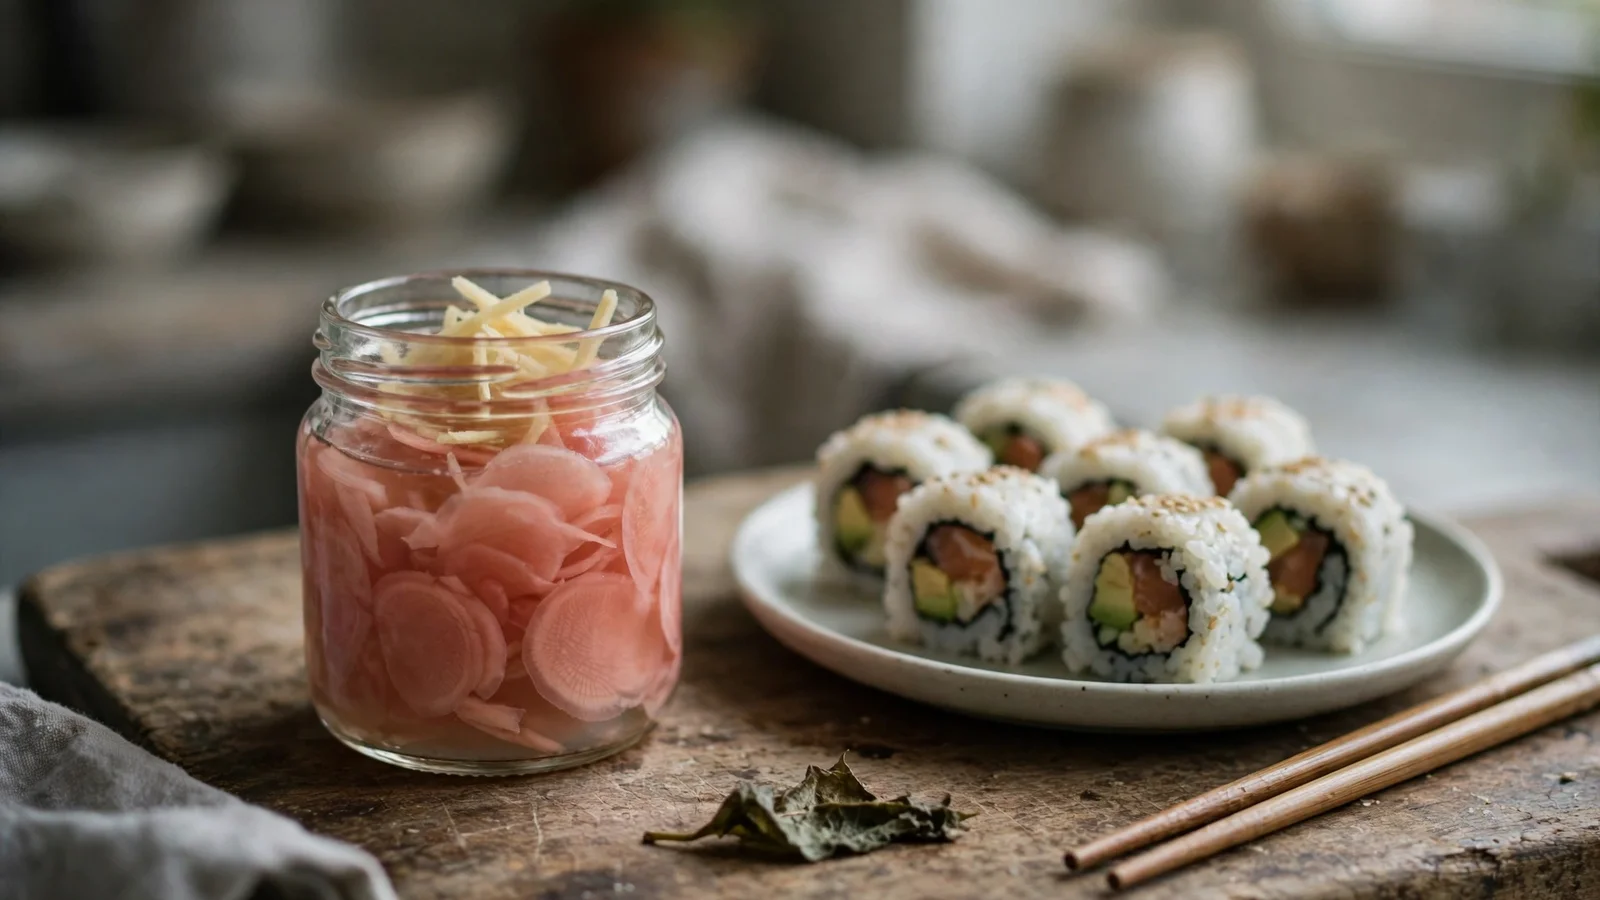
Pickled ginger for sushi is called gari. It is young ginger sliced paper-thin, salted, blanched for seconds, and steeped in a sweet rice-vinegar brine. The slices turn soft and translucent, and young ginger often blushes pink in the jar from the pigment in its stem tips. Gari differs from beni shoga, the red pickled ginger served with okonomiyaki and yakisoba. Beni shoga is pickled in plum vinegar, which gives it a deep red color and a sharper, saltier taste. This post covers gari only, the sweet-sour version that belongs next to sushi and sashimi. My guide to rolling sushi at home pairs with this one, since a sushi night is the most common reason to make a jar.
How to pick young ginger
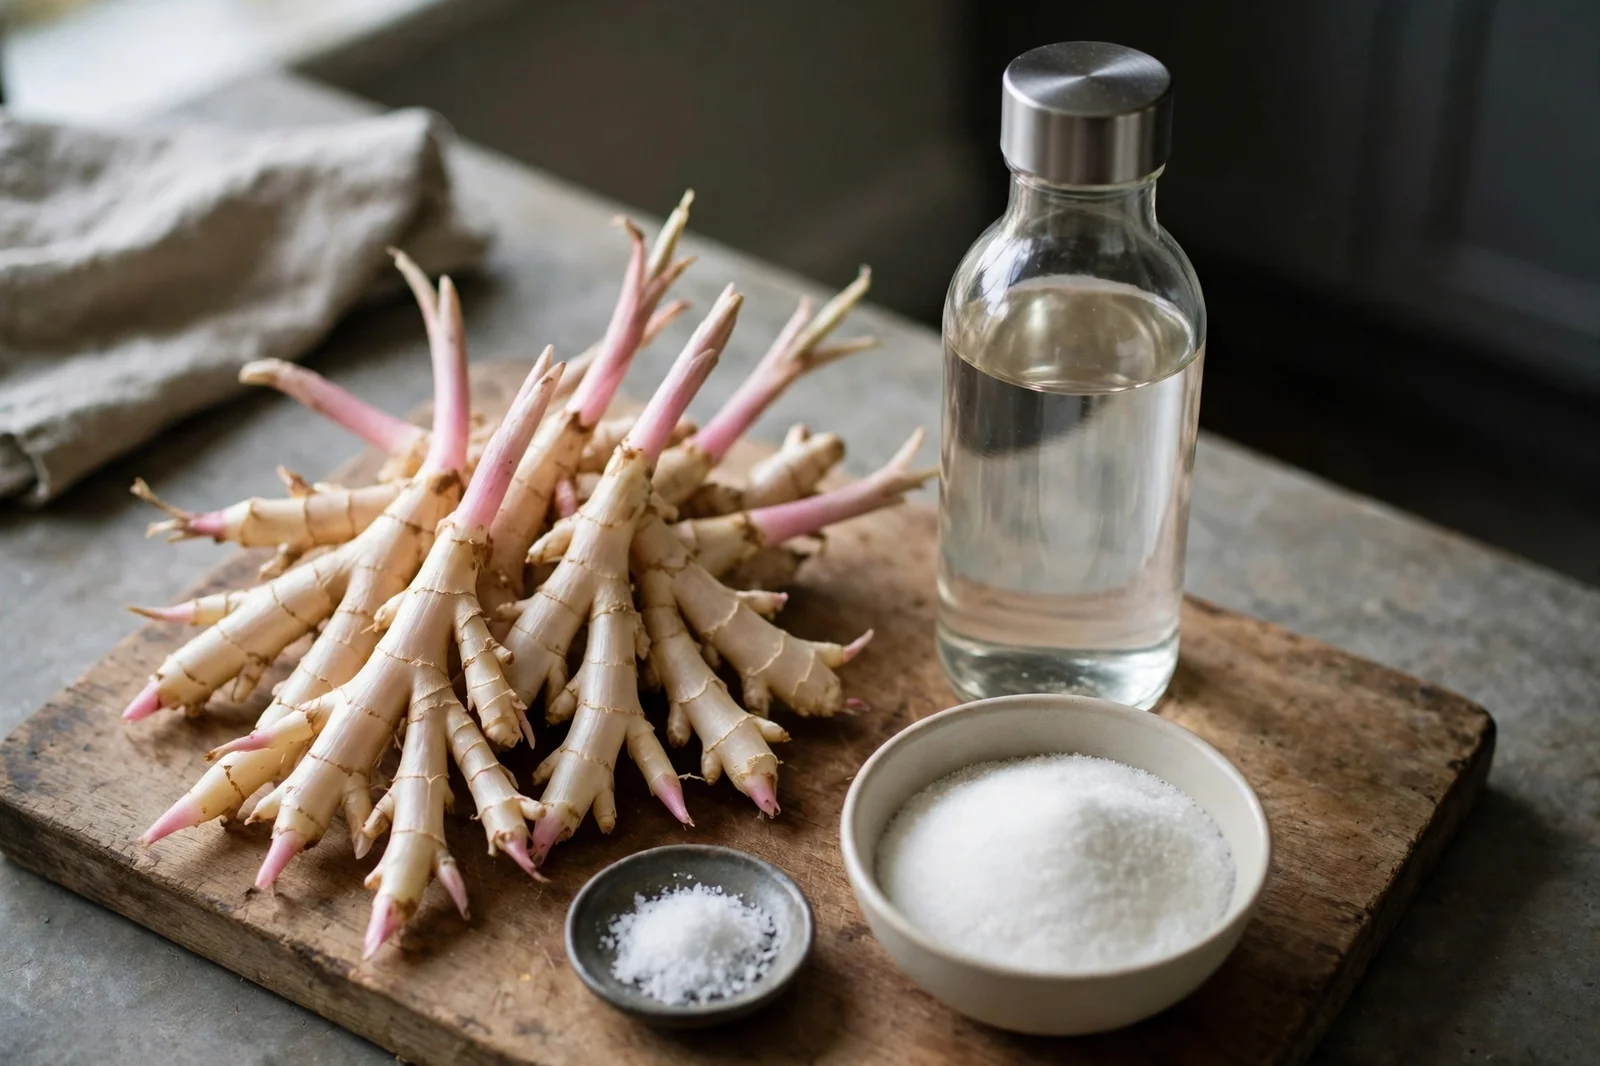
The ginger you pick decides the batch more than any other step. Young ginger has thin, pale skin that scrapes off with the edge of a spoon, pink tips where the stems were cut, and flesh that snaps clean when you break a knob. It feels heavy for its size and shows almost no fibers when sliced. Mature ginger has thick brown skin that needs a peeler, dry or wrinkled patches, and long fibers that stay tough no matter how long the slices sit in brine. If the store only has mature ginger, the batch will still taste good, but it will stay pale and a little chewy, and you should slice it as thin as you possibly can. Spring and early summer are the easiest months to find young ginger, but some stores stock it year round near the mature roots, so check the skin and the stem ends rather than the calendar.
What you need
For one jar, about 1 1/2 cups, you need 8 ounces (225 g) young ginger, 1 cup (240 ml) unseasoned rice vinegar, 1/4 cup sugar, 1 teaspoon salt for the brine, and 1 teaspoon salt for the salting step. You also need a clean glass jar with a tight lid, about 12 ounces, and either a mandoline or a very sharp knife. The mandoline earns its place here: slices need to be about as thick as a coin, and a knife alone makes that hard to hold steady across a whole root. Check the vinegar label for unseasoned rice vinegar, not seasoned sushi vinegar, which already contains sugar and salt and throws the ratio off.
How to make it
- Scrape the skin off the ginger with the edge of a spoon, working around the knobs. Rinse the peeled roots and pat them dry.
- Slice the ginger across the grain as thin as you can, about 1 mm, using a mandoline or a sharp knife. Cut across the fibers, not along them, so the slices soften instead of staying stringy.
- Toss the slices with 1 teaspoon salt and let them sit for 30 minutes. The salt draws water out and firms the slices slightly. Squeeze the slices gently and pour off the liquid.
- Bring a small pot of water to a boil, drop the slices in, and blanch for 30 seconds only. Drain them at once and spread them on a plate to cool for a few minutes. Longer than 60 seconds turns the slices soft and dull, and you cannot firm them back up.
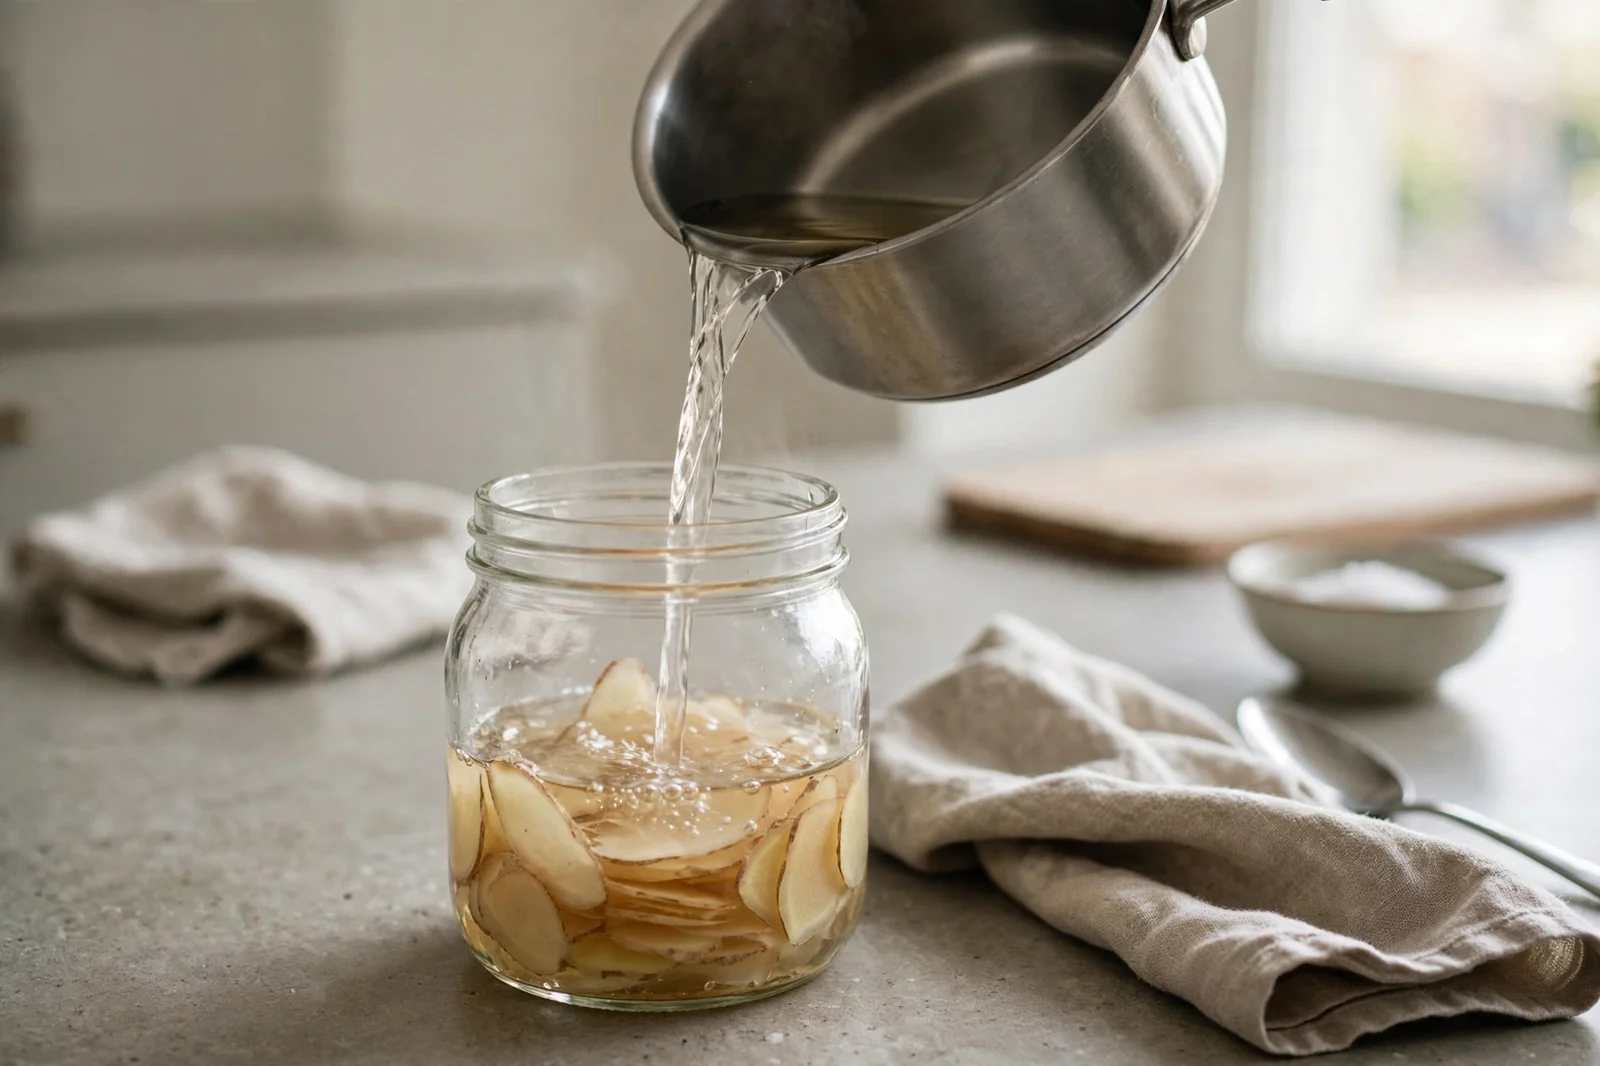
- Warm the rice vinegar, sugar, and remaining 1 teaspoon salt in a small saucepan over low heat, stirring until the sugar dissolves. Do not let it boil hard. Take it off the heat as soon as the sugar is gone.
- Pack the cooled slices loosely into the clean jar and pour the warm brine over them, pressing the slices below the surface with a clean spoon.
- Cap the jar, let it cool to room temperature, and put it in the fridge. Taste it after 48 hours. Most batches taste balanced by then, and the pink color, if it comes, shows up over the first 2 to 3 days.
Why some batches stay white
A white batch is usually a mature-ginger batch, not a failed one. The pink in gari comes from pigment in the stem tips of young ginger, and mature roots have little of it left. No amount of extra steeping time turns a mature-ginger batch pink. Some restaurants add red food coloring for a uniform look, but a home jar does not need it, and the flavor is the same either way. If your batch stays white but tastes sweet, sour, and clean, it worked. Judge the jar by taste at 48 hours, not by color.
How to use it
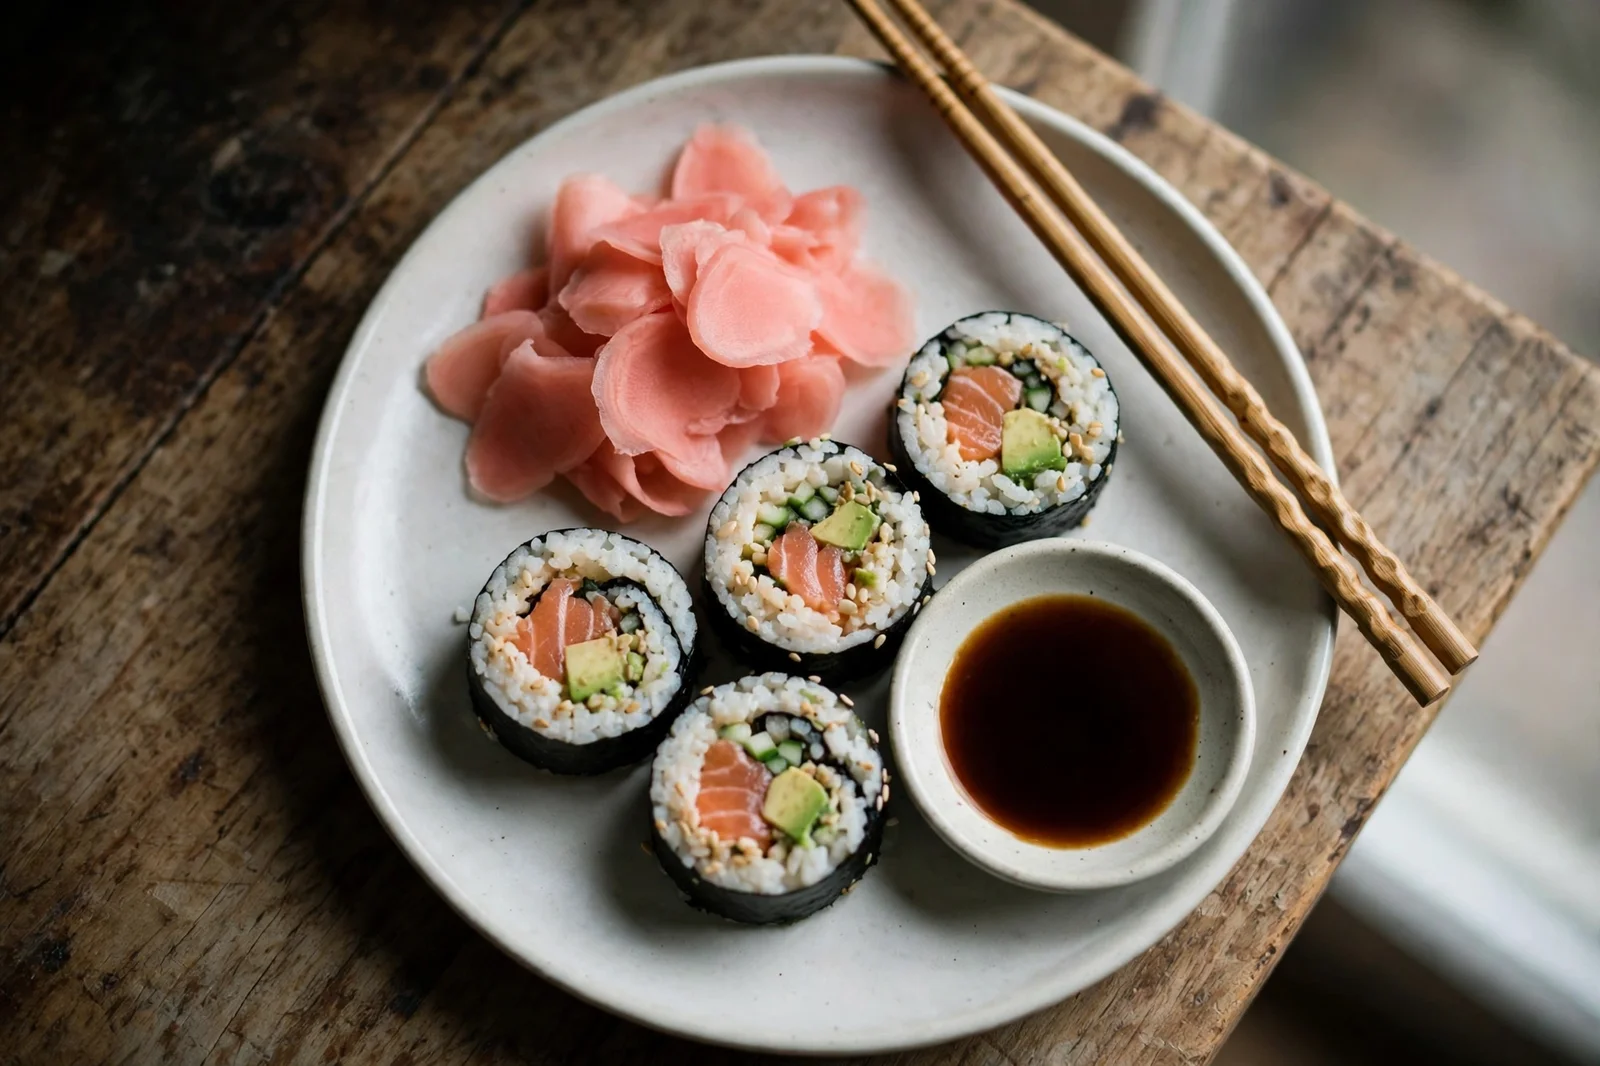
Serve a small pile, about a tablespoon per person, beside sushi or sashimi, and eat one slice between pieces rather than piling it on top of the fish. The point is a clean palate, not a ginger topping. It also suits sushi rice bowls, where a few slices cut through a rich topping like salmon or egg, and grilled fish, where the sweet-sour edge stands in for a sauce. Chop leftover slices fine and stir them into a dipping sauce for dumplings, or lay a few slices over a rice bowl with a fried egg. Use clean chopsticks or a fork to take slices from the jar, since fingers and used chopsticks shorten the life of the brine. Compared with ginger and galangal, which I compared for cooking use, pickled ginger is a condiment first: a little of it goes a long way, and it never replaces fresh ginger in a stir-fry or soup.
Storage
Keep the jar in the fridge with the lid on tight, and keep the slices below the surface of the brine. A jar kept cold and handled with clean utensils stays good for about 2 months. The vinegar keeps the batch acidic, but the slices still belong in the fridge, not on a warm shelf. If the brine level drops and slices start to poke out, top the jar up with plain rice vinegar of the same kind. Throw the batch out if you see mold, if the liquid turns slimy, or if it smells off beyond the normal strong vinegar smell. A little cloudiness at the bottom from ginger starch is normal and settles out.
If it goes wrong
Slices that stay tough usually come from two causes: the ginger was mature, or the slices were cut too thick. A finished tough batch cannot be softened, but chopped fine it still works stirred into a dipping sauce, so nothing is wasted. Next time, pick young ginger and cut across the grain at 1 mm. A batch that tastes too sour takes 1 tablespoon of sugar stirred into the brine, tasted the next day rather than at once, since sugar needs time to settle in. A batch that tastes too sweet takes 2 tablespoons of plain rice vinegar and another day in the fridge. A batch that tastes flat at 48 hours usually just needs more time: taste again at day 4 before changing anything, since the brine keeps working in the fridge. Mushy slices mean the blanch ran long, so hold the next batch to 30 seconds and drain at once.
From the garden
The best jar I have made started with ginger dug from a pot in late summer, when the skin was still thin and the stem ends were pink. Pot ginger suits this recipe well, since one jar needs only a small root, and a single pot gives that much without taking over a bed. My guide to growing ginger in pots covers the pot size and watering that gets a root to harvest size, and home-dug ginger pickles just as well as store-bought young ginger.
1 thought on “How to Make Pickled Ginger at Home”