
A jar of Thai curry paste will get dinner on the table, but it will not taste like a paste made ten minutes before cooking. The difference is the aromatics. Lemongrass, galangal, and shallots lose their sharp edges the longer they sit, and a jar that has been on a shelf for months tastes flat in the same way a fresh one tastes bright. Making your own takes about 25 minutes with a mortar and pestle, or about 10 minutes with a food processor, and one batch makes enough paste for three or four curries. This guide gives you the base ratio for red curry paste, the order to pound the ingredients in, and the two points where most homemade pastes go wrong.
What is Thai curry paste?
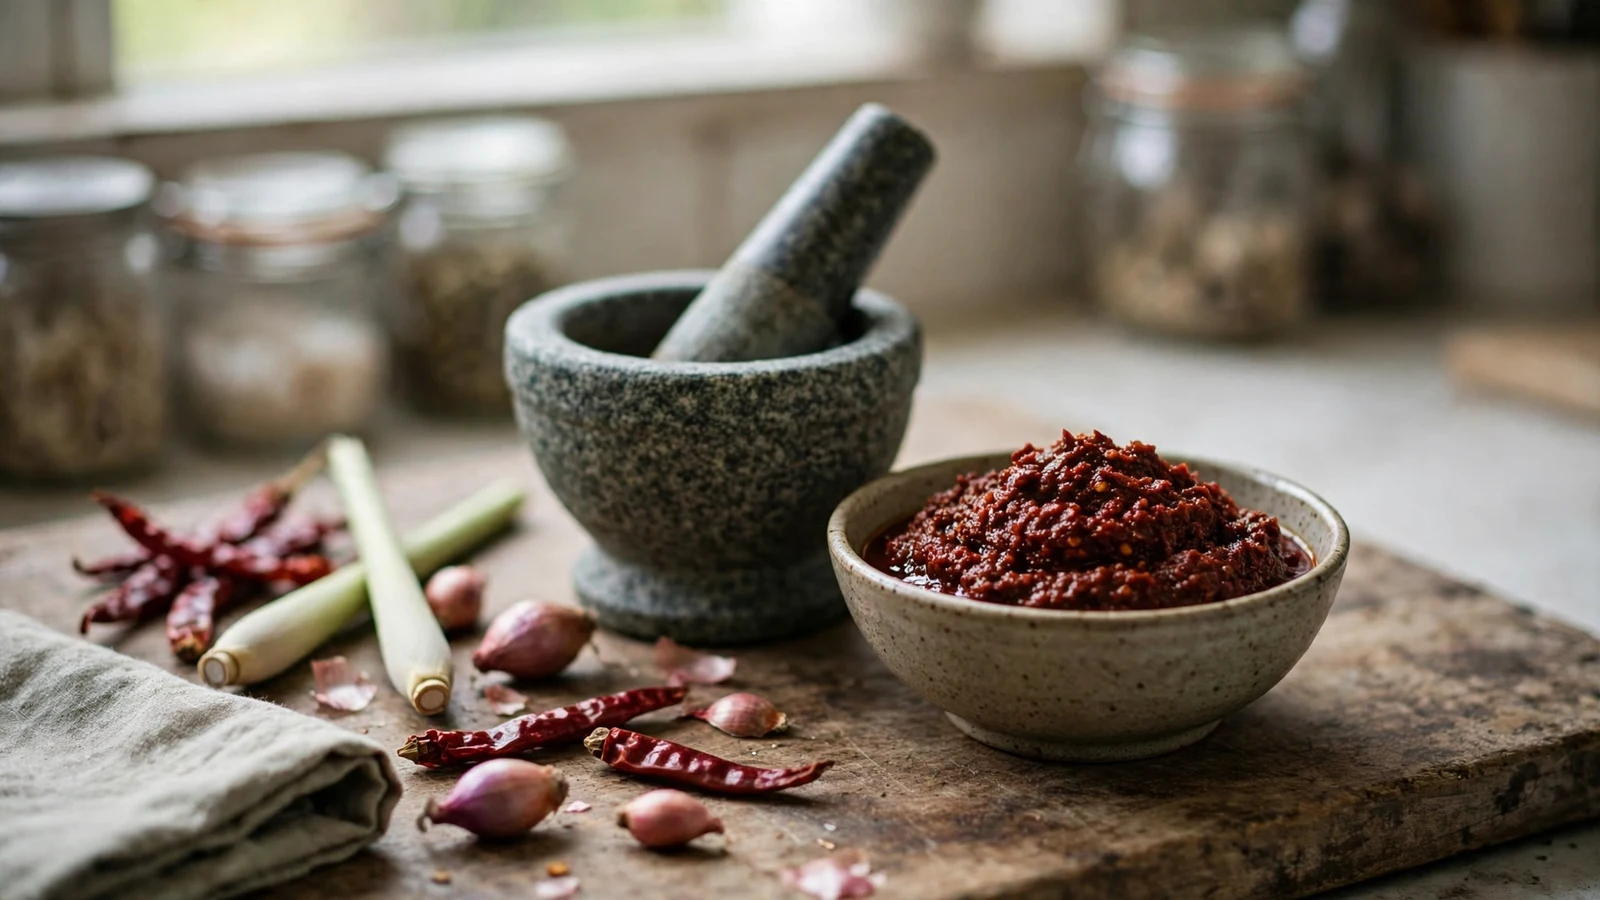
Thai curry paste is a pounded mix of chilies, aromatics, and spices that forms the flavor base of a Thai curry. The cook fries a few spoonfuls in hot oil or cracked coconut cream, then adds coconut milk, meat or vegetables, and seasoning. The paste carries the heat, the citrus notes, and the warm spices, so the curry itself needs little else beyond fish sauce and a pinch of sugar.
Red, green, and yellow pastes share the same base and differ in a few ingredients. Red paste uses dried red chilies and gives a warm, round heat. Green paste uses fresh green chilies and adds Thai basil and green peppercorns for a sharper, fresher bite. Yellow paste leans on turmeric and curry powder and runs mild and earthy. This guide works through red paste in full, because once you can make red paste, green and yellow follow the same steps with a short list of swaps at the end.
Expect a paste that smells sharp and citrusy when raw and turns mellow and savory once it hits hot oil. The color should be a deep red with visible flecks of chili skin, not a smooth pink puree. If your paste comes out pale and thin, it has too much water in it, and the fix is in the pounding order below.
The base ratio for red curry paste
This ratio makes about half a cup of paste, enough for three curries. Scale it up or down and keep the same proportions.
For one batch, you need 8 to 10 dried spur chilies (prik chee fa), soaked 15 minutes and seeded; 3 shallots, peeled and chopped; 5 garlic cloves; 1 stalk lemongrass, bottom 4 inches only, sliced thin; 1 tablespoon chopped galangal; 1 teaspoon shrimp paste; half a teaspoon white peppercorns; 1 teaspoon coriander seeds; half a teaspoon cumin seeds; and 2 kaffir lime leaves, center rib removed, torn into pieces. A pinch of salt goes in with the dry spices.
That is roughly 2 parts chilies to 1 part shallots by weight, and the aromatics together should weigh about twice as much as the spices. When I weighed a batch in my kitchen, the soaked chilies came to about 30 grams, the shallots and garlic together about 55 grams, and the lemongrass and galangal about 35 grams. Those numbers give a paste that fries dry and holds its color.

Soak the chilies in warm water for 15 minutes, then slit them open and scrape out the seeds with a spoon. Keep the seeds if you like real heat and leave them out if you want the paste mild. Toast the coriander and cumin seeds in a dry pan over medium heat for about 90 seconds, until they smell nutty and the coriander seeds start to pop. Let them cool for a minute before they go into the mortar.
The order to pound: dry first, wet last
The order matters more than the effort. Pounding everything at once turns the mix into a wet mash that never gets smooth, and the fibrous pieces stay in long strands. Work in this order instead, and scrape the sides down with a spoon between each addition.
Start with the dry spices: the toasted coriander and cumin, the white peppercorns, and the salt. Pound them to a fine powder, about 1 minute. Next comes the fibrous part: lemongrass, galangal, and the kaffir lime leaves. These need the most pounding, about 4 to 5 minutes, until they break down into a rough shred. Then add the chilies, pounding about 3 minutes until the mix turns red and the chili skins break apart. Add the shallots and garlic last among the fresh ingredients, about 3 minutes more, then the shrimp paste, and pound everything together for a final 2 minutes until the paste looks even and holds together in a clump when you press it.

The whole job takes 20 to 25 minutes by hand. Your arm will tire before the paste is done, and that is normal. Take a short break, scrape the sides down, and keep going. The paste is ready when you can smear a little on the side of the mortar and see no long fibers and no chunks of shallot larger than a grain of rice.
Mortar and pestle or food processor
A granite mortar and pestle gives the best texture. The pounding crushes the fibers and presses the oils out of the spices, and the paste comes out thick enough to hold its shape on a spoon. The trade is time and effort: 20 to 25 minutes of steady pounding.
A food processor gets you there in 3 to 4 minutes. Add the dry spices first and pulse them to a powder, then add the rest and process in short bursts, scraping the sides down twice. Add 1 tablespoon of water or oil only if the blades spin without catching the mix, and no more. The paste will be smoother and a little wetter than the pounded version, and it fries a touch less crisp, but the flavor is close. If you have no mortar and want one, our guide to mortar and pestle substitutes covers the tools that work for dry spices and pastes.

How much paste per curry, and how to fry it
Use 2 to 3 tablespoons of paste for one 400 ml can of coconut milk, which serves 4. For a milder curry, start with 2 tablespoons and taste before adding more. For a hotter one, add a third tablespoon rather than adding fresh chilies at the end, since the paste carries the flavor along with the heat.
Fry the paste before the coconut milk goes in. Spoon the paste into a hot pan with a splash of oil, or into coconut cream that has been simmered until the oil separates from the milk, and fry it for 3 to 4 minutes, stirring, until the raw smell fades and the oil turns red around the edges. That frying step is what turns the paste from a raw mix into a curry base. A paste that goes straight into cold coconut milk tastes flat, and no amount of simmering later brings back the fried flavor.
Our Thai green curry with chicken and Thai red curry with duck both use this same frying step, and the difference between a curry that tastes bright and one that tastes dull is usually those 3 minutes in the pan. For the dried chilies in the paste, our guide to dried chilies covers which types to keep and how to toast and soak them.
How to store curry paste
Fresh paste keeps in a sealed jar in the fridge for 2 weeks. Press plastic wrap directly onto the surface before closing the lid, which keeps the top from drying out and darkening. For longer storage, freeze it. Spoon the paste into an ice cube tray, 1 tablespoon per cube, freeze until solid, then move the cubes to a freezer bag. They keep for 3 months and thaw in a hot pan in under a minute, so you can fry a cube straight from frozen. Label the bag with the paste type and the date, since red and green paste look alike once frozen.
Three mistakes that cost people their paste
The first mistake is adding water to help the food processor. A tablespoon is the limit. More water turns the paste into a thin sauce that boils instead of frying, and the curry ends up pale and watery. If your paste is already too wet, fry it longer, 5 to 6 minutes, and let the extra water cook off before the coconut milk goes in.
The second mistake is skipping the toasting step for the dry spices. Raw coriander and cumin taste dusty and dull, and no amount of pounding fixes that. Ninety seconds in a dry pan is the whole job, and the smell tells you when it is done.
The third mistake is using the green tops of the lemongrass. Only the bottom 4 inches are tender enough to pound smooth. The tops stay stringy no matter how long you pound, and they leave long fibers in the paste. Save the tops for a stock pot, where they give up their flavor to the broth and get strained out.
Green and yellow paste: what changes
Green paste follows the same ratio and the same pounding order, with fresh green chilies in place of dried red ones. Use 8 to 10 fresh Thai green chilies, stems removed, and add a small handful of Thai basil leaves and 1 teaspoon of green peppercorns with the shallots. The paste keeps for a shorter time, about 1 week in the fridge, since the fresh chilies and basil fade faster than dried ones.
Yellow paste starts from the same base and adds 1 tablespoon of turmeric powder and 1 teaspoon of curry powder with the dry spices, and uses fewer chilies, 4 to 5 dried red chilies, seeded. It fries the same way and suits massaman curry with beef and panang curry with chicken, which both lean on warm spices rather than heat.
More Thai recipes
Thai Green Curry with Chicken puts a fresh green paste to work with coconut milk and Thai basil; Thai Red Curry with Duck is the classic use for the red paste in this guide; Massaman Curry with Beef shows how the same base shifts toward warm spices; and Panang Curry with Chicken uses a thicker, drier fry for a paste that clings to the meat.
From the garden
Lemongrass is the one paste ingredient worth growing yourself, since a pot on a balcony gives you fresh stalks all summer and the bottom 4 inches are exactly what this paste needs. Our guide to growing lemongrass in pots covers pot size and watering, and the same goes for chilies in our guide to growing Thai chili peppers in pots. Galangal keeps well in the fridge, so buy a piece once and store it wrapped in a damp cloth, as our guide to storing fresh ginger and galangal explains.
From Paul’s kitchen.
2 thoughts on “How to Make Thai Curry Paste from Scratch”